Three no-equipment, at-home HIIT routines you can finish in about 15 minutes. Clear intervals, beginner-friendly options, and a simple weekly plan for busy s...
Home Pulse Fit
•
home workouts and fitness
15-Minute Bodyweight Cardio Workout for Busy Beginners
A fast, beginner-friendly 15-minute bodyweight cardio workout you can do at home with zero equipment. Includes warm-up, step-by-step intervals, modifications, progression, and a cooldown.

Marcus Thorne
Marcus Thorne is an NASM-certified personal trainer and the creator behind Home Pulse Fit. After successfully transforming his own health using only bodyweight routines in his small apartment, he left his demanding corporate career to help others do the same. Today, he is dedicated to making fitness accessible, sustainable, and entirely gym-free for busy beginners.
Published
October 18, 2026
Updated
October 18, 2026
If you have 15 minutes and a tiny bit of floor space, you can get a legit cardio session done at home, no treadmill, no burpees-until-you-cry vibe, and no equipment. This is the exact style of workout I leaned on when I was a burned-out project manager trying to restart my health in a cramped apartment.
Today, I still use this format because it is simple: a quick warm-up, a short set of moves you repeat, and a cooldown that helps you walk away feeling better instead of wrecked.
Quick safety note: If you are pregnant, postpartum, injured, or managing a medical condition, check in with a clinician or qualified coach before you ramp things up. Stop if you feel chest pain, dizziness, or unusual shortness of breath. If you faint, have severe pain, or notice new heart palpitations, seek medical help.

What you need
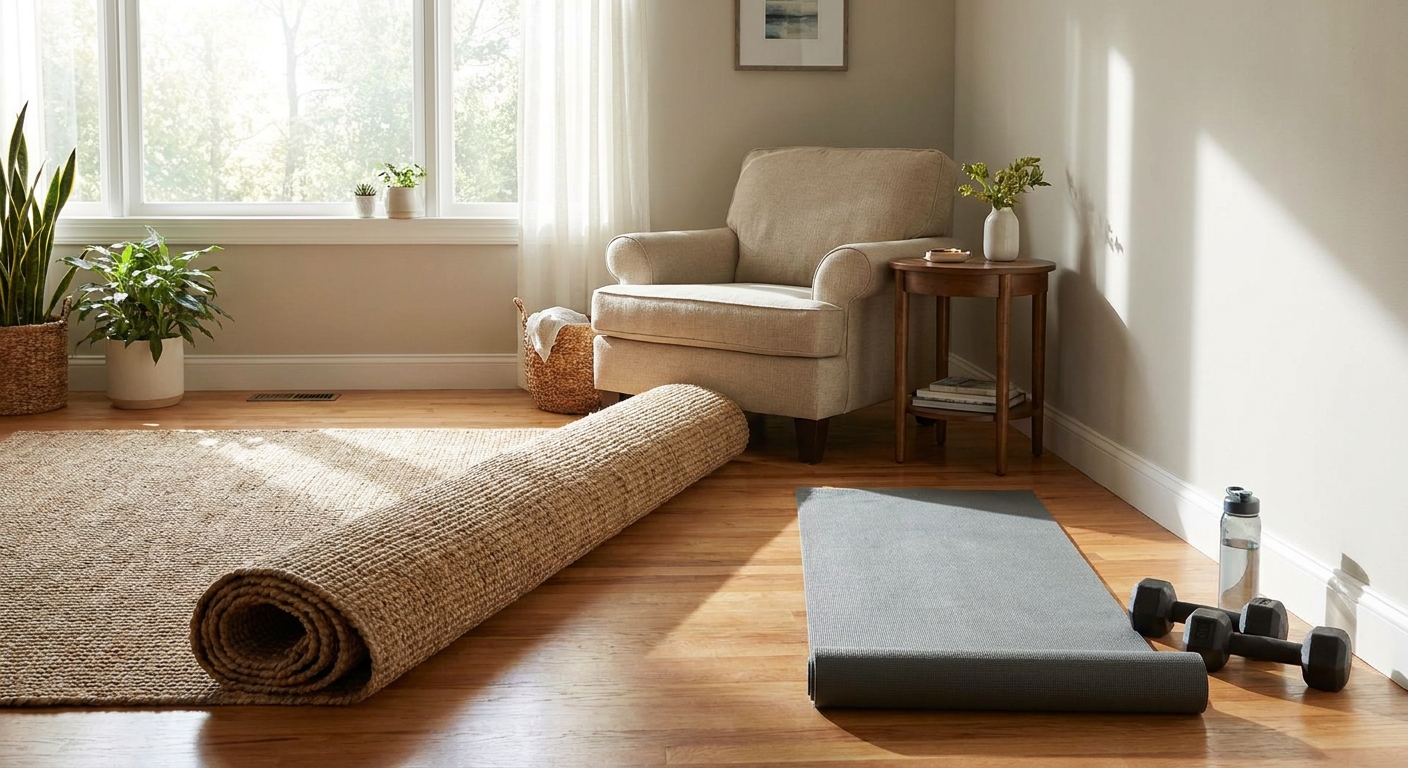
- Space: about the size of a yoga mat, plus one step forward and back.
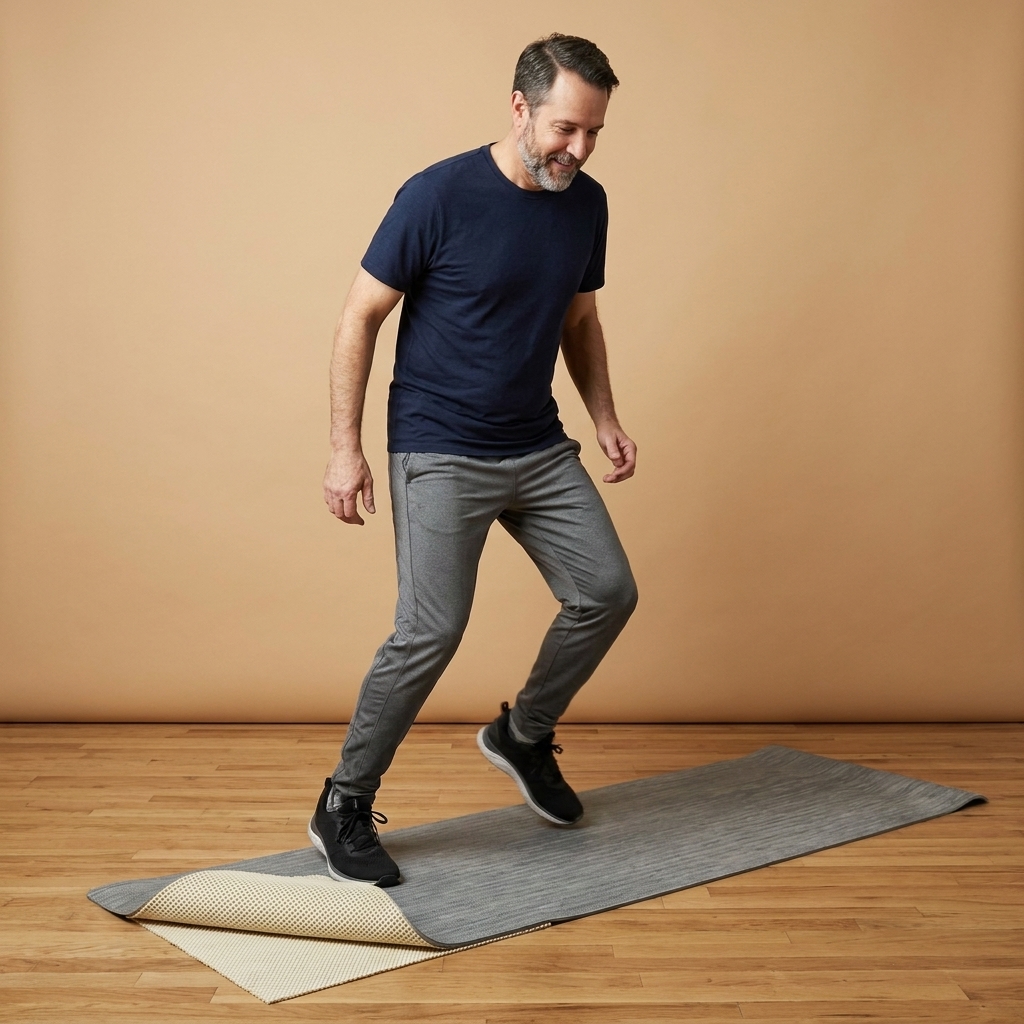
- Shoes: optional. Barefoot can feel great, but hardwood can be slippery. If you have plantar fasciitis, ankle instability, or tender feet, supportive sneakers are usually the better call.
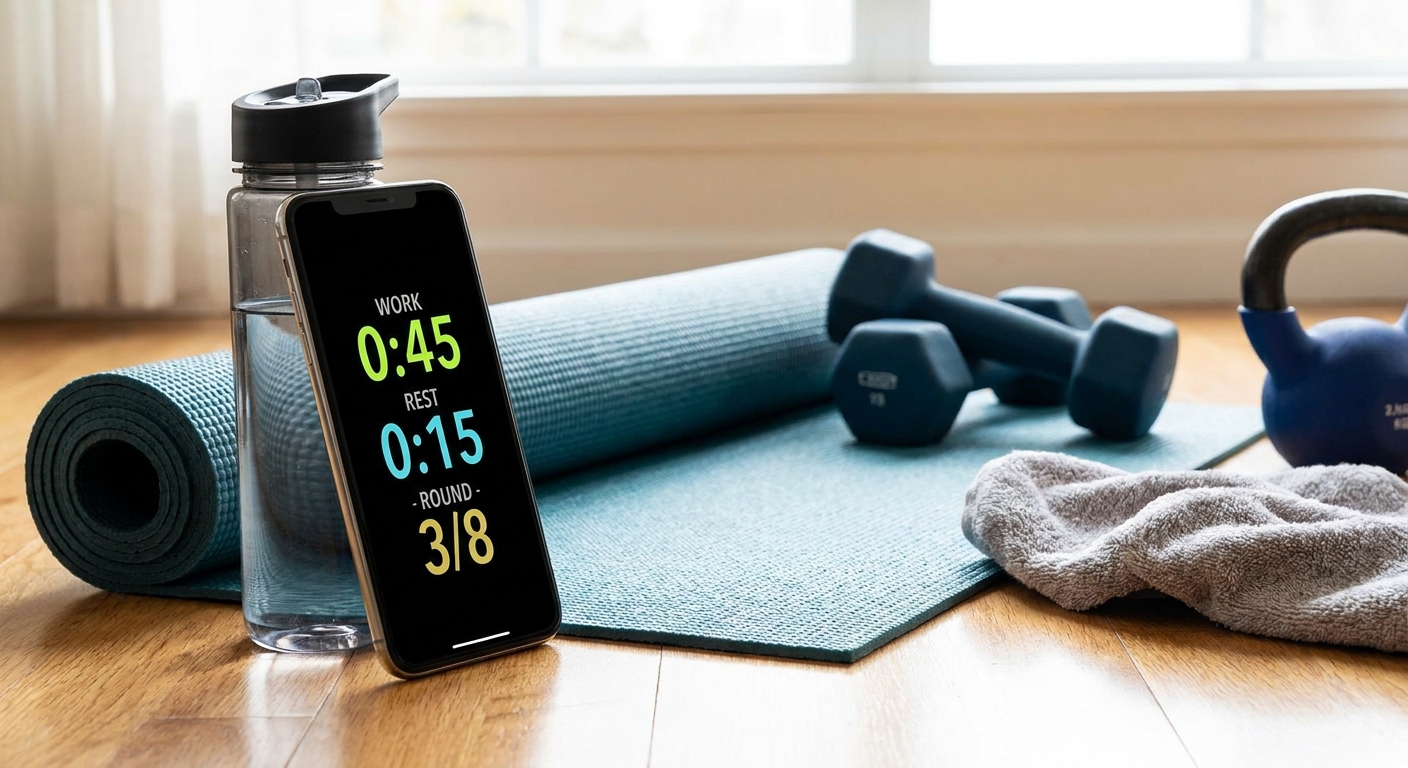
- Timer: phone timer, kitchen timer, or a watch.
- Optional: a towel and water.
Beginner goal: breathe harder, feel warm, and finish thinking, "I could do that again tomorrow." That is the sweet spot.
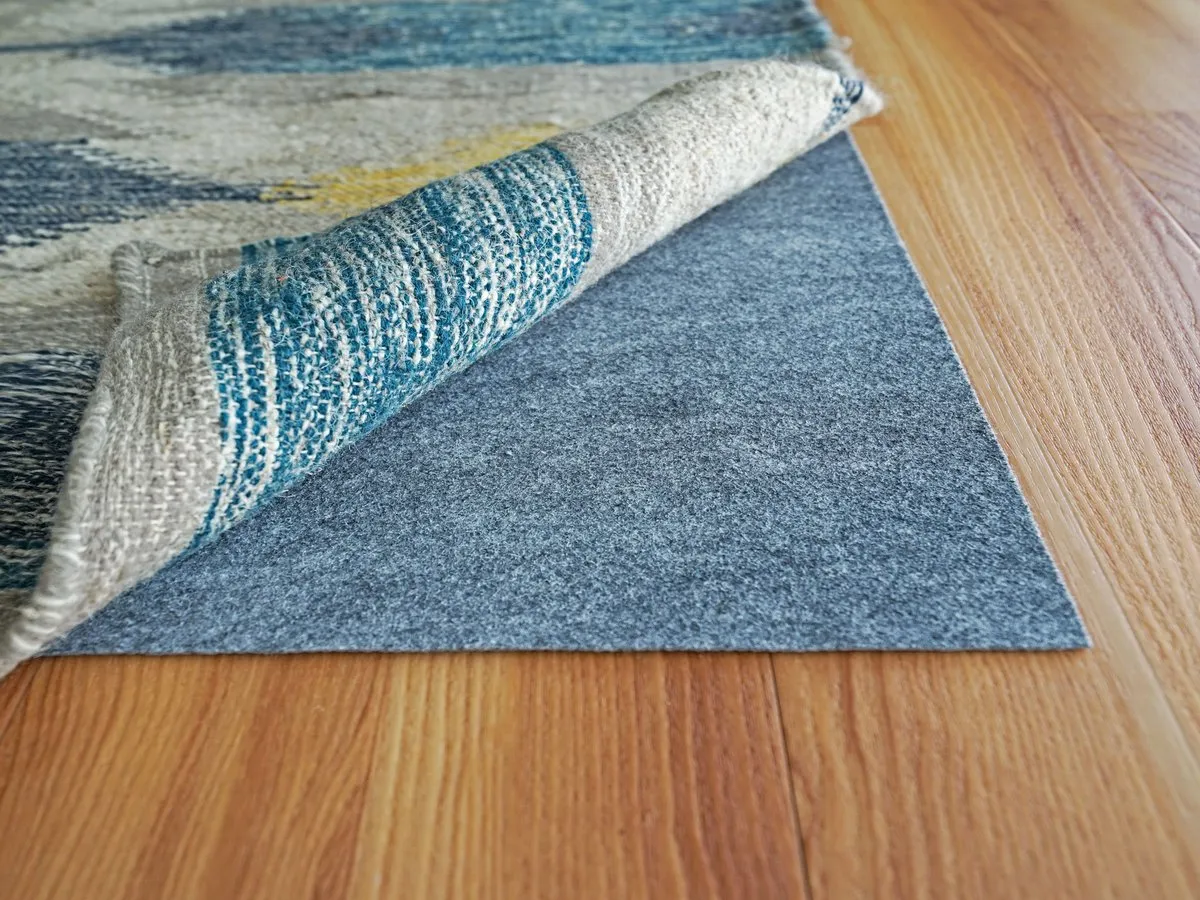
Apartment-friendly tip: Choose the low-impact options, keep your steps quiet and controlled, and consider doing this on a rug or thicker mat if you have downstairs neighbors.
Postpartum note: If you notice heaviness, leaking, pain, or doming along your midline during the workout, scale down to the lowest-impact options and consider getting individualized guidance from a pelvic floor physical therapist.
How hard should this feel?
Use this simple effort scale (no fancy jargon):
- Warm-up: 3 to 4 out of 10. You could hold a conversation.
- Work intervals: 6 to 7 out of 10. You can talk in short phrases, but you are breathing.
- Cooldown: 2 to 3 out of 10. Calm it down.
If you are brand new or returning after time off, start at a 5 to 6 out of 10. Consistency beats intensity, every time.
The 15-minute workout
Format: 2-minute warm-up + 10-minute main set + 3-minute cooldown
Main set structure: 5 moves, 40 seconds work, 20 seconds rest. Complete 2 rounds (that is 10 minutes total).
Before you start round 1: If you are on slick flooring or you live above someone, pick the low-impact options from the beginning. Quiet, controlled reps still count.
Warm-up (2 minutes)
Move continuously. Keep it easy.
- 0:00 to 0:30 March in place, swing arms
- 0:30 to 1:00 Step jacks (step out, step in, arms up and down)
- 1:00 to 1:30 Hip hinges (hands on thighs, push hips back, stand tall)
- 1:30 to 2:00 Easy high knees (low height, quick feet)
Main set (10 minutes)
Do each move for 40 seconds, then rest for 20 seconds. After the 5th move, start back at move 1 for round two.
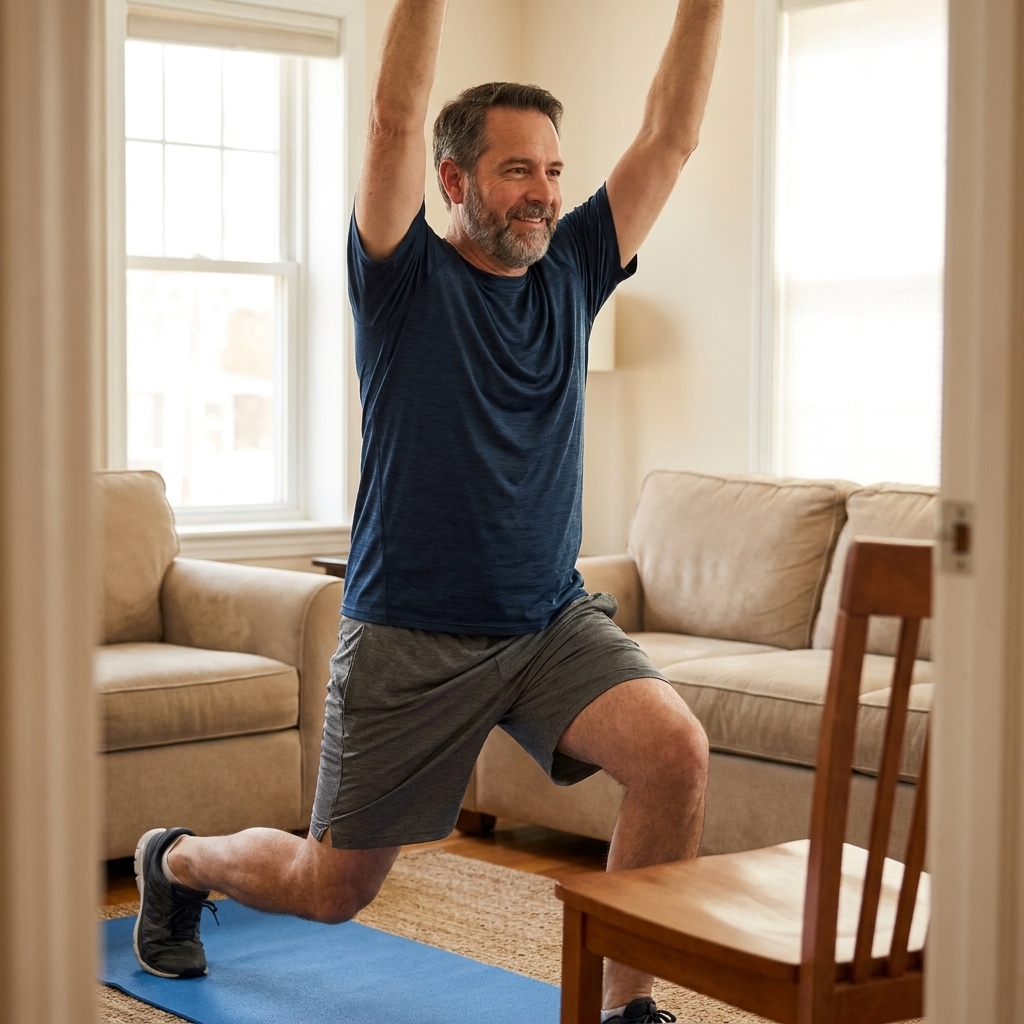
Move 1: Step-back knee drive
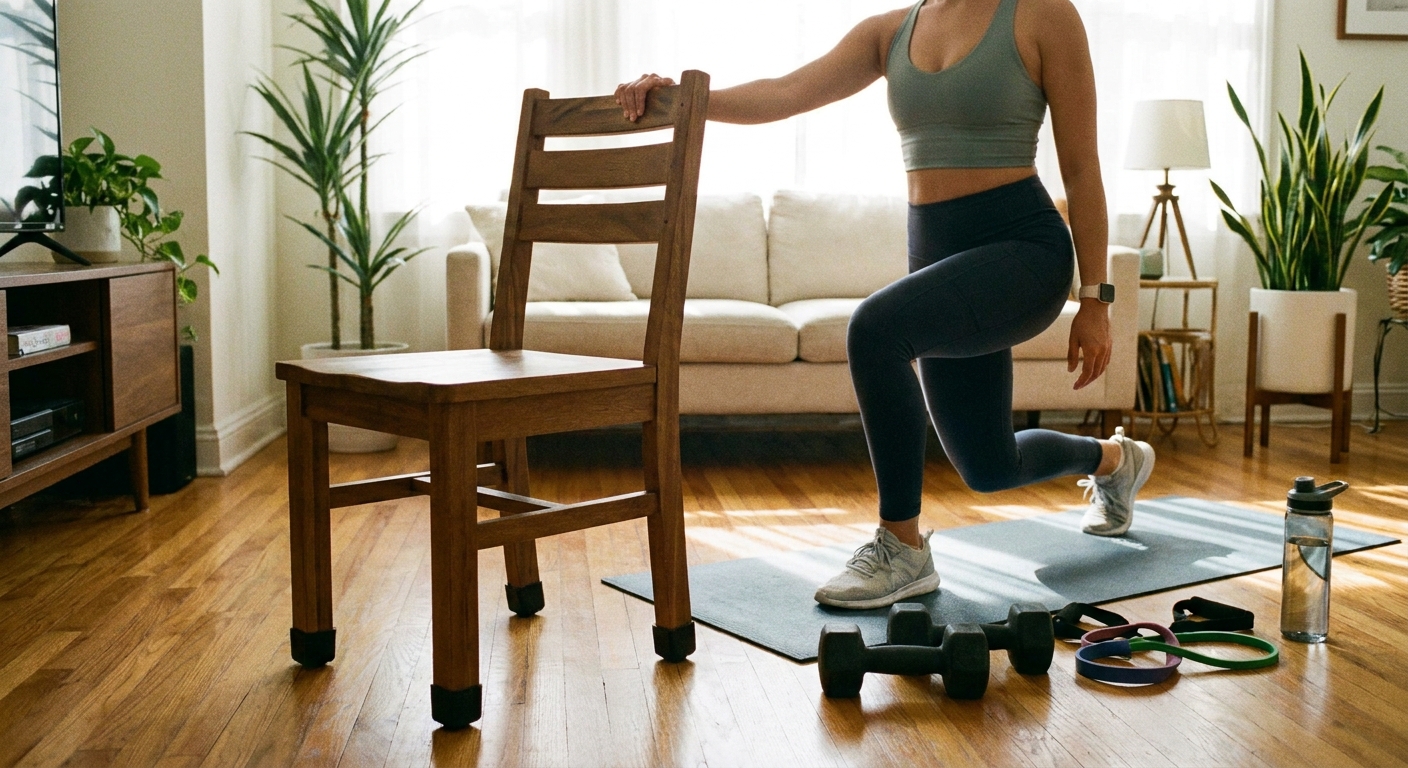
How: Step one leg back into a shallow reverse lunge, then drive that knee up toward your chest as you return to standing. Alternate sides.
Depth cue: Keep it comfortable. Your back knee does not need to touch the floor.
Form cue for happy knees: Keep your front knee tracking over your middle toes, and push through your front heel as you stand.
- Make it easier: smaller step back, slower tempo, or hold a chair lightly for balance.
- Make it harder: add a little hop as the knee drives up.
Move 2: Low-impact jumping jack
How: Step one foot out to the side while your arms sweep overhead, then step back in. Alternate sides.
- Make it easier: keep arms below shoulder height.
- Make it harder: turn it into full jumping jacks if your joints feel good.
Move 3: Fast feet with floor tap
How: Quick steps in place. Tap the floor with one hand about every 3 to 5 seconds, then switch hands next time you tap.
- Make it easier: slow the quick steps down to a brisk march and tap higher, like tapping your thigh instead of the floor.
- Make it harder: widen your stance slightly and tap lower.
Move 4: Squat to reach
How: Sit your hips back into a comfortable squat (only as low as feels good), then stand and reach both arms overhead like you are grabbing something off a high shelf.
- Make it easier: squat to a chair touch, then stand.
- Make it harder: increase speed while keeping your knees tracking over your toes.
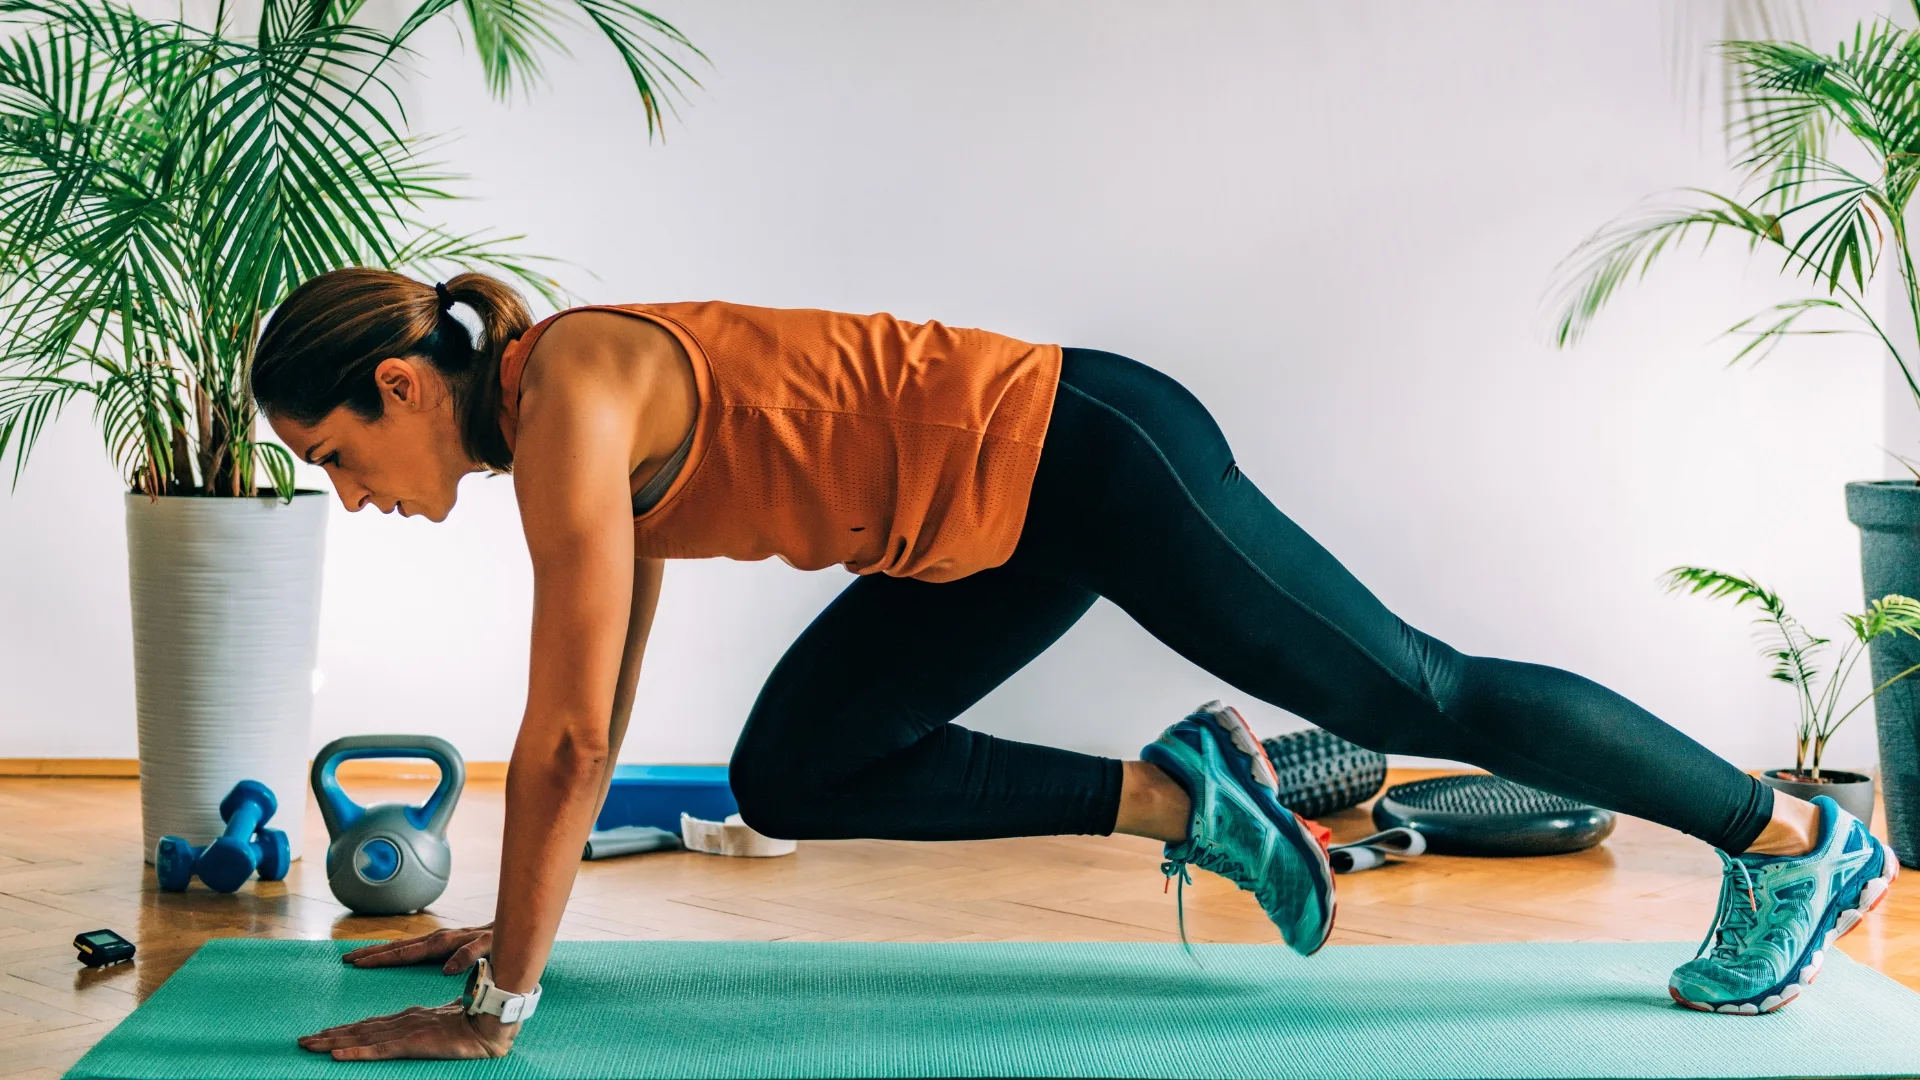
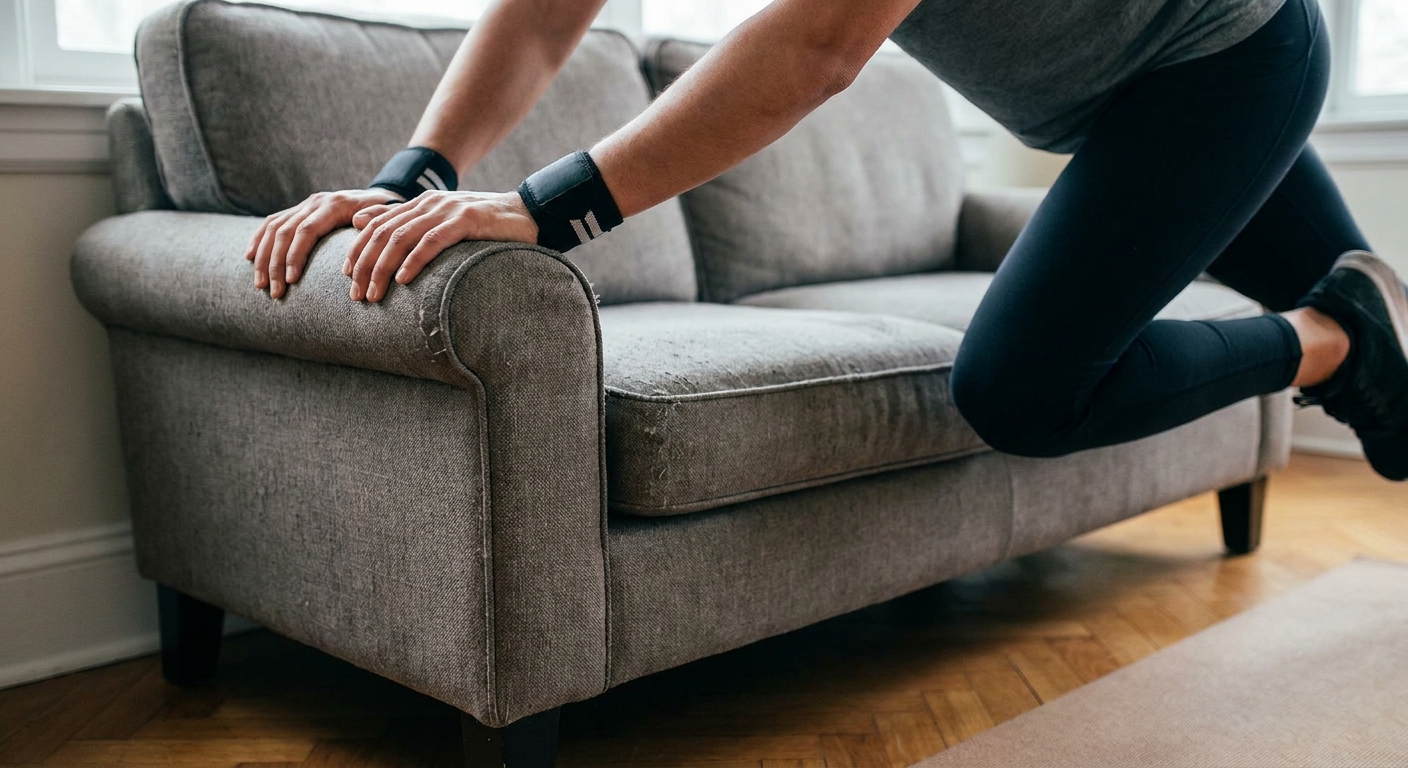
Move 5: Mountain climber (hands elevated option)
How: Hands on the floor under shoulders, bring one knee in toward chest, switch legs at a steady rhythm.
Wrist-friendly setup: Spread your fingers and press through your whole hand. If your wrists feel jammed, walk your hands an inch forward and keep your shoulders stacked and steady.
Shoulder cue: Push the floor away so your chest stays lifted. Do not sink between your shoulders.
- Make it easier: place hands on a couch or sturdy table and do elevated mountain climbers.
- Make it harder: speed up while keeping hips level.
Beginner coaching cue: During the 20-second rests, do not collapse. Stand tall, breathe steadily (nose-breathing is great if it feels comfortable, but do what you need to recover), and shake your arms and legs out.
Cooldown (3 minutes)
Bring your breathing down on purpose. This helps you recover and makes it more likely you will do the next workout.
- 0:00 to 1:00 Slow march in place, big inhales and long exhales
- 1:00 to 2:00 Standing quad stretch (30 seconds each side, hold a wall if needed)
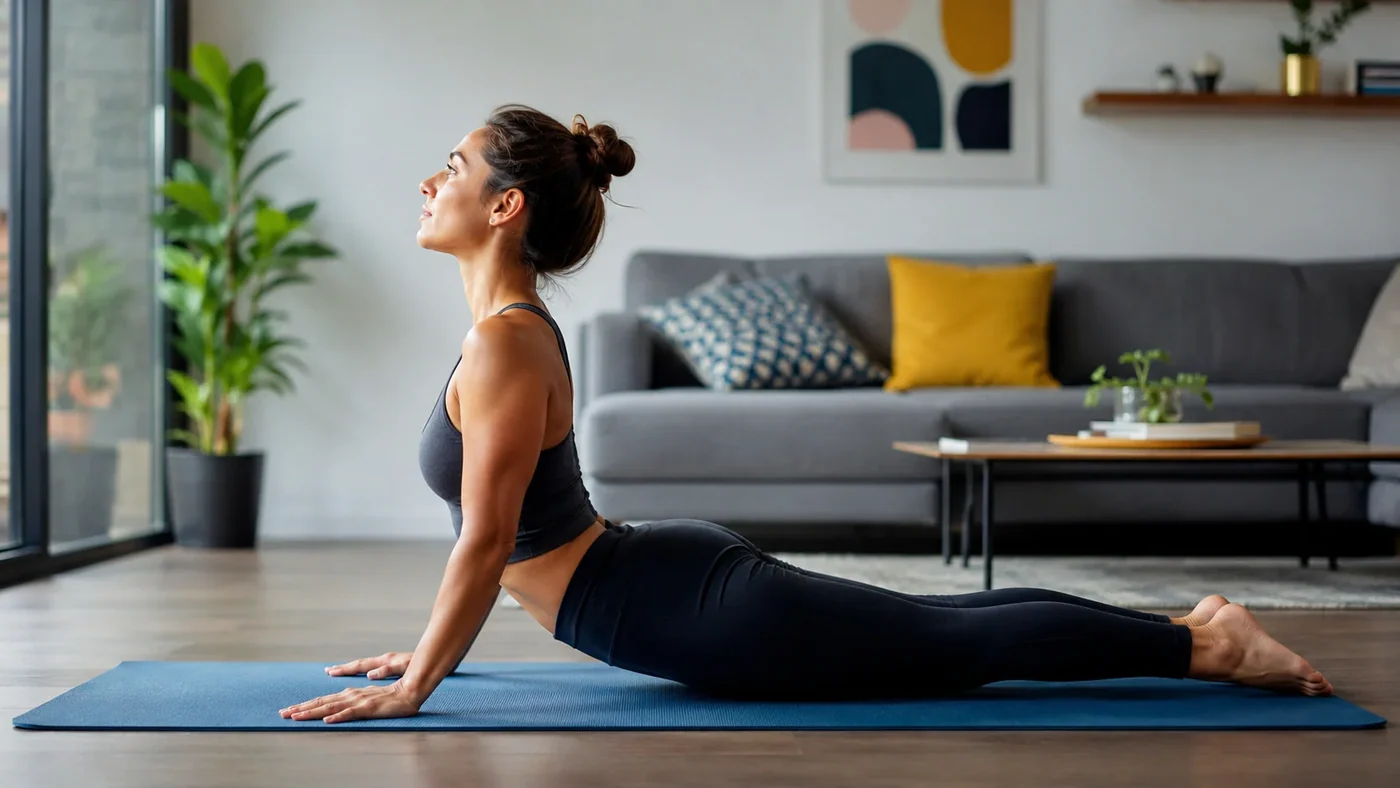
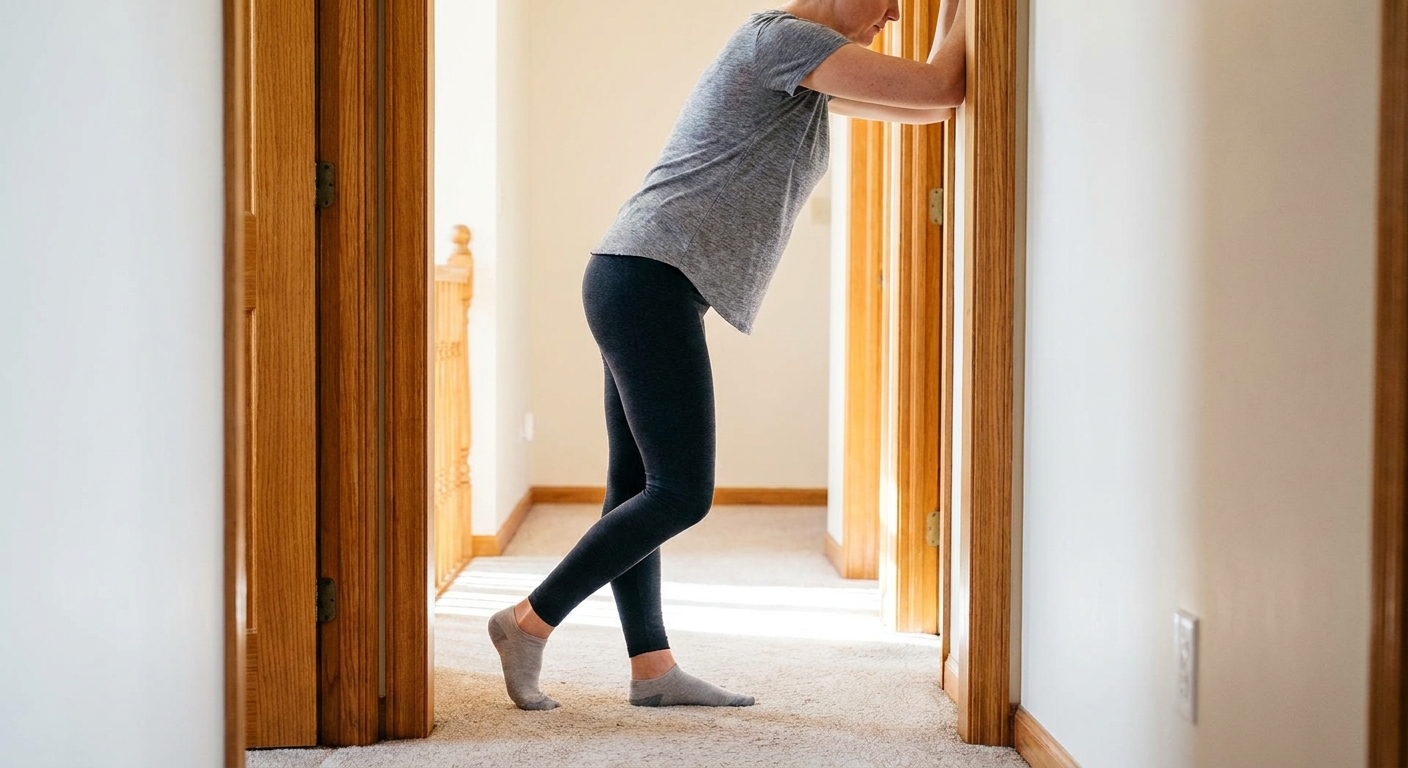
- 2:00 to 3:00 Chest opener: clasp hands behind your back and gently lift, or do a doorway stretch with forearms on the frame and a small step through
Beginner pacing plan
If 40 seconds sounds long, use this ramp-up plan:
- Week 1: 30 seconds work, 30 seconds rest, 2 rounds (still 10 minutes)
- Week 2: 35 seconds work, 25 seconds rest, 2 rounds
- Week 3: 40 seconds work, 20 seconds rest, 2 rounds
Want to progress after that? Pick one option and ride it for 2 to 3 weeks:
- Add a third round (15-minute workout becomes 20 minutes).
- Keep 2 rounds, but make it 45 seconds work, 15 seconds rest.
- Keep the timing the same and simply move a little snappier with clean form.
This is how you build cardio without feeling like you are failing. You are training your consistency muscle first.
Common fixes
- Knees cranky? Keep moves low impact, shorten your range of motion, and prioritize step jacks over jumping. If pain is sharp or gets worse as you warm up, stop and swap the move.
- Lower back tight? In squats, think "hips back" first. In mountain climbers, tighten your belly like you are bracing for a gentle poke.
- Wrists uncomfortable? Do elevated mountain climbers on a couch, or swap move 5 for marching high knees.
- Out of breath too fast? Slow down. The workout still counts even at a calmer pace.
How often to do it
For most busy beginners, this schedule works well:
- 2 to 3 days per week to start
- On the other days, do 10 to 20 minutes of walking or an easy mobility session
If you want a simple rule: consider an easy day between sessions at first, especially if you get sore. As you adapt, you can do low-impact versions on back-to-back days when the effort stays truly moderate.
Quick FAQ
Is 15 minutes actually enough?
Yes, if you move with purpose. A focused 15 minutes done consistently beats a perfect 60-minute plan you never have time for.
Can I do this in an apartment?
Absolutely. This routine is designed to be low-impact friendly. Use step jacks instead of jumping, keep your steps light and controlled, and exercise on a rug or mat if you can.
What if I cannot do mountain climbers?
Do them elevated with hands on a couch or sturdy table. If that still bothers your wrists or shoulders, swap in marching high knees or a brisk in-place march.
Should I stretch before or after?
Warm up before (dynamic movement) and do gentle stretching after. Save deeper stretching for the cooldown when you are warm.
Your next step
Set a timer for 15 minutes and do this once this week, even if you go easy mode the whole time. When you finish, jot down one note: what felt good and what felt challenging. That is how we keep it sustainable and actually build momentum.
If you want the simplest win possible, schedule your next session right now for the same time tomorrow or two days from now. Future you will be grateful.