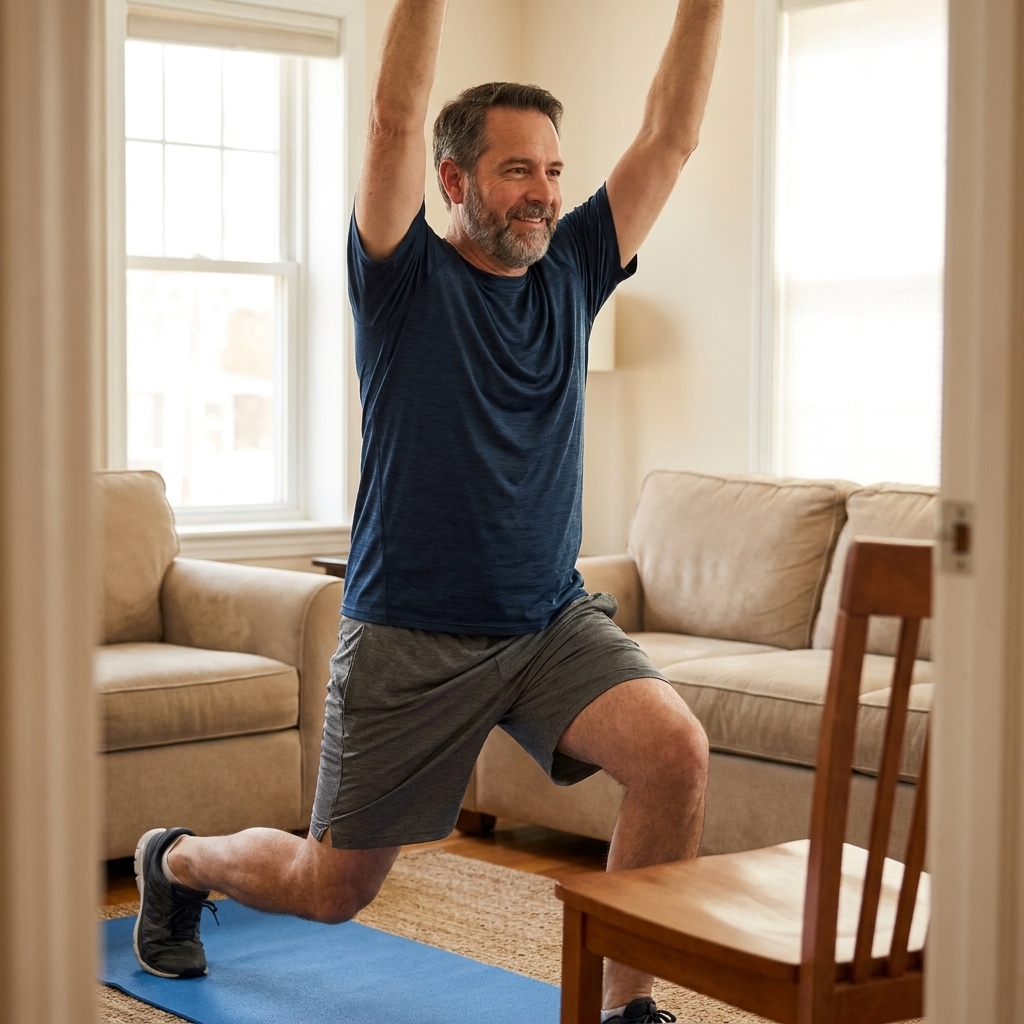
A simple, practical way to create HIIT circuits at home with limited room. Pick smart moves, choose repeatable intervals, and progress without burning out.
Home Pulse Fit
•
home workouts and fitness
Troubleshooting Your Home HIIT Routine: 5 Common Mistakes to Avoid
Feel like your living room HIIT isn’t working? Fix 5 common beginner mistakes: form, pacing, rest, exercise choices, and no progression, plus warm-up and safety tips.

Marcus Thorne
Marcus Thorne is an NASM-certified personal trainer and the creator behind Home Pulse Fit. After successfully transforming his own health using only bodyweight routines in his small apartment, he left his demanding corporate career to help others do the same. Today, he is dedicated to making fitness accessible, sustainable, and entirely gym-free for busy beginners.
Published
October 18, 2026
Updated
October 18, 2026
HIIT at home is supposed to feel simple: set a timer, do a few moves, get sweaty, feel accomplished. But if your workouts leave you wiped for the rest of the day, your knees cranky, or your progress totally stalled, it’s usually not because you “lack willpower.” It’s almost always one of a few fixable setup issues.
I learned this the hard way in a tiny apartment, trying to outwork my stress with faster and faster burpees. Once I cleaned up the basics, my 20-minute sessions started feeling challenging in a good way, and my results finally matched my effort.
Below are 5 common home HIIT mistakes I see with beginners, plus quick fixes you can use today.
Before you troubleshoot: what HIIT should feel like
A solid beginner HIIT session is hard during the work intervals, but you should still feel in control of your body. Your breathing is heavy, your heart rate is up, and you can’t comfortably chat, but your reps should not look like a disaster by round two.
- During work: about 6 to 8 out of 10 effort for most beginners (higher only if the move is low impact and your form stays clean).
- During rest: your breathing starts to settle and you can speak a full sentence again (nasal breathing can be a nice goal, not a requirement).
- Afterward: you feel energized or pleasantly tired, not wrecked.
If that’s not matching your experience, the list below will pinpoint why.
Quick warm-up and cool-down
Before you go hard in a small space, give your joints and breathing a head start. This takes 5 minutes, tops.
Warm-up (3 to 5 minutes)
- March in place (30 to 45 seconds)
- Arm circles and shoulder rolls (30 seconds)
- Hip hinges (8 to 10 reps)
- Bodyweight squats (8 to 10 reps)
- Easy incline pushups on a couch or chair (5 to 8 reps)
Cool-down (1 to 2 minutes)
- Slow walk around the room (30 to 60 seconds)
- Long exhales, shoulders relaxed (4 to 6 breaths)
Mistake 1: Letting form collapse to keep up
The biggest trap with HIIT is thinking the timer is the boss. In reality, good reps beat more reps, especially in a small space where floors are slippery and furniture is nearby.
What it looks like
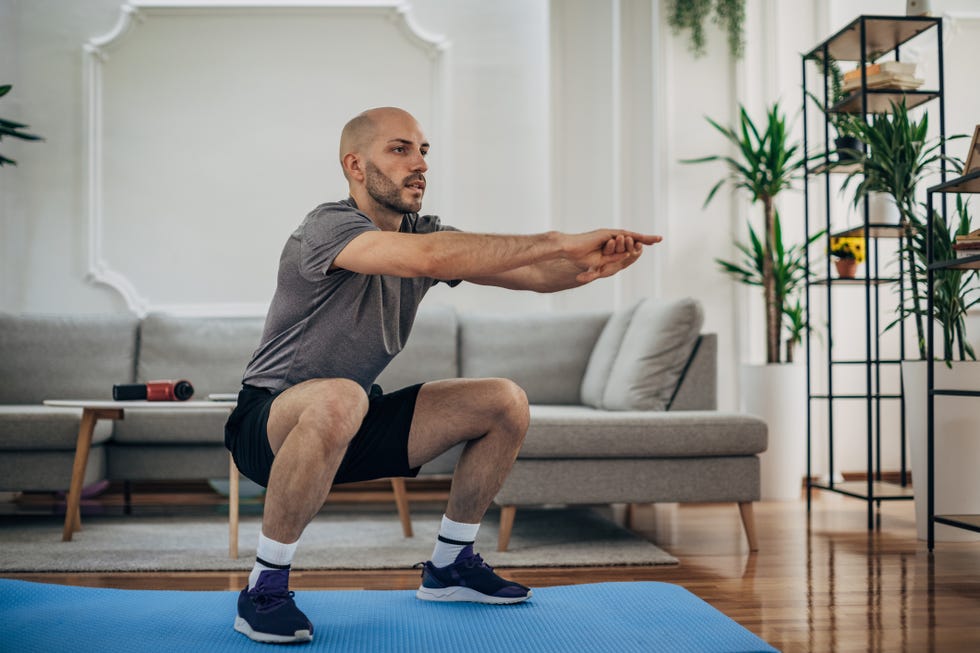
- Squats turn into a fast knee bend with heels lifting.
- Pushups become a neck-forward “worm.”
- Mountain climbers turn into hip-bouncing chaos.
- Jumping moves land loud and heavy.
Quick fixes
- Use the “clean rep rule”: when you can’t do another rep with good form, stop the reps. Use the rest of that interval as active recovery (stand tall, breathe, march in place), then start fresh next interval.
- Swap in a lower-impact version mid-interval: drop from jumping jacks to step jacks, from jump squats to fast bodyweight squats, from burpees to a walk-out plank.
- Slow down the lowering phase: take 2 seconds on the way down in a squat or pushup. You’ll stay controlled and still work hard.
Home form checks (10 seconds)
- Feet: whole foot stays planted (big toe, little toe, heel).
- Knees: track in the same direction as toes.
- Ribs: not flaring up. Stay stacked over your hips.
- Neck: long and neutral, not craning forward.
Mistake 2: Pacing too hard too soon
If you come out at 100 percent right away, your heart rate spikes, your form breaks, and the rest of the workout becomes survival. HIIT is not “go as hard as humanly possible.” It’s repeatable intensity.
What it looks like
- You crush the first interval, then spend the next three barely moving.
- You feel dizzy or nauseous halfway through.
- You have to take extra breaks you didn’t plan for.
Quick fixes
- Start at 70 to 80 percent for the first interval: your goal is to make interval 6 look similar to interval 1.
- Pick a repeatable rep target: for example, “8 quality squat thrusts,” then march in place for the remainder of the interval.
- Use talk tests: during work you can say 2 to 3 words, during rest you can speak a full sentence again.
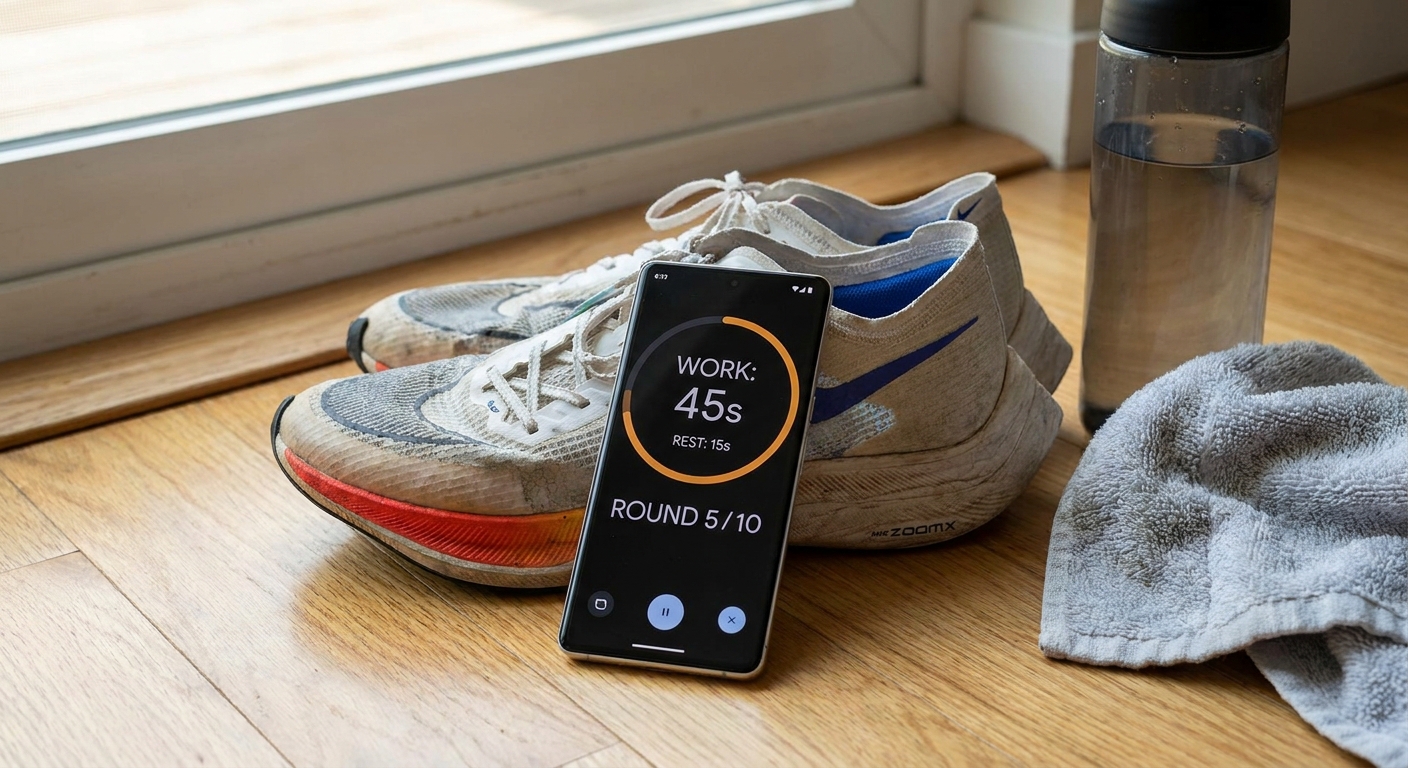
A beginner pacing setup (try this)
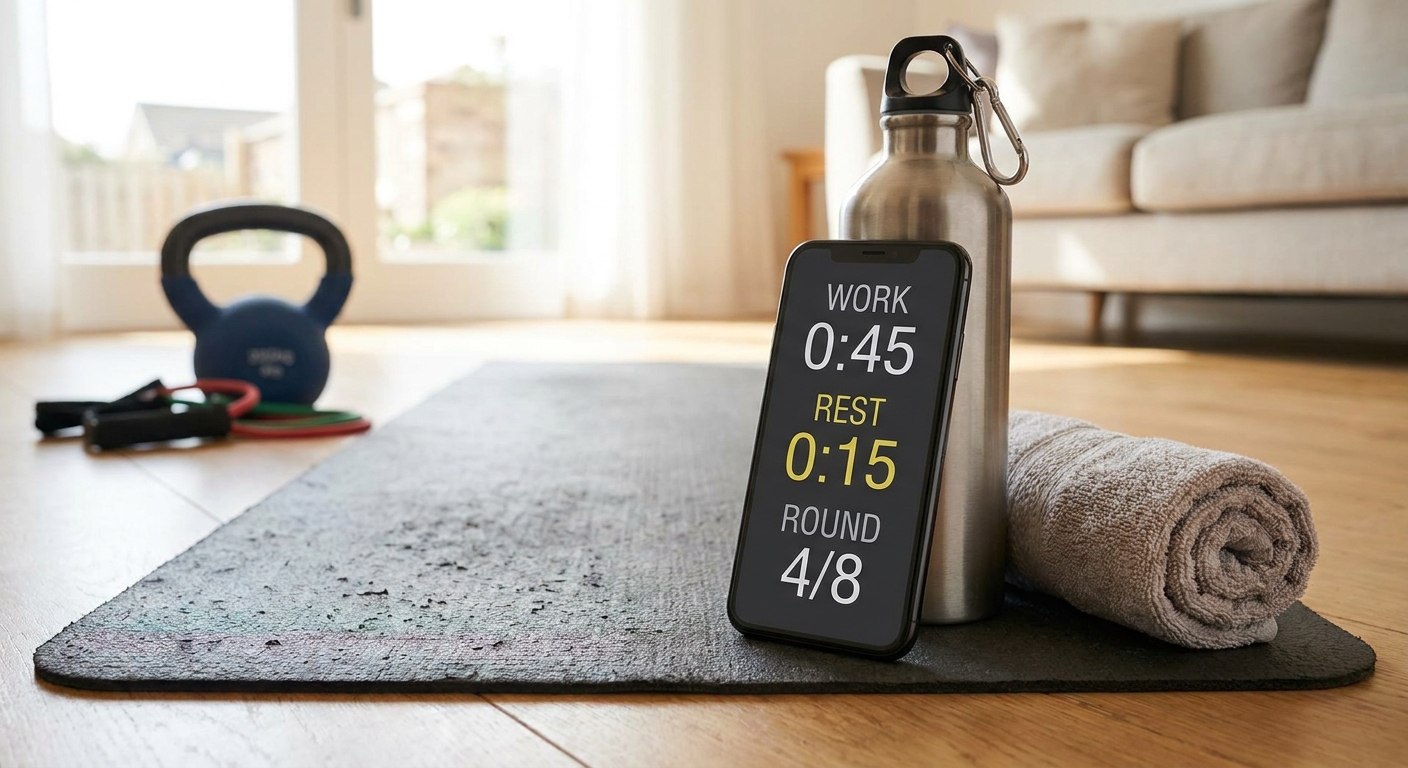
If you’ve been doing 40 seconds on, 20 seconds off and it’s a mess, flip it.
- Work: 20 seconds
- Rest: 40 seconds
- Rounds: 8 to 12 total
You’ll usually move with more quality, recover better, and build conditioning more sustainably.
Mistake 3: Treating rest like wasted time
Rest is not the enemy. In HIIT, rest is part of the training. Without enough recovery, you are not doing intervals anymore. You are just doing sloppy, high-stress cardio.
What it looks like
- You shorten breaks because you feel guilty.
- Your heart rate never comes down between intervals.
- Every move feels equally awful, even “easy” ones.
Quick fixes
- Earn the next hard interval with your breathing: during rest, focus on slower inhales and longer exhales. You should feel your shoulders drop and your jaw unclench.
- Stay moving, but keep it easy: walk around the room, gentle step-taps, or shake out your arms. The goal is recovery, not more work.
- Use longer rest for harder moves: jumps, burpees, and squat thrusts often need a 1:2 (or even 1:3) work-to-rest ratio for many beginners.
A simple rest guide
- Low impact (marching, step jacks): 1:1 is often fine.
- Moderate (fast squats, pushups, mountain climbers): 1:1 or 1:2.
- High impact (burpees, jump squats): 1:2 to 1:3.
Mistake 4: Picking moves that don’t fit
Most living rooms are not built for max-effort jumping. Low ceilings, hard floors, and limited room to land all change what “good HIIT” looks like at home.
What it looks like
- Calf, shin, or knee pain after jump-heavy sessions.
- Wrist pain from too many planks and burpees.
- You keep kicking the coffee table or sliding on the floor.
Quick fixes
- Go low impact with a faster tempo: you can get a strong cardio effect without leaving the floor. Think step jacks, skaters without the jump, squat to knee drive, high-knee marches, shadow boxing.
- Alternate movement patterns: avoid stacking all plank-based moves together (mountain climbers, plank jacks, burpees). Mix in standing cardio to give wrists and shoulders a break.
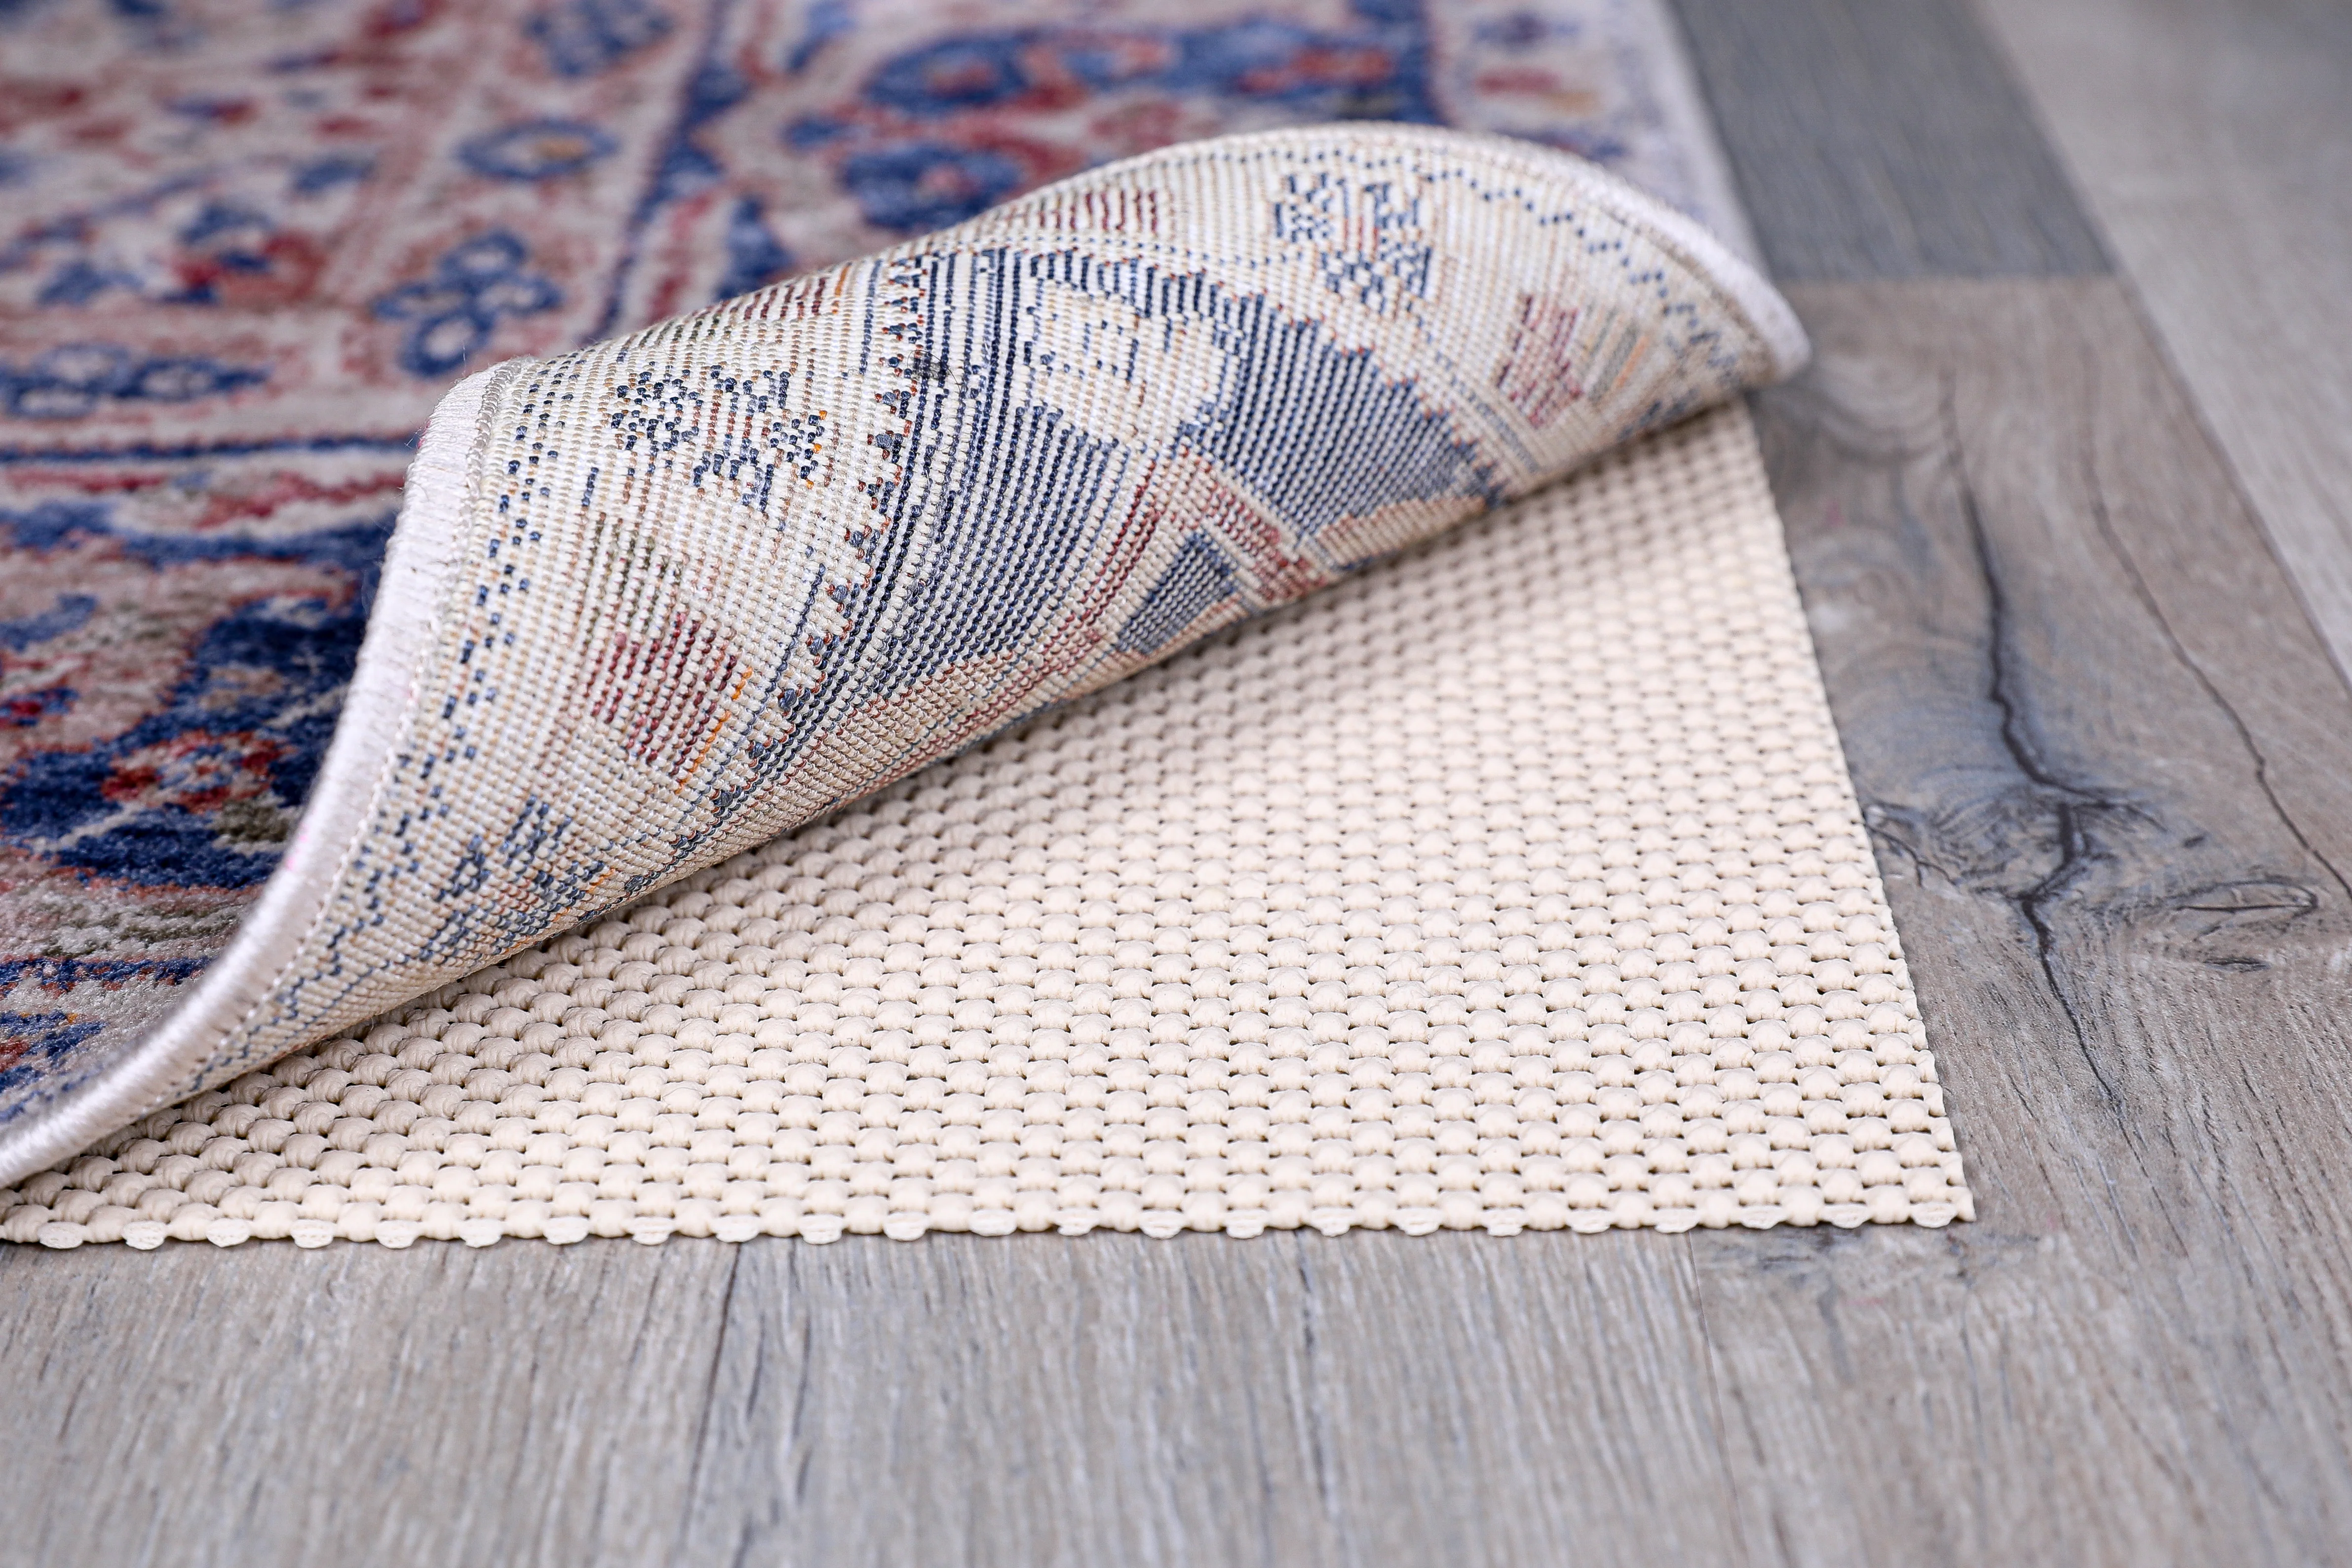
- Make your surface safer: wear grippy trainers on slick floors, or use a yoga mat for floor moves. If the mat slides, anchor it with a non-slip rug pad.
Common modifications
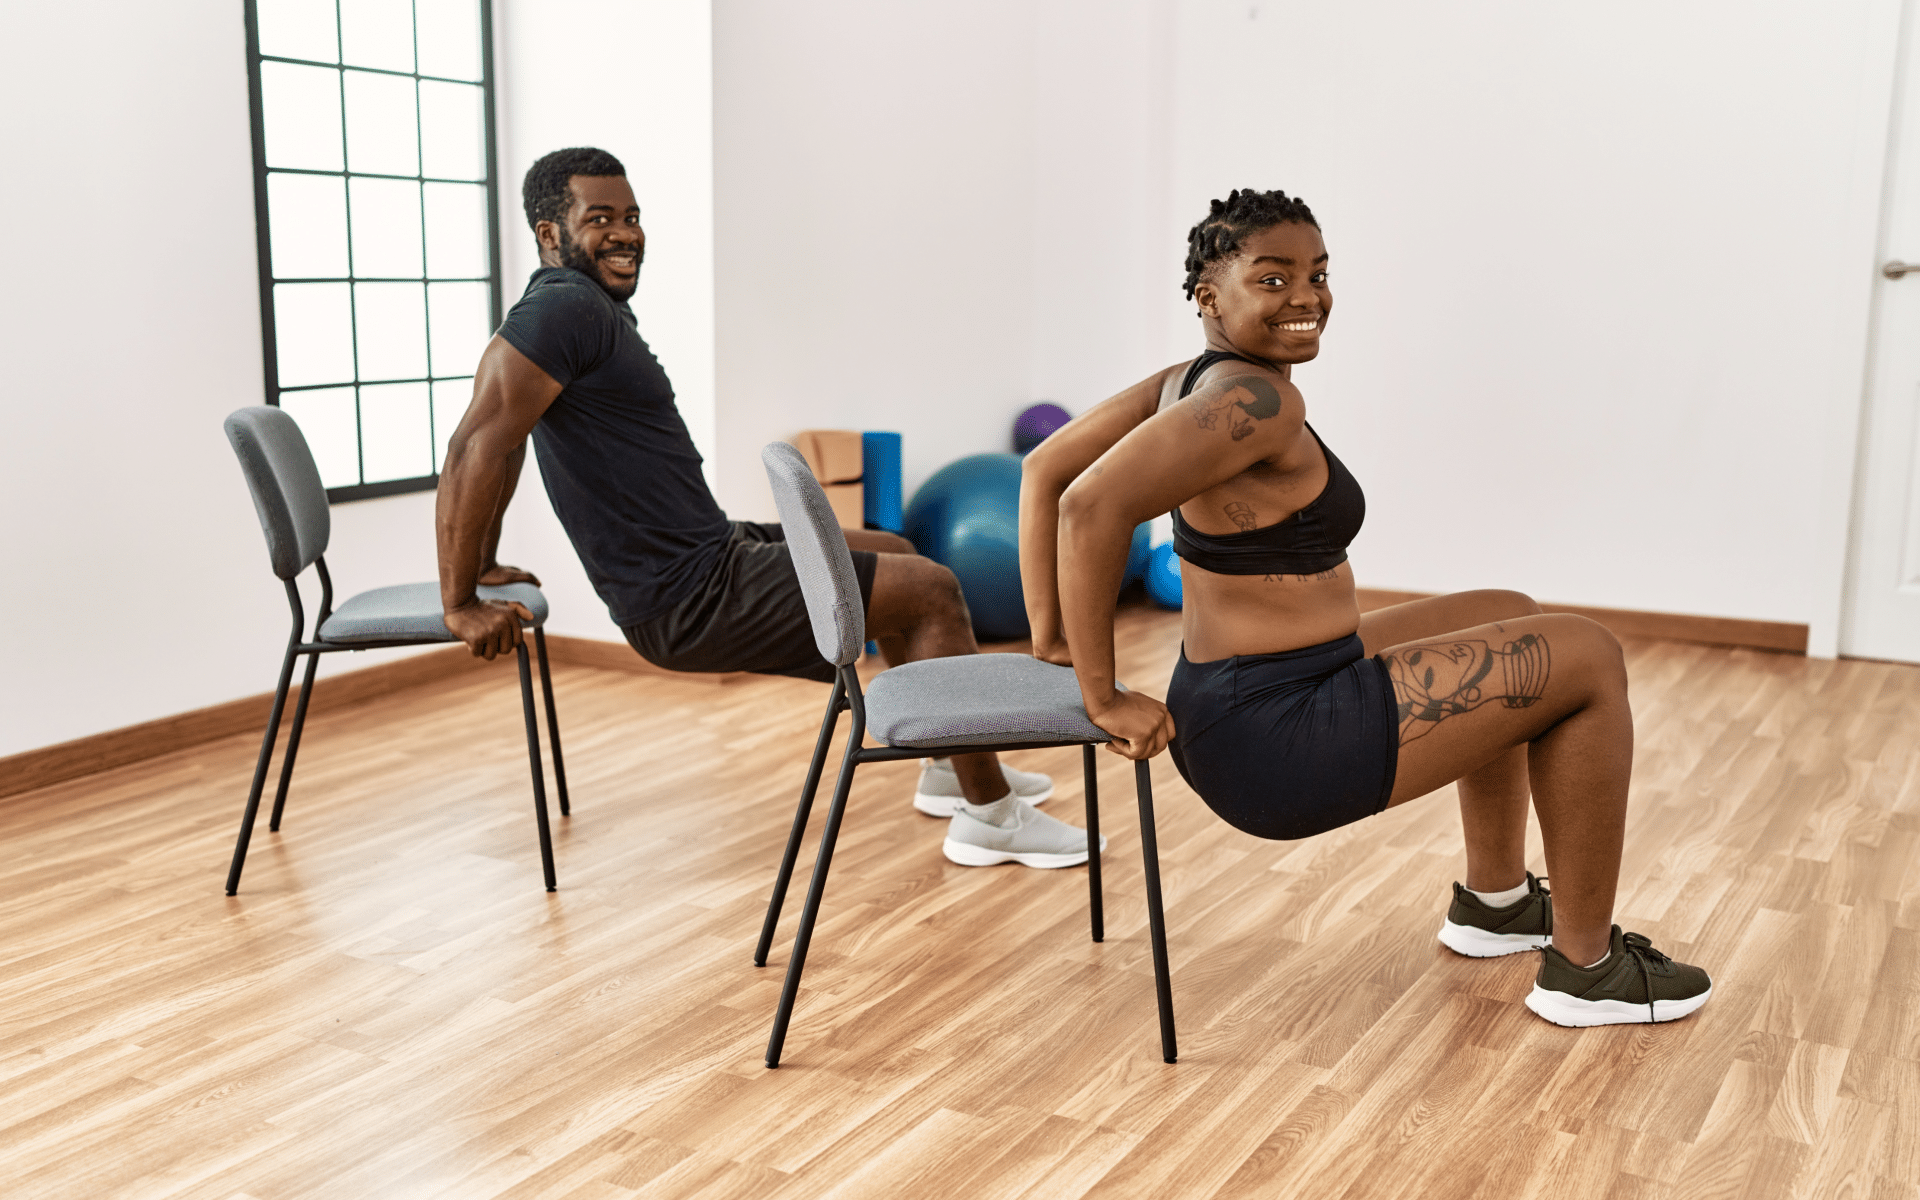
- If wrists get cranky: do incline versions (hands on a couch), use dumbbells as handles, make fists on the floor, or swap to forearm planks.
- If knees get cranky: reduce jumping and deep knee-bend volume. Add more hip hinge patterns (good mornings, hip hinges, glute bridges) and keep squats pain-free in range.
- If impact is the issue: choose “quiet feet” cardio (marches, step jacks, low skaters, shadow boxing) and drive intensity with speed and arm action.
Beginner swap list (joint-friendly)
- Burpees → squat thrusts (no jump), or incline walk-outs with hands on a couch
- Jumping jacks → step jacks
- Jump squats → fast squats, or 10-second squat pulses
- Mountain climbers → standing knee drives, or slow climbers with hands elevated
Quick definitions: a squat thrust is like the middle of a burpee (hands down, step or jump to plank, step or jump back to squat), with no pushup and no jump. A walk-out is standing to hands on the floor, walking the hands out to a plank, then walking back in. The incline version simply puts your hands on a couch or chair.
If a move creates sharp pain (not normal effort burn), stop and swap it. HIIT is flexible. Your joints are not.
Mistake 5: Doing random HIIT
This one is sneaky. If every workout is a new mix of 12 moves, different timers, and a new challenge, it’s hard to improve because your body never gets to practice anything long enough to adapt.
What it looks like
- You feel sore often but don’t feel fitter.
- Your numbers do not improve (reps, rounds, recovery).
- You bounce between “all out” days and skipped days.
Quick fixes
- Repeat the same workout for 2 to 4 weeks: master it, then progress it.
- Track one simple metric: reps completed with good form, or how quickly your breathing recovers in rest.
- Progress one lever at a time: add 1 round, add 5 seconds of work, reduce rest by 5 seconds, or choose a slightly harder variation. Not all at once.
A simple progression plan
Pick 4 moves, set a timer, and keep it consistent:
- Week 1: 20 seconds work, 40 seconds rest, 8 rounds
- Week 2: 25 seconds work, 35 seconds rest, 8 rounds
- Week 3: 30 seconds work, 30 seconds rest, 8 rounds
- Week 4: 30 seconds work, 30 seconds rest, 10 rounds
That is real progress, and it’s beginner-friendly.
My fix-it HIIT circuit
If your current routine feels messy, use this as a reset. You need a clear patch of floor about the size of a yoga mat.
The circuit
- 1) Step jacks
- 2) Squat to knee drive
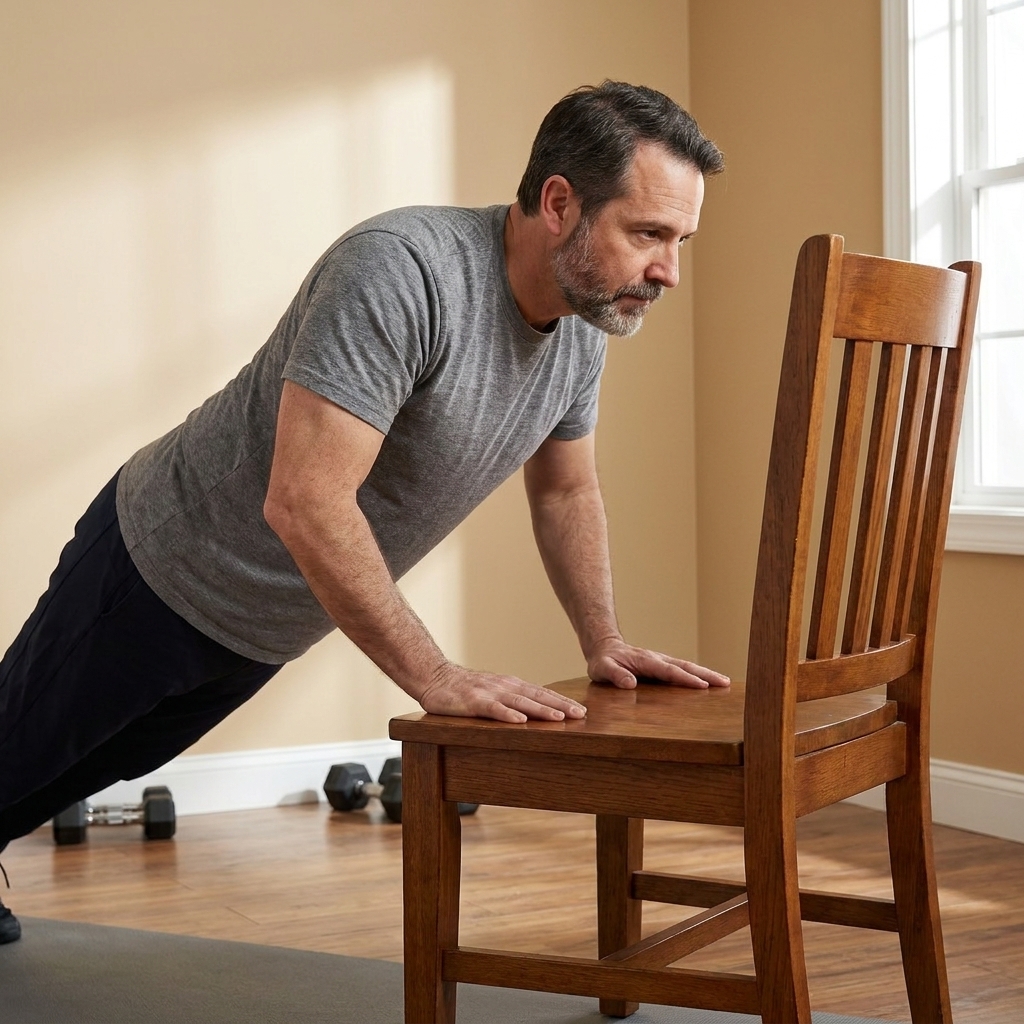
- 3) Incline pushups (hands on couch or sturdy chair)
- 4) Shadow boxing (light feet, quick hands)
Timer
- Work: 30 seconds
- Rest: 30 to 45 seconds
- Rounds: 8 total (2 rounds of each move)
Coaching cues
- Step jacks: stay tall, soft knees, quiet feet.
- Squat to knee drive: sit back, stand strong, drive knee up without leaning back.
- Incline pushups: body moves as one line, elbows about 30 to 45 degrees from your ribs.
- Shadow boxing: hands return to guard, exhale on punches.
Safety stop signs
HIIT should feel challenging, not scary. Stop the workout and reassess if you notice any of these:
- Sharp or escalating joint pain
- Dizziness that does not improve with rest
- Chest pain, chest tightness, or fainting
- Unusual shortness of breath that feels out of proportion
If you are pregnant or postpartum, have cardiovascular risk factors, or have significant joint issues, it’s worth getting medical clearance or individualized guidance before pushing intensity.
FAQ
How many days a week should a beginner do HIIT at home?
For most beginners, 2 to 3 days per week is the sweet spot. On other days, do walking, easy cycling, mobility, or a simple strength-focused bodyweight session. More HIIT is not always better, especially if sleep and stress are already a challenge.
How long should my home HIIT workout be?
Most people do great with 12 to 20 minutes of intervals, plus a short warm-up and cool-down. If you can only handle 8 minutes with great form and repeatable effort, that counts.
Why do I feel wiped out after HIIT?
Common causes are going too hard too soon, not resting enough, choosing too many jump-heavy moves, and doing HIIT too frequently. Fix the work-to-rest ratio first, then adjust exercise selection.
Do I need a warm-up for HIIT in my living room?
Yes. Even 3 to 5 minutes helps your joints and breathing catch up. March in place, do arm circles, hip hinges, bodyweight squats, and a few easy incline pushups.
Bottom line
If your home HIIT routine isn’t working, you do not need a new personality or a tougher mindset. You need cleaner reps, smarter pacing, real rest, better exercise choices for your space, and a simple progression plan.
Pick one mistake from this list to fix this week. Just one. Consistency beats intensity, every time.