A practical, beginner-friendly breakdown of squats vs. lunges, including form cues, warm-up tips, common mistakes, knee-friendly tweaks, and simple home prog...
Home Pulse Fit
•
home workouts and fitness
Reverse Lunge
Learn reverse lunge form step by step, why many people find it more comfortable on knees than forward lunges, and how to progress with beginner-friendly and advanced variations at home.

Marcus Thorne
Marcus Thorne is an NASM-certified personal trainer and the creator behind Home Pulse Fit. After successfully transforming his own health using only bodyweight routines in his small apartment, he left his demanding corporate career to help others do the same. Today, he is dedicated to making fitness accessible, sustainable, and entirely gym-free for busy beginners.
Published
October 18, 2026
Updated
October 18, 2026
If you want a lower-body move that builds strong legs and glutes without feeling like your knees are taking the hit, the reverse lunge is my go-to. It is the lunge I started with in my apartment because it is easy to control, easy to scale, and it teaches great single-leg mechanics that carry over to everyday life.
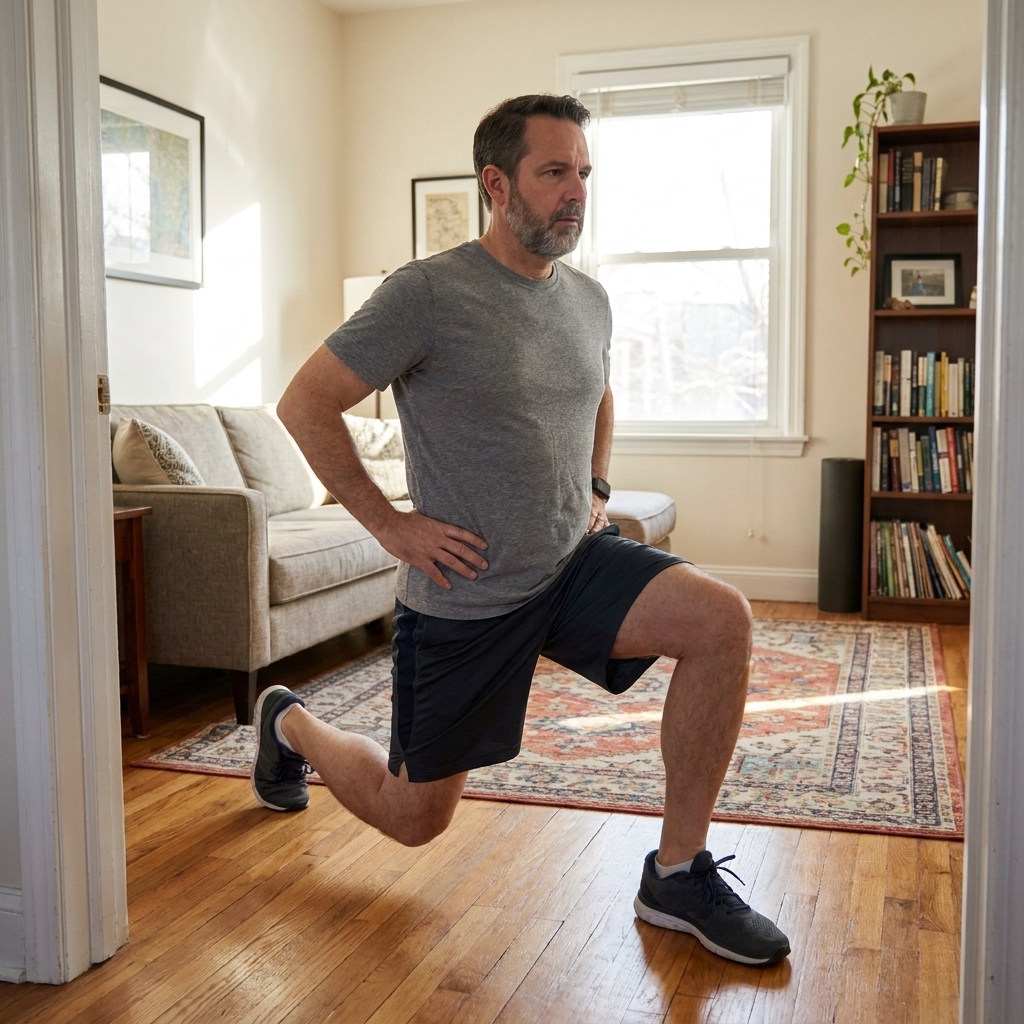
In this guide, I will walk you through what makes reverse lunges different, how to nail your form, why many people report they feel more knee-friendly than forward lunges, and how to progress them when bodyweight starts feeling easy.
Why knees often feel better
First, a quick reality check: no exercise is automatically “safe” for every body. Knee comfort depends on your mobility, strength, previous injuries, and how you load the movement. That said, many beginners (and plenty of experienced lifters) report reverse lunges feel more comfortable than forward lunges for a few practical reasons.
- Less forward momentum to manage. In a forward lunge, you step out and your body weight moves forward fast. If your foot lands a little off, your knee can feel it. In a reverse lunge, your front foot stays planted, which makes the whole rep feel more controlled.
- Easier to keep the shin more vertical. A more vertical front shin can reduce how much your knee travels forward, which some people find friendlier on cranky knees. The tradeoff is that it can shift more demand to the hips, which is usually fine (and often a good thing) as long as you stay stable.
- Often a smoother load on the front leg. Because you step back, you often “sit” into the hip a bit more. Depending on stride length and torso angle, that can spread work into glutes and hamstrings instead of letting the knee dominate.
Important nuance: letting the knee travel forward is not inherently bad. Knees are meant to bend and move. The goal is controlled motion, good alignment, and a pain-free range of motion for you.
Muscles worked
Reverse lunges are a true lower-body builder with a nice bonus of core stability.
- Glutes: especially the glute max for standing back up, plus glute med for keeping your hips level.
- Quads: your front thigh helps control the descent and drives you up.
- Hamstrings: assist with hip control and balance.
- Calves and ankles: stabilize the planted foot.
- Core: keeps your torso stacked and steady, especially when you add tempo or load.
That stability piece is huge for home workouts: one move trains strength, balance, and coordination in a small space.
Reverse lunge form
Use this as your simple “coach in your corner” checklist. Start slow, even if you can do a bunch of reps. Control is the whole point.
1) Set your stance
- Stand tall with feet hip-width apart.
- Brace your midsection like you are about to cough.
- Keep your chest up and shoulders relaxed.
- Arms: hands on hips, arms at your sides, or hands together at your chest all work. Pick the one that helps you feel stable. If you are holding weight, keep it close to your body.
2) Step back like you are on train tracks
Take a comfortable step straight back with one leg, not directly behind your front foot like a tightrope. Think “two parallel rails” so you have side-to-side stability.
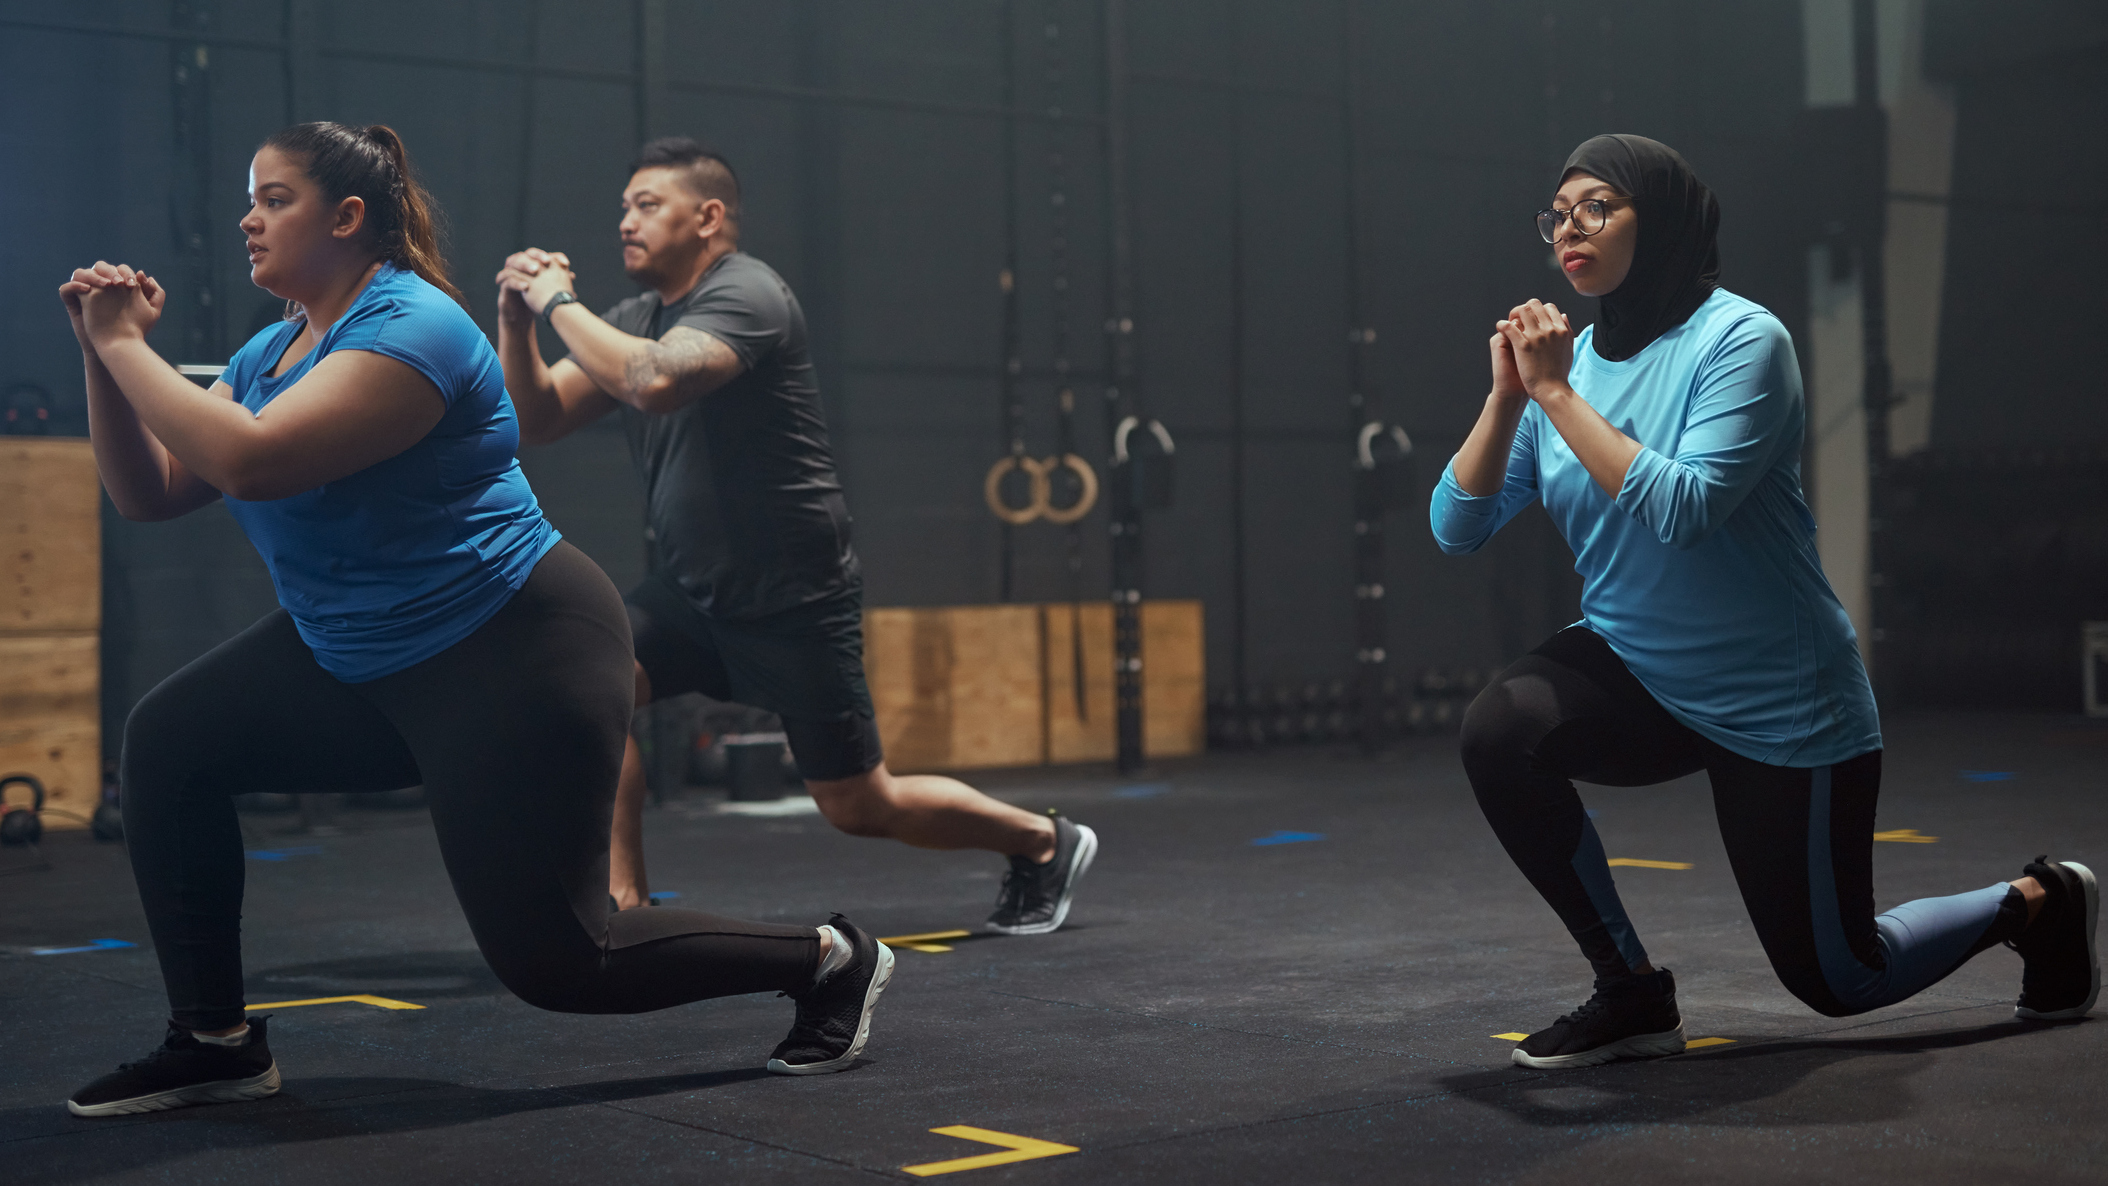
3) Lower under control
- Bend both knees as you drop straight down.
- Your front foot stays flat, with pressure through the whole foot and a slight bias toward heel and midfoot.
- Your front knee tracks over the middle toes, not collapsing inward. It may travel forward a bit, and that is fine if it stays aligned and you feel good.
- Keep your torso mostly upright with a small natural forward lean from the ankles or hips, not rounding your back.
4) Find your bottom position
A good target is both knees around 90 degrees, with the back knee hovering just above the floor. If your hips are tight, you might not hit 90 degrees right away. That is fine. Own the range you have.
5) Drive up through the front leg
- Push the floor away with the front foot.
- Stand up tall without “bouncing” off the back leg.
- Bring the back foot forward to meet the front foot and reset before your next rep.
Breathing tip: inhale on the way down, exhale as you stand up. If you are adding tempo or load, keep the exhale steady and controlled.
Quick self-checks
- Tripod foot: big toe, little toe, and heel all stay connected to the floor.
- Knee tracks toes: your knee follows the direction of your second and third toe.
- Hips level: avoid dumping into one hip or twisting your torso.
- Quiet reps: no stomping the step-back and no wobbling at the bottom.
Common mistakes
Mistake: Front knee caves inward
Fix: Think “spread the floor” with your front foot. Slightly press your knee outward so it lines up over your toes. If needed, shorten your range until you can control it.
Mistake: You push off the back foot
Fix: Keep the back toes light. The front leg should do most of the work. A good cue is “front heel does the talking.”
Mistake: Step is too narrow (tightrope lunge)
Fix: Keep feet hip-width apart. You should feel stable enough to pause at the bottom without tipping.
Mistake: Overstriding
Fix: If the step back is too long, you will feel a hip flexor tug and lose control. Bring the back foot a few inches closer and try again.
Mistake: Torso collapses forward
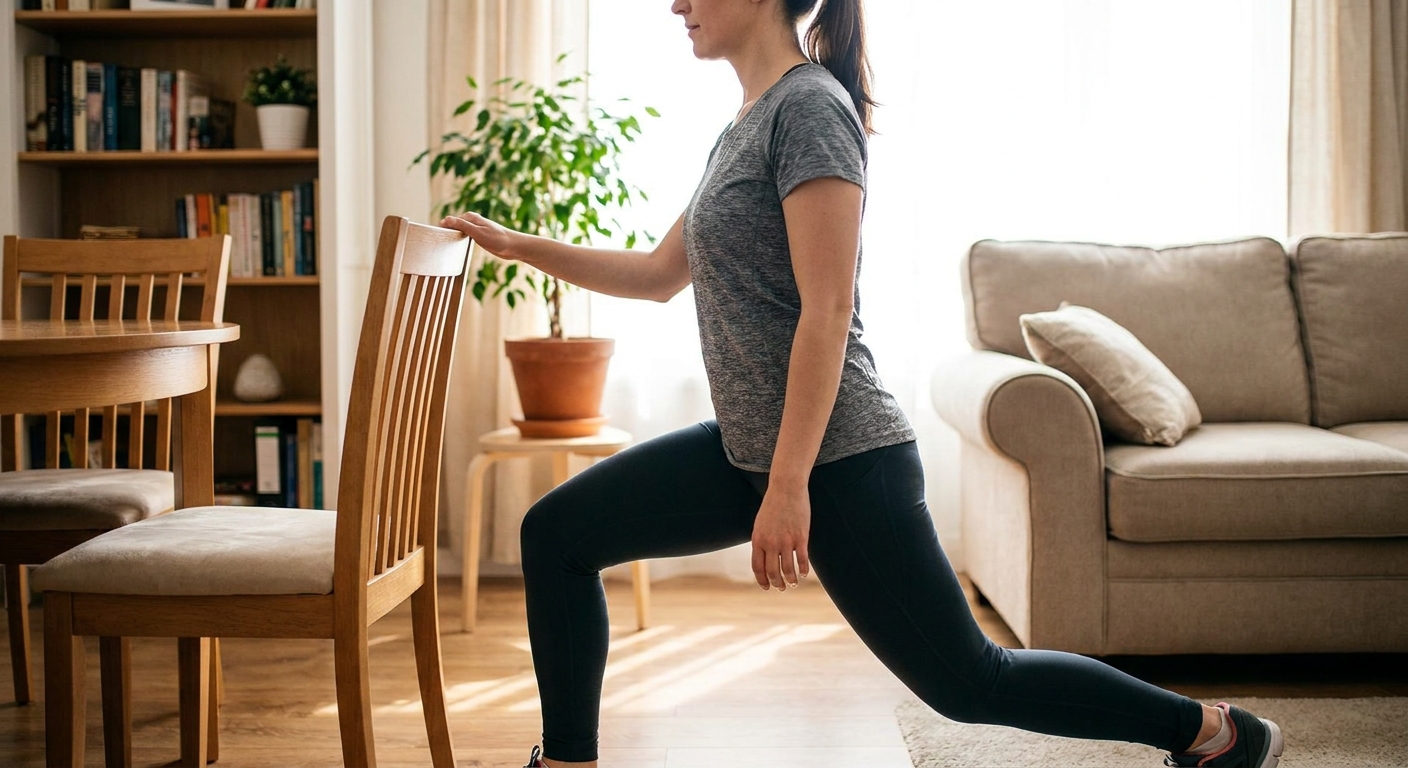
Fix: Slow the descent and brace your core. If balance is the issue, do a supported reverse lunge (hold a wall or chair lightly).
Beginner options
If full reverse lunges feel shaky or your knees are sensitive, start here. You are not “regressing.” You are building the pattern.
- Supported reverse lunge: Lightly hold a wall, countertop, or sturdy chair for balance.
- Short-range reverse lunge: Step back and only lower a few inches, then stand up. Increase depth week to week.
- Reverse lunge to knee tap: Put a folded towel under your back knee and gently touch down. This gives you a clear depth target.
Pain rule: muscular effort is fine. Sharp pain, pinching, or lingering joint pain is not. Adjust range, slow down, or swap the movement if needed.
Red flags: significant swelling, locking, giving way, a recent injury, or pain that worsens session to session are all good reasons to stop and get checked out by a qualified clinician.
Progressions
Once you can do clean, controlled reps without wobbling, you can make reverse lunges harder without needing a gym.
1) Tempo reverse lunge
Lower for 3 to 5 seconds, pause 1 second at the bottom, stand up normally. This is brutal in the best way and teaches control.
2) Deficit reverse lunge
Stand on a stable step or low platform so your back knee can travel lower. Start with a small height and keep the rep smooth. Skip anything wobbly or slippery.
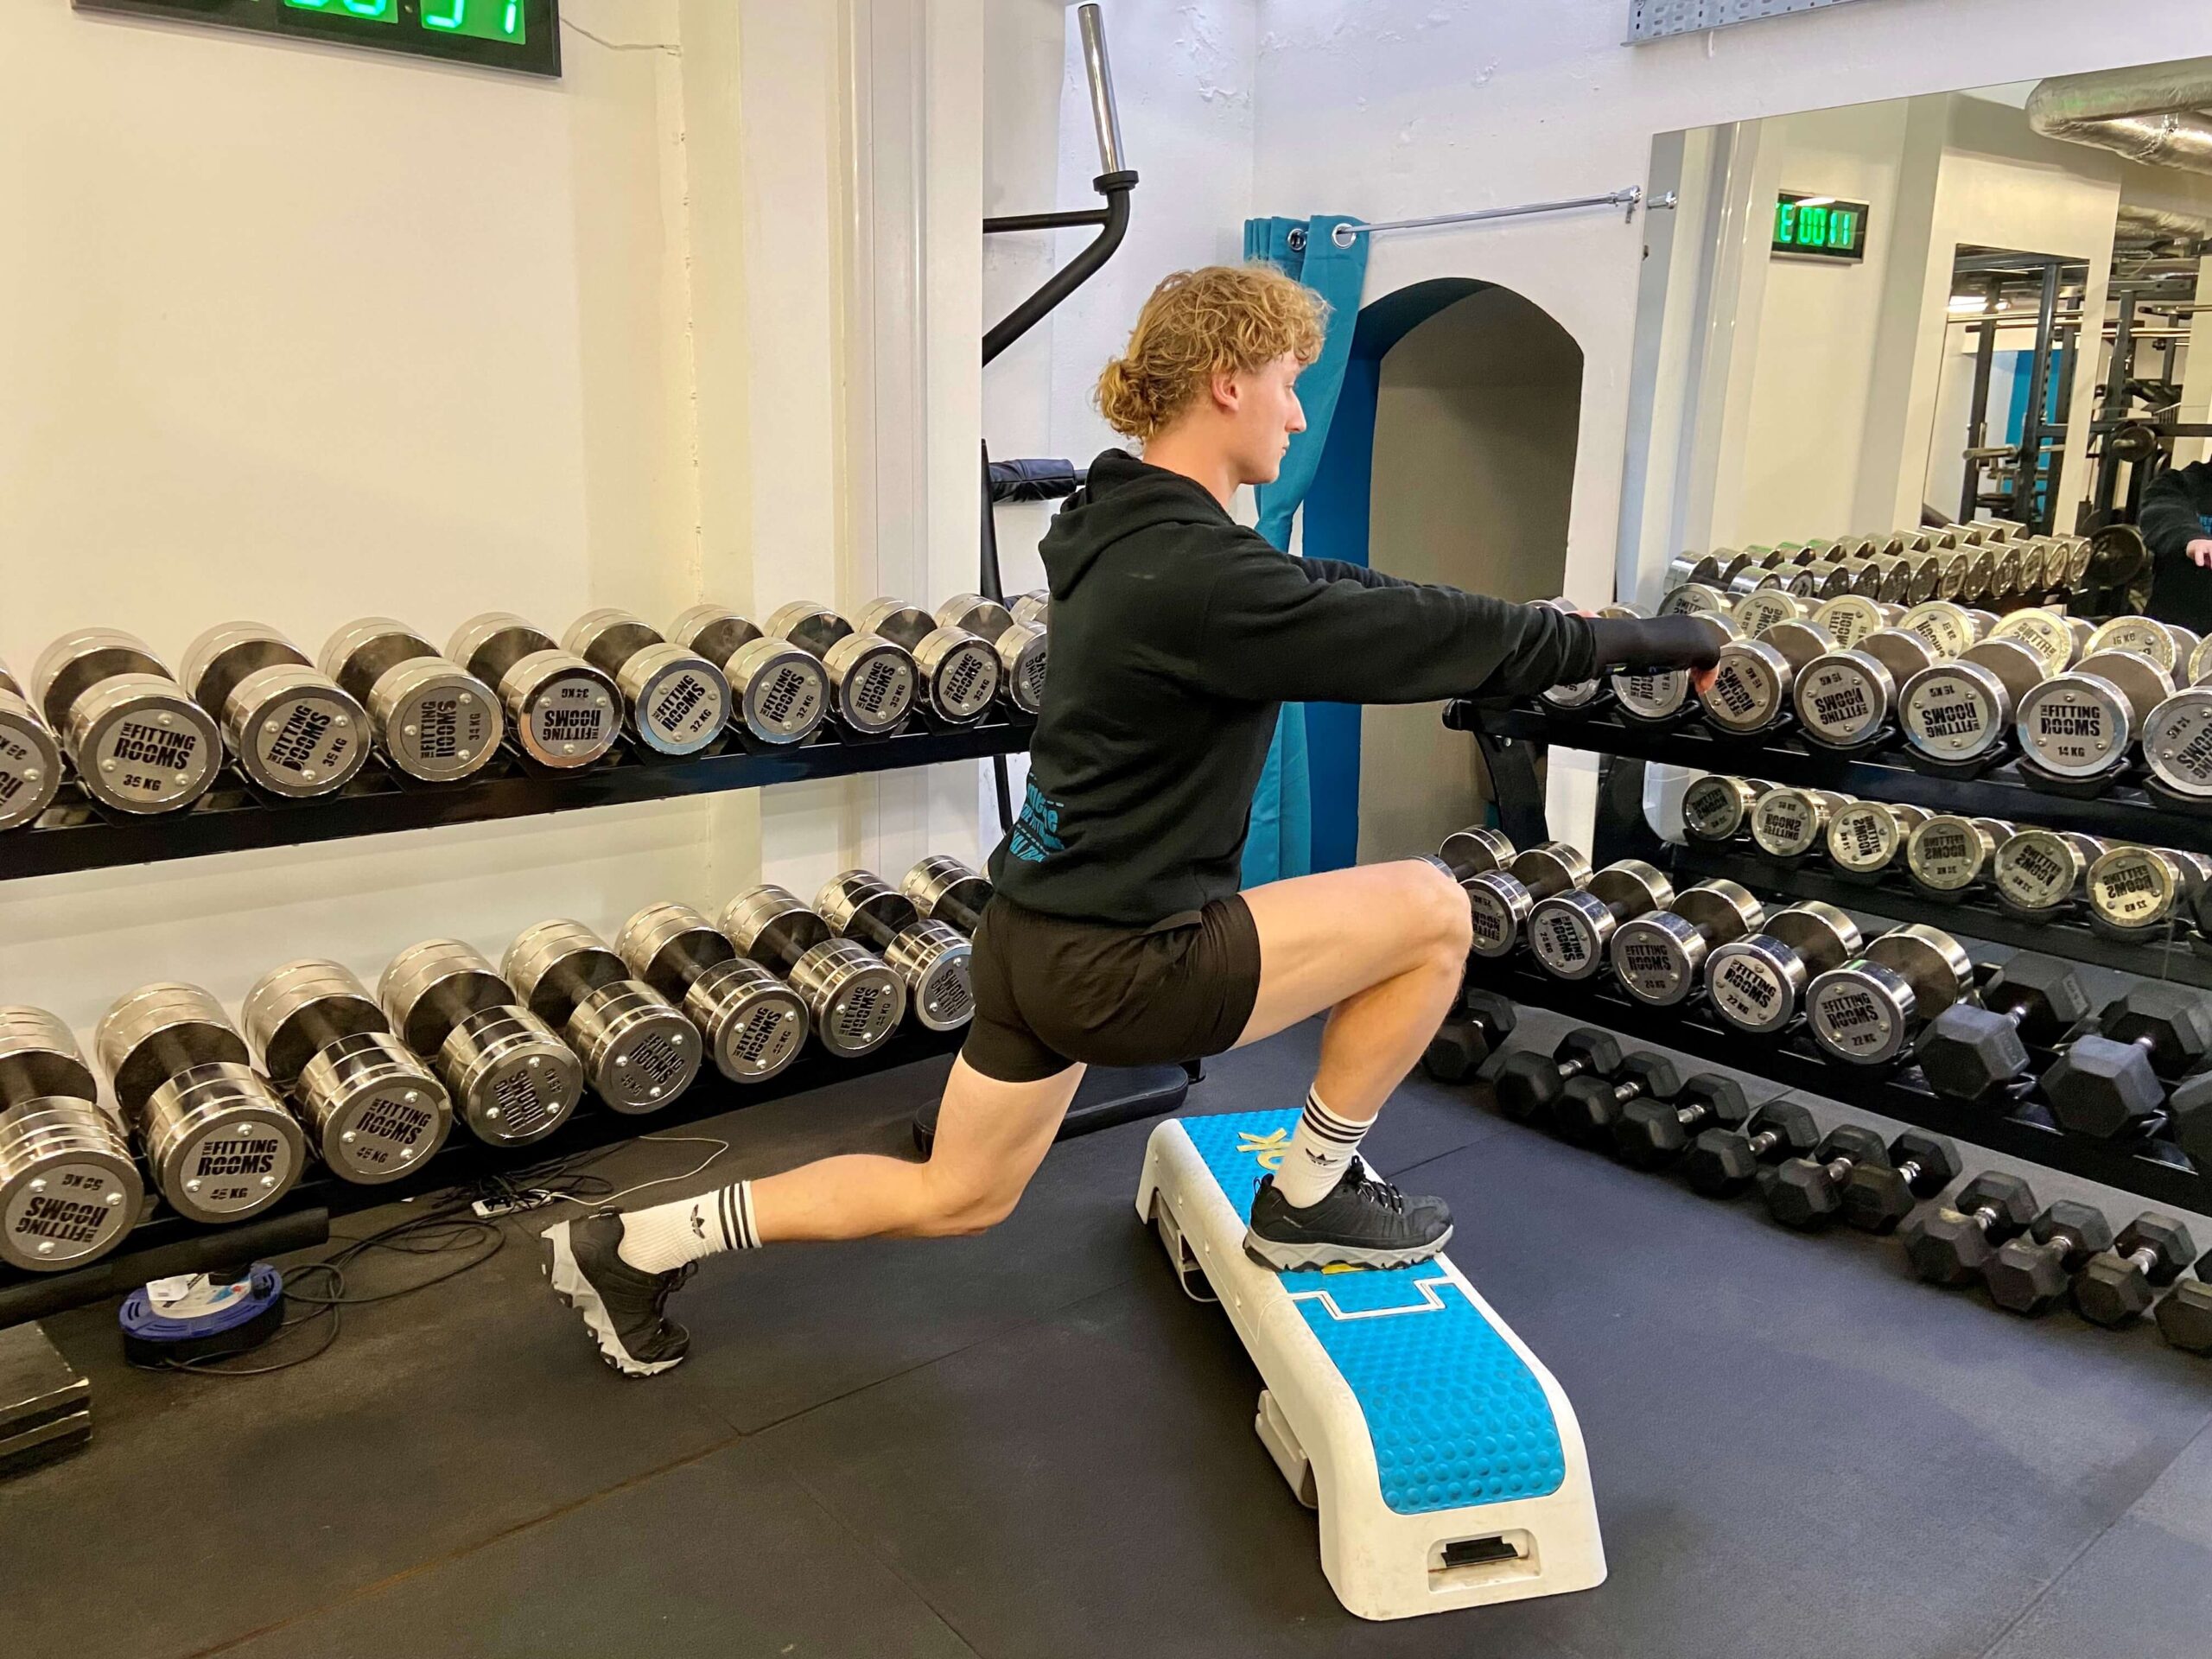
3) Front-foot elevated reverse lunge
Place the front foot on a low step. This often increases knee bend and quad demand. Keep it pain-free and controlled.
4) Reverse lunge to knee drive
As you stand, drive the back knee up toward hip height and balance for a beat. Great for athletic control and glute activation.
5) Walking reverse lunge
Instead of stepping back and returning to your start, alternate legs and travel backward one step at a time. Only do this if your space is clear and your balance is solid.
6) Loaded reverse lunge
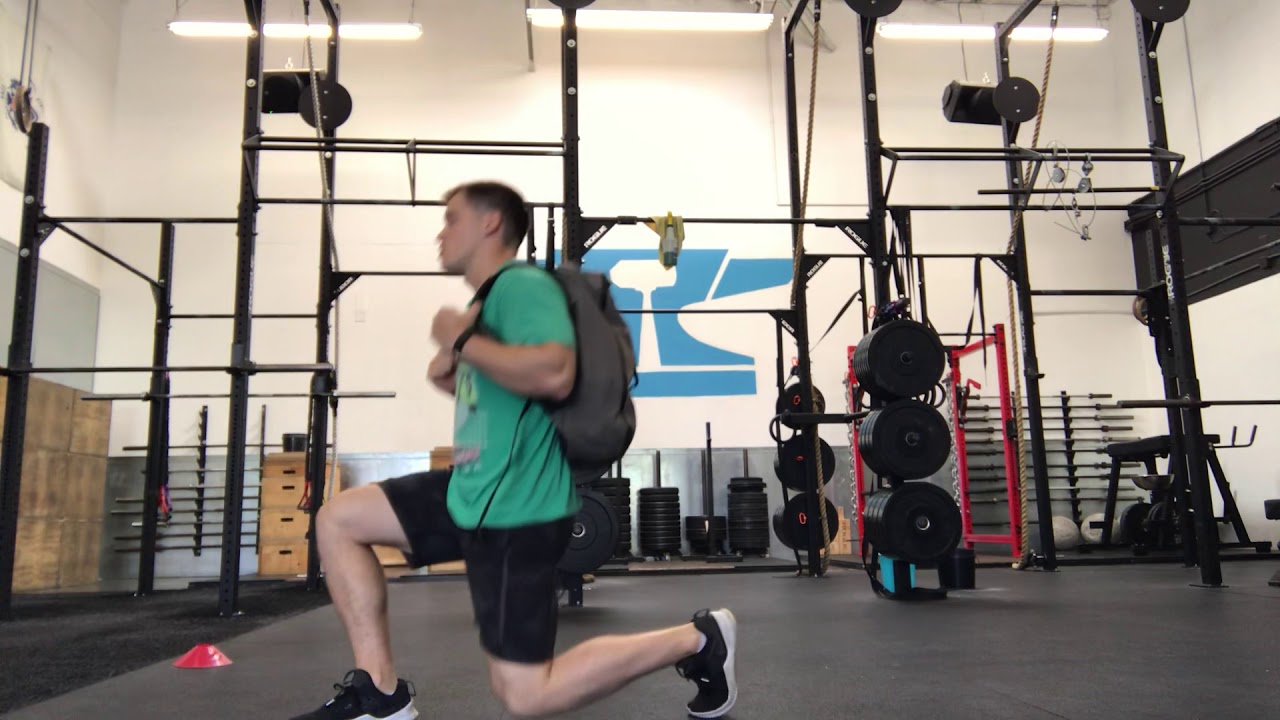
At home, a backpack filled with books works perfectly. Hold it on your back, or hug it at your chest. Start lighter than you think and keep your reps clean.
7) Rear-foot elevated split squat
This is often called a Bulgarian split squat. It is not exactly a reverse lunge, but it is the next step if you want serious single-leg strength. Use a couch or sturdy chair and keep the range conservative at first.
Reverse vs forward lunge
- Choose reverse lunges if you want more control, a less jarring feel, and an option that many people find more comfortable on the knees.
- Choose forward lunges if you want to challenge deceleration and coordination, or you are training for sports and feel good doing them.
- Choose split squats if stepping is the hard part and you want to lock in form without moving your feet.
If you are unsure, start with reverse lunges. They tend to build confidence fast, and confidence is what keeps you consistent.
How to program
Here are a few simple options depending on your goal. Use these as a starting point, then adjust based on your recovery and form. Pick one and stick with it for 3 to 4 weeks before changing things.
For beginners
- 2 to 3 sets of 6 to 10 reps per side
- Rest 45 to 90 seconds between sets
- Stop 1 to 2 reps before your form breaks down
For strength
- 3 to 5 sets of 5 to 8 reps per side
- Add load (backpack) or tempo
- Rest 90 to 150 seconds
For conditioning
- 2 to 4 rounds of 10 to 16 total reps
- Pair with a low-impact move like marching in place, glute bridges, or dead bugs
- Keep form crisp even when breathing gets heavy
My consistency rule: if you only have 10 minutes, do 2 sets and call it a win. The habit matters more than the perfect program.
Knee comfort tips
- Warm up your ankles and hips: 30 to 60 seconds of calf raises and hip hinges goes a long way.
- Use a shorter step: often reduces knee stress and improves balance.
- Slow the lowering phase: control usually beats forcing depth.
- Train your glutes too: add glute bridges or hip thrusts in the same session so your hips can share the workload.
- Wear stable shoes: squishy running shoes can make you wobble. Flat sneakers or barefoot can feel better for some people, but only on a non-slip, safe surface.
- Check your setup: clear the floor, watch for rugs that slide, and give yourself a little space behind you before you start stepping back.
FAQ
Should my knee go past my toes?
It can, and that is not automatically wrong. What matters is that it tracks in line with your toes, your heel stays grounded, and it feels good. If your knees are sensitive, aim for a more vertical shin and keep the rep slow and controlled.
Why do I feel it in my front thigh more than my glutes?
Totally normal, especially at first. To shift more work into the glutes, slightly lengthen the step back, keep your front heel grounded, and think about sitting down and back rather than forward. You can also add a 1-second pause at the bottom.
How low should my back knee go?
Lower until you hit a pain-free depth you can control. A gentle hover just above the floor is a great target, but it is not required on day one.
What if my balance is terrible?
Start supported. One hand on a wall or chair is not cheating, it is smart practice. Over time, lighten your grip until you no longer need it.
Can I do reverse lunges with knee pain?
If you have current or unexplained knee pain, get cleared by a qualified clinician. If your knee is simply sensitive, try supported and short-range reverse lunges and keep the movement slow. If pain increases during or after, stop and choose a different leg exercise like glute bridges, step-ups to a low surface, or sit-to-stands.
Your next step
Pick one version that feels stable and pain-free, then practice it twice a week for the next month. Keep the reps smooth, keep the front foot planted, and focus on getting one percent better each session. That is exactly how I went from “I do not have time for fitness” to building a strong, capable body in a cramped living room.