A practical, beginner-friendly breakdown of squats vs. lunges, including form cues, warm-up tips, common mistakes, knee-friendly tweaks, and simple home prog...
Home Pulse Fit
•
home workouts and fitness
7 Common Bodyweight Squat Mistakes (And How to Fix Them)
Fix the 7 most common bodyweight squat mistakes, from knees caving to heels lifting. Simple cues and at-home drills to squat deeper, safer, and stronger.

Marcus Thorne
Marcus Thorne is an NASM-certified personal trainer and the creator behind Home Pulse Fit. After successfully transforming his own health using only bodyweight routines in his small apartment, he left his demanding corporate career to help others do the same. Today, he is dedicated to making fitness accessible, sustainable, and entirely gym-free for busy beginners.
Published
October 18, 2026
Updated
October 18, 2026
If you have ever done squats in your living room and thought, “This feels weird in my knees,” or “Why am I not feeling this in my legs?” you are not alone. Squats look simple, but small form leaks add up fast.
The good news: most squat issues are fixable in minutes with the right cue and one small drill. Below are the 7 mistakes I see most often with home workouts, plus exactly how to fix each one without fancy equipment, just a few sturdy household items.
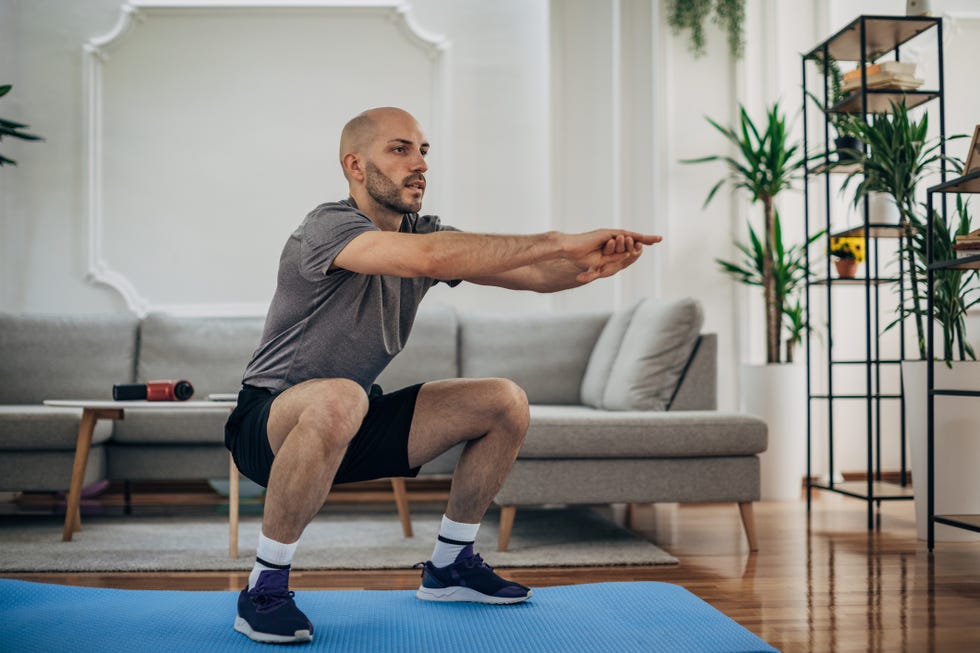
Quick self-check
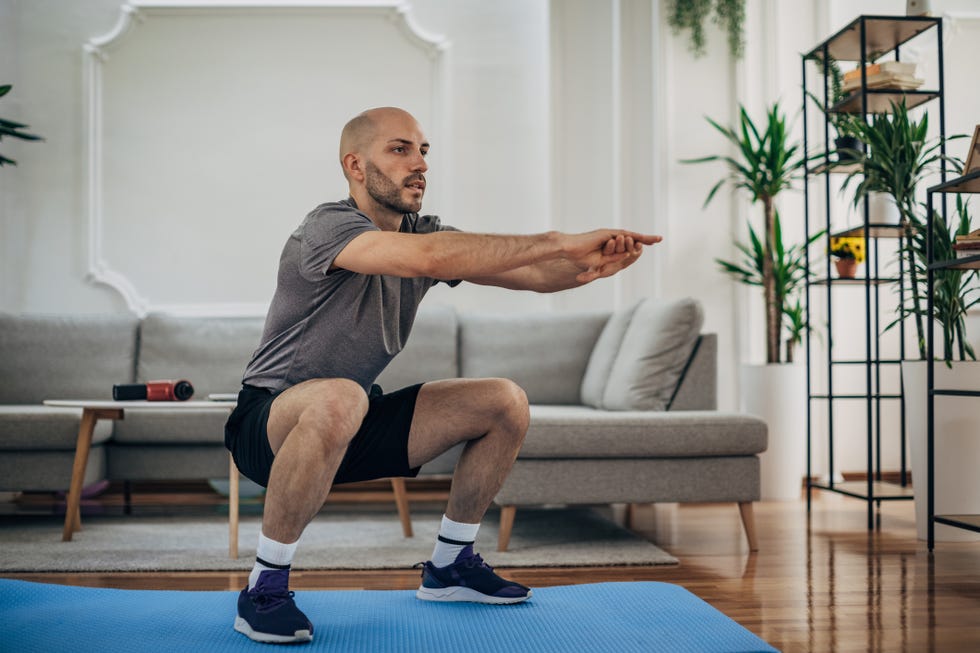
Do 5 slow squats facing a mirror or record yourself from the side and from the front. Use this checklist:
- Feet stay planted (heels do not lift).
- Knees track with toes (no collapsing inward).
- Torso stays tall (no big forward fold).
- Lower back stays neutral (no big arch, no tuck-under at the bottom).
- Depth is controlled (no dropping and bouncing).
One more quick check: take a gentle breath in, then brace lightly like you are about to cough. Keep that “stacked and steady” feeling as you move.
Now let’s clean up what you noticed.
1) Knees cave inward
What it looks like: As you descend or stand up, your knees drift toward each other.
Why it matters: Knees caving can contribute to cranky knees for some people, especially when it happens fast or under fatigue. It also tends to steal work from your glutes, which are supposed to help power you up.
Fix it: “Spread the floor” cue
- Set your feet about shoulder-width.
- As you squat, think: press your knees gently out so they line up with your second and third toes.
- Also think: twist your feet into the floor without actually moving them, like you are trying to spread the floor apart.
At-home drill: Wall-supported squat
Stand next to a wall or hold a chair back for balance. Make sure whatever you hold is stable and will not slide. Do 2 sets of 8 slow squats and pause 2 seconds at the bottom while you actively push your knees out.
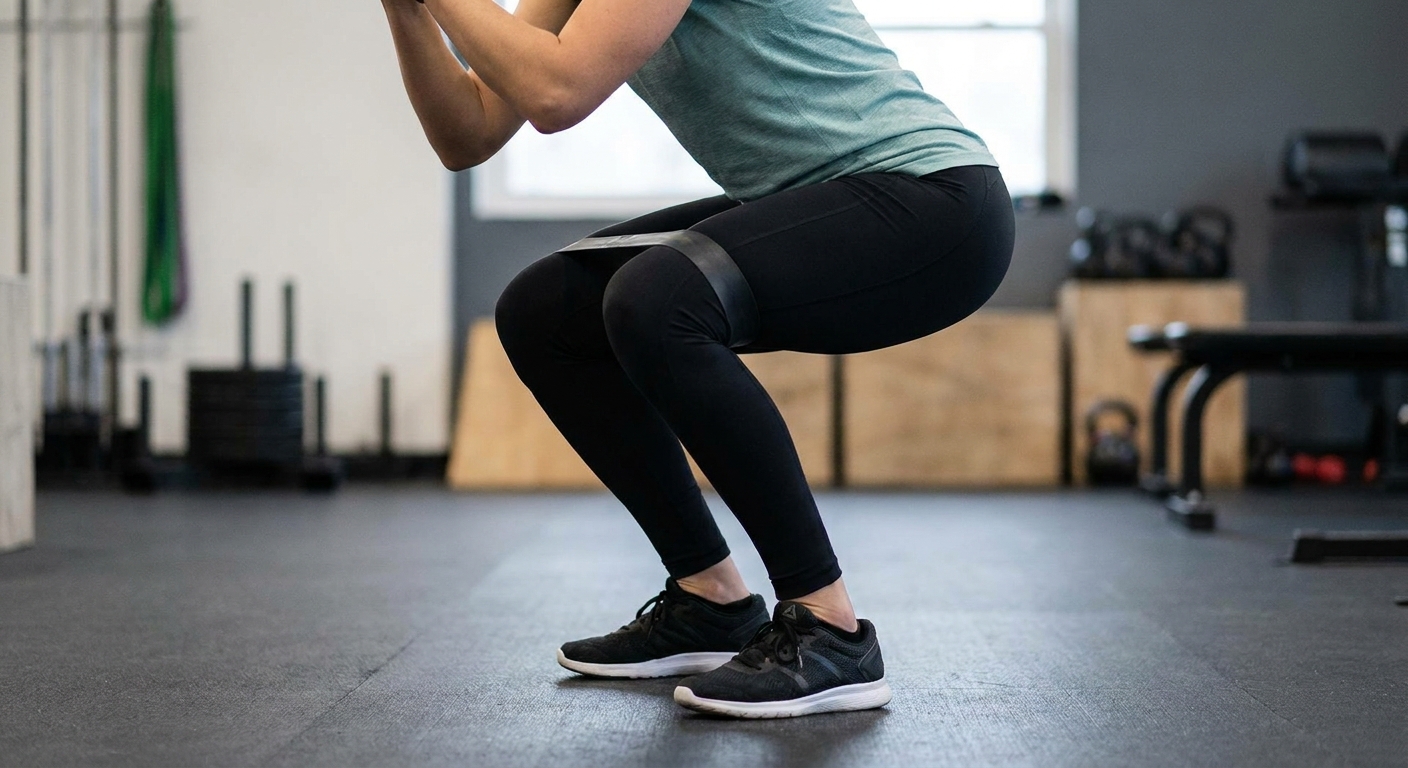
2) Heels lift off the floor
What it looks like: Your weight shifts to your toes, and your heels pop up, especially near the bottom.
Why it matters: Heel lifting often turns the squat into a shaky forward-lean pattern. It can also shift more stress toward the knees and make depth harder to control.
Fix it: “Tripod foot” pressure
Keep pressure on three points the whole rep:
- Base of big toe
- Base of pinky toe
- Heel
You should be able to wiggle your toes a little at the bottom. That is a great sign you are not dumping your weight forward.
At-home drill: Counterbalance squat
Hold a water bottle, book, or small backpack out in front of your chest as you squat. Do 2 sets of 6 to 10 reps. The counterweight helps you stay back through your whole foot while you practice depth.
Quick footwear note: squishy running shoes can make balance harder. If it feels safe for you, try barefoot or flat, stable shoes on a non-slip surface.

3) Chest collapses forward
What it looks like: Your torso tips forward a lot, and your upper back rounds as you descend.
Why it matters: Some forward lean is normal, but excessive collapse usually means you lose tension. The squat stops feeling like a strong leg exercise and starts feeling like a messy “survive the rep” move.
Fix it: Ribcage stacked over pelvis
- Before you squat, exhale gently like you are fogging a mirror.
- Feel your ribs come down slightly.
- Now keep that stacked feeling as you sit down and stand up.
If it helps, reach your arms slightly forward for counterbalance, or keep hands at your chest. Pick the option that lets you stay tall.
At-home drill: Heel-elevated goblet hold (DIY)
Place your heels on a thin book or a folded towel (about 0.5 to 1 inch is plenty). Hold a backpack to your chest. Do 2 sets of 8 reps, slow on the way down. If your chest stays more upright, ankle mobility and or balance may be part of the issue. Body proportions matter too, so use this as a helpful clue, not a diagnosis.
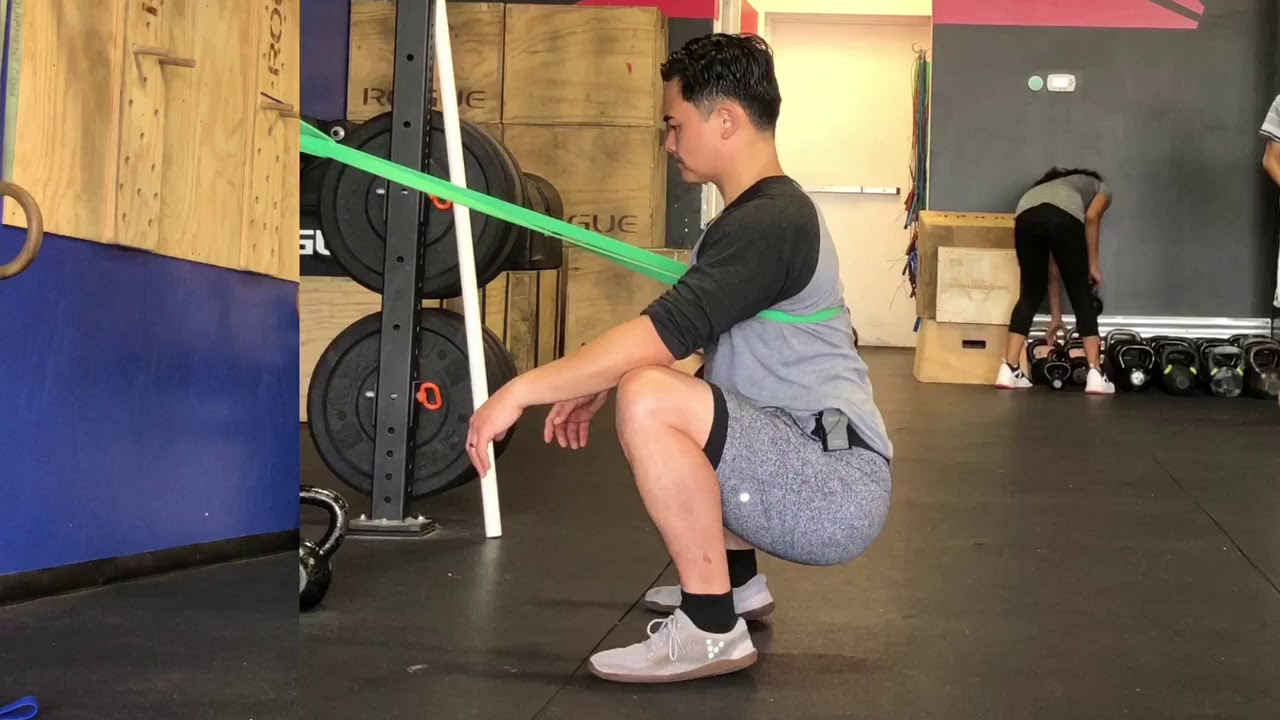
4) Stance too narrow or wide
What it looks like: Feet almost touching, or feet way out like a sumo stance, even though it does not match your body.
Why it matters: Stance is personal. When it is off for you, the squat often feels blocked in the hips, unstable in the knees, or limited in depth.
Fix it: Find your natural stance
- Do 3 small vertical jumps in place.
- On the third landing, freeze and look at your feet.
- That landing position is usually a good starting point for stance width and toe angle.
From there, try squatting with toes turned out slightly, often somewhere around 5 to 20 degrees.
At-home drill: 3-stance test
Do 5 slow squats at:
- Your jump landing stance
- About 1 inch wider
- About 1 inch narrower
Pick the one where your knees track easily and your hips feel smooth.
5) You dive-bomb the bottom
What it looks like: You drop quickly into the bottom and bounce to get back up.
Why it matters: Bouncing makes it harder to control your joints and build strength where you actually need it. It can also irritate knees or hips when tissues are not ready for that speed.
Fix it: Own the bottom with a pause
Use a 3-1-2 tempo:
- 3 seconds down
- 1 second pause at the bottom
- 2 seconds up
Keep it smooth and quiet. If your squat is loud, it may be a sign you are losing control or dropping into the bottom too fast (although shoes and flooring can be noisy too).
At-home drill: Box squat to a couch edge
Stand in front of a couch, chair, or sturdy ottoman. Sit back until you lightly touch, pause for a count of 1, then stand. Do not plop down or fully relax at the bottom. Do 2 to 3 sets of 6 to 10 reps.
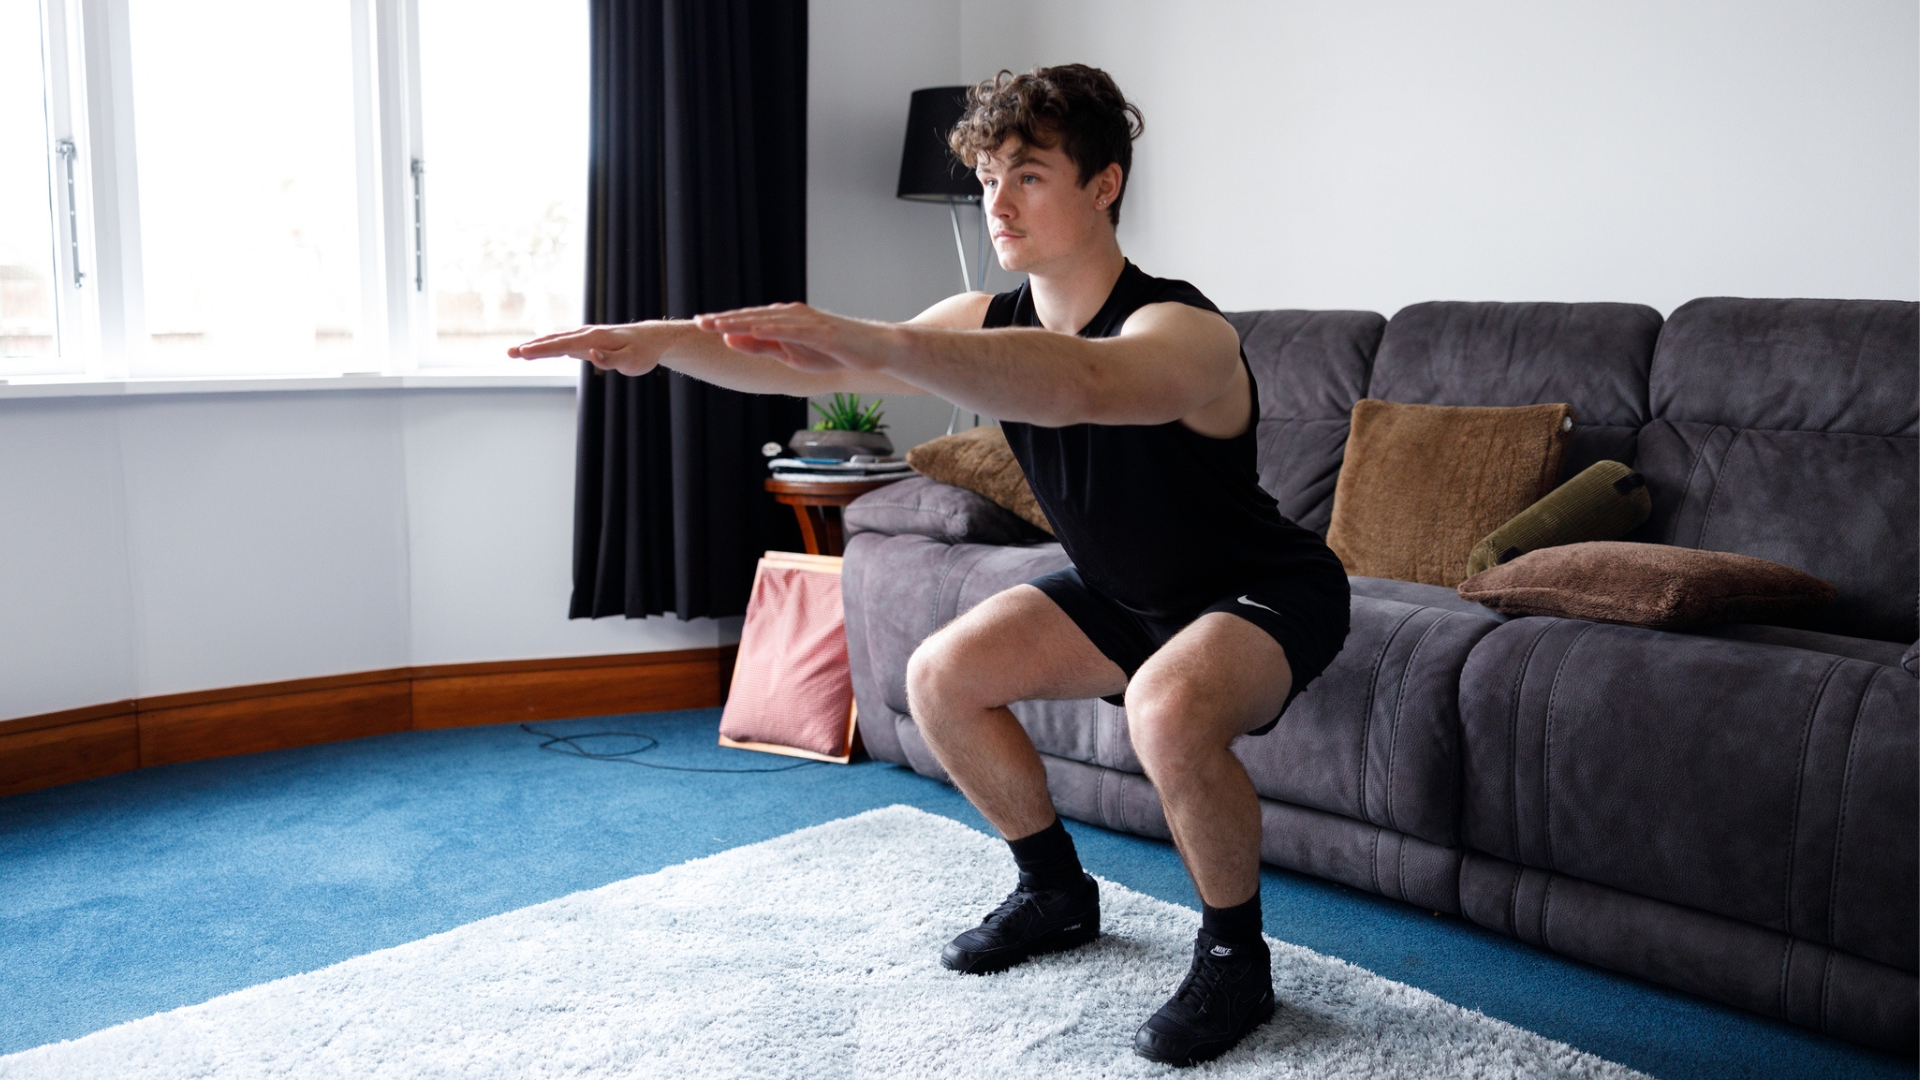
6) Lower back tucks under
What it looks like: Near the bottom, your pelvis tucks under and your lower back rounds, sometimes called a butt wink.
Why it matters: A tiny amount can be normal, but a big tuck is usually your body asking for a better depth strategy. It often shows up when you force depth past what your hips and ankles can control.
Fix it: Stop before you lose neutral
Your best squat depth is the deepest position you can control while keeping your spine stable. That might be above parallel right now. That is fine. We earn depth.
At-home drill: Assisted deep squat hold
- Hold a door frame or sturdy countertop. Make sure it is solid and will not move.
- Sink into a comfortable squat depth where your back stays neutral.
- Hold 20 to 40 seconds, breathing slowly.
Do 2 rounds. Over time, you will usually find you can sit a little deeper without the tuck.
7) Knees go first, hips do nothing
What it looks like: You start the squat by pushing your knees forward first, and your hips barely move back. It can feel like a knee-dominant mini squat.
Why it matters: Squats should use knees and hips together. When hips do not contribute, you miss glute engagement and the movement can feel harsher on the knees.
Fix it: “Hips back, then down”
- Initiate by sending your hips back slightly, like you are reaching for a chair.
- Then allow knees to bend as you sit down between your heels.
- Keep your chest tall and your feet planted.
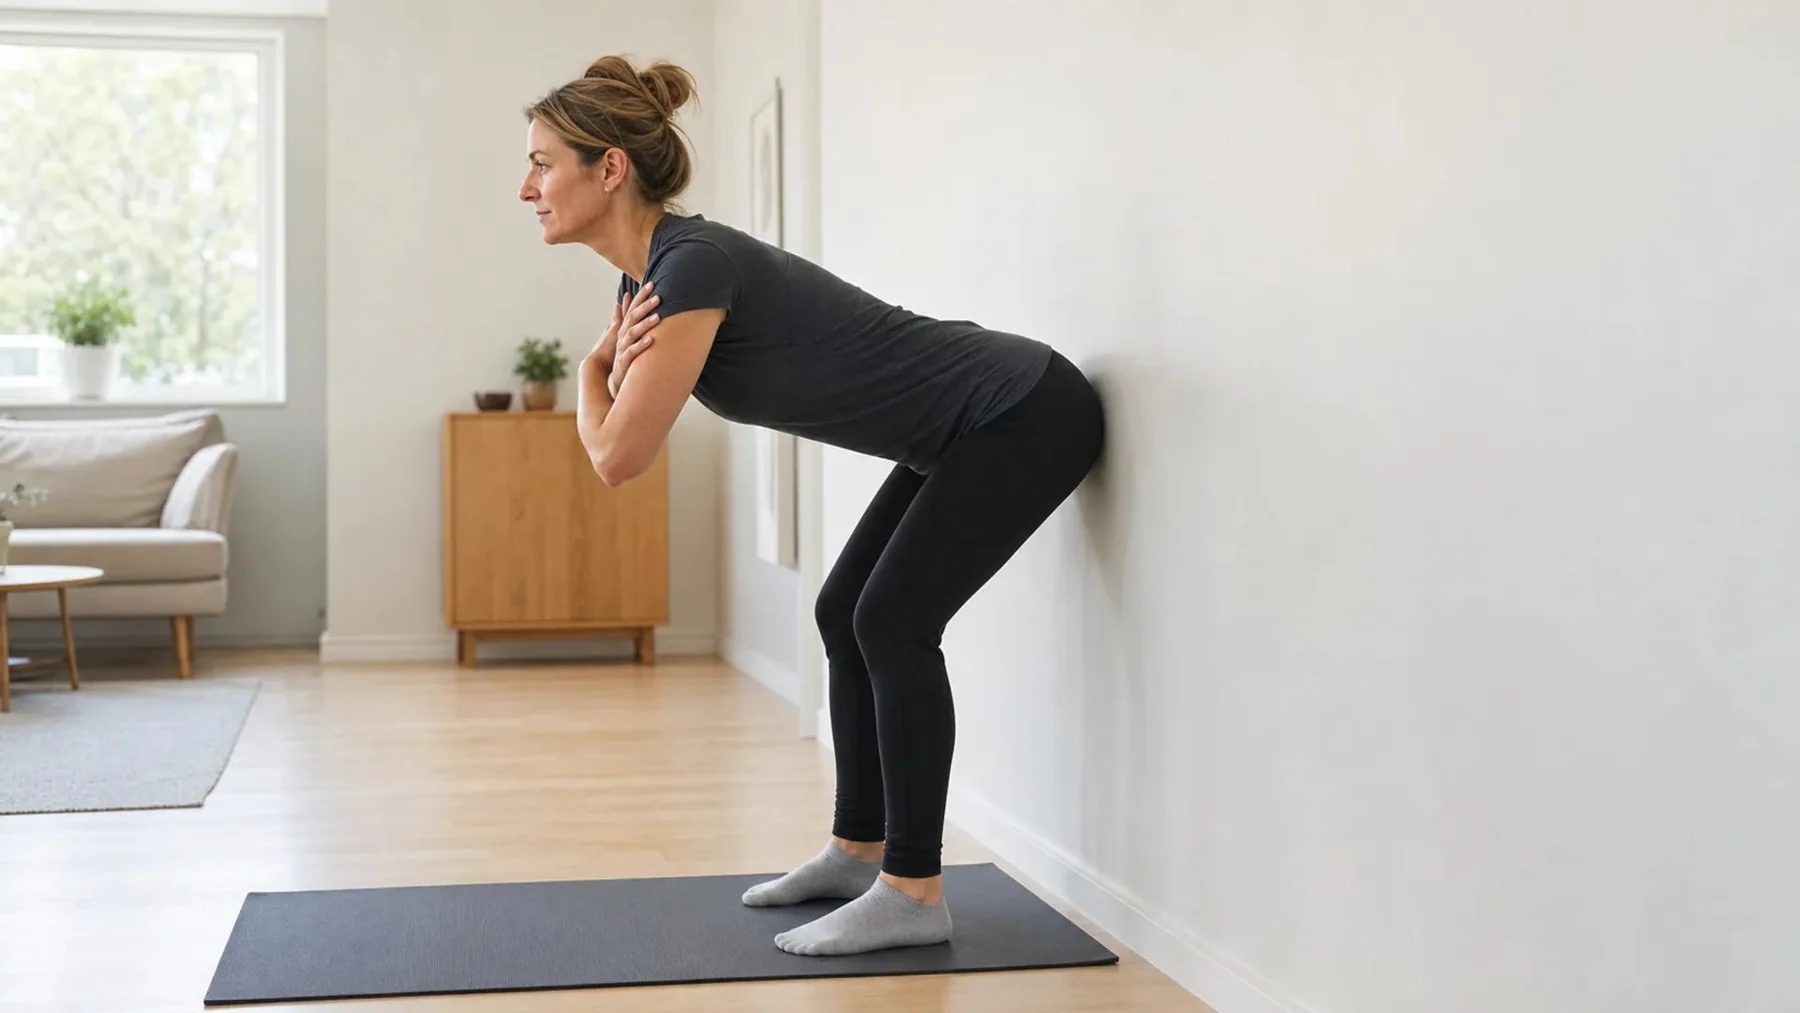
At-home drill: Wall tap
Stand about 6 to 10 inches from a wall with your back facing it. Without bending your knees much, push your hips back to tap the wall. That is your hinge pattern. Now blend that same hip-back start into a squat. Do 2 sets of 8 slow reps.
3-minute squat warm-up
- Ankle rocks: 30 seconds per side, knee over toes while heel stays down.
- 90-90 hip switches: 6 slow reps total.
- Bodyweight squat with pause: 6 reps with a 2-second pause at the bottom.
This is the exact kind of routine that helped me go from “squats feel awkward” to “squats feel like home” in a small apartment. Little, consistent practice beats heroic workouts.
Form FAQs
Should my knees go over my toes?
For most bodies, yes, a bit is normal and safe, especially in a deeper squat. The key is that your knees track in line with your toes and you stay balanced through your whole foot.
How deep should I squat?
As deep as you can control with steady feet and a stable spine. If depth makes your heels lift or your lower back tuck hard, shorten the range for now and build it back gradually.
What if squats hurt my knees?
First, reduce depth and slow the tempo. Then address the big culprits: knees caving, heels lifting, and uncontrolled bouncing. If pain is sharp, persistent, worsening, or comes with swelling, locking, or a feeling of giving way, check in with a qualified clinician.
How do I make bodyweight squats harder without losing form?
Use one of these upgrades:
- Slow tempo (3 seconds down)
- 2-second pause at the bottom
- 1.5 reps (down, halfway up, down, all the way up)
- Backpack goblet squat (hug a loaded backpack)
Next: 8-minute squat practice
If you want a simple way to lock in these fixes, set a timer for 8 minutes and cycle this:
- 6 slow squats with a 1-second pause
- 20-second assisted squat hold (door frame or counter)
- Rest 20 to 40 seconds
Focus on one fix at a time. My favorite order: feet pressure first, then knees tracking, then depth control.
When your squat feels solid, everything else gets easier: lunges, step-ups, jump squats, even just getting off the couch with less effort.