Actionable ways to keep challenging your muscles without weights: harder variations, tempo, range of motion, density, and smart tracking for real muscle grow...
Home Pulse Fit
•
home workouts and fitness
From Beginner to Intermediate: How to Progress Your Home Workouts
Beginner plan getting too easy? Learn safe, practical ways to progress bodyweight workouts at home using reps, tempo, range of motion, leverage, rest, load, and simple weekly programming.

Marcus Thorne
Marcus Thorne is an NASM-certified personal trainer and the creator behind Home Pulse Fit. After successfully transforming his own health using only bodyweight routines in his small apartment, he left his demanding corporate career to help others do the same. Today, he is dedicated to making fitness accessible, sustainable, and entirely gym-free for busy beginners.
Published
October 18, 2026
Updated
October 18, 2026
There is a weird moment that hits after a few weeks of consistency: the workouts that used to leave you breathing hard start to feel… manageable. Not easy, exactly, but familiar. And if you are anything like I was in my apartment days, your first thought is either:
- “Do I need to find a harder plan?”
- “Should I just do double the time?”
You do not need to blow up your routine. You need a progression plan.
Progressing from beginner to intermediate at home is mostly about making small, measurable changes while keeping your technique sharp and your joints feeling good. This article will show you exactly how to do that with bodyweight training, no gym required.

Are you ready to progress?
You are “intermediate-ready” when you can repeat your current workouts with strong technique, recover well, and still have a little gas in the tank at the end.
These benchmarks are guidelines, not laws. Your age, sleep, stress, training history, and old injuries all shift what “ready” feels like.
Use this quick checklist
- Technique stays solid on your main moves (squats, pushups, hinges, rows or row substitutes, planks) even in the last set.
- RPE is consistent: most working sets feel like a 7 to 8 out of 10 effort, not a 10.
- Recovery is predictable: mild soreness is fine, but you can usually train again in 24 to 48 hours (sometimes a little longer if life is stressful or you are newer).
- Your reps have topped out: you are regularly hitting the top of a rep range (example: 3 sets of 12) and could do more with good form.
If you are failing reps with sloppy technique or you feel beat up for days, you are not “behind.” You just need a smaller progression step.
Warm-up basics
As you progress, the warm-up matters more, not less. You do not need a 20-minute routine. You need 3 to 5 minutes that gets joints moving and positions feeling crisp.
A simple 4-move warm-up
- Breathing + brace: 3 slow breaths, exhale fully, feel ribs come down
- Squat pattern: 8 slow bodyweight squats or squat-to-stand
- Hip hinge pattern: 8 good mornings with hands on hips
- Shoulders: 8 to 10 wall slides or scapular pushups
Then do one lighter “practice set” of your first exercise before you start your working sets.
The golden rule
At home, you can make an exercise harder in a dozen ways. The safest approach is to adjust one variable for one to two weeks, then reassess. That keeps progress steady and makes it obvious what is working.
Here are the knobs you can turn, in the order I like for busy beginners.
How to pick the knob
If you are not sure what to change, use this quick decision rule:
- If technique breaks early: make the move easier (easier leverage, less range, more rest) and rebuild.
- If you hit the top of your rep range: add a set, change leverage one step, or add a small load.
- If you are short on time: slow tempo or add pauses. You get more training effect without longer sessions.
- If the workout feels too easy overall (but sets are fine): shorten rest a little or add one round.
Method 1: Add reps and sets
This is the simplest and often the smartest first step.
Rep range progression
Pick a rep range like 8 to 12. Stay on the same exercise until you can hit all sets at 12 reps with clean reps. Then progress.
- Week example: 3x8, then 3x9, then 3x10… until 3x12
- Then either add a set (4x8) or choose a harder variation
My practical tip
Try progressing one rep per set per week. It sounds almost too easy, but over 8 weeks it adds up. For many people, it is also a smoother way to increase training stress without irritating knees and shoulders. Still, pay attention to your own signals, because joint crankiness can come from more than just rep count.
Method 2: Slow the tempo
Tempo means how fast you move. Slowing down increases time under tension without adding impact. This is gold for home workouts.
Start with a 3-second lower
- Squat: 3 seconds down, 1 second up
- Pushup: 3 seconds down, normal push back up
- Split squat: 3 seconds down, brief pause, stand
If you want a simple format, use: 3-0-1 (3 seconds down, no pause, 1 second up).

Method 3: Add pauses
Pauses are like putting a spotlight on the hardest part of the rep.
Where to pause
- Squat: pause 1 to 2 seconds at the bottom while staying braced
- Pushup: pause 1 second just above the floor
- Glute bridge: pause 2 seconds at the top and squeeze
Start small: one-second pauses are plenty. The goal is control, not suffering.
Method 4: Increase range
More range, more work, more results. But only if you can keep positions clean.
Easy range upgrades at home
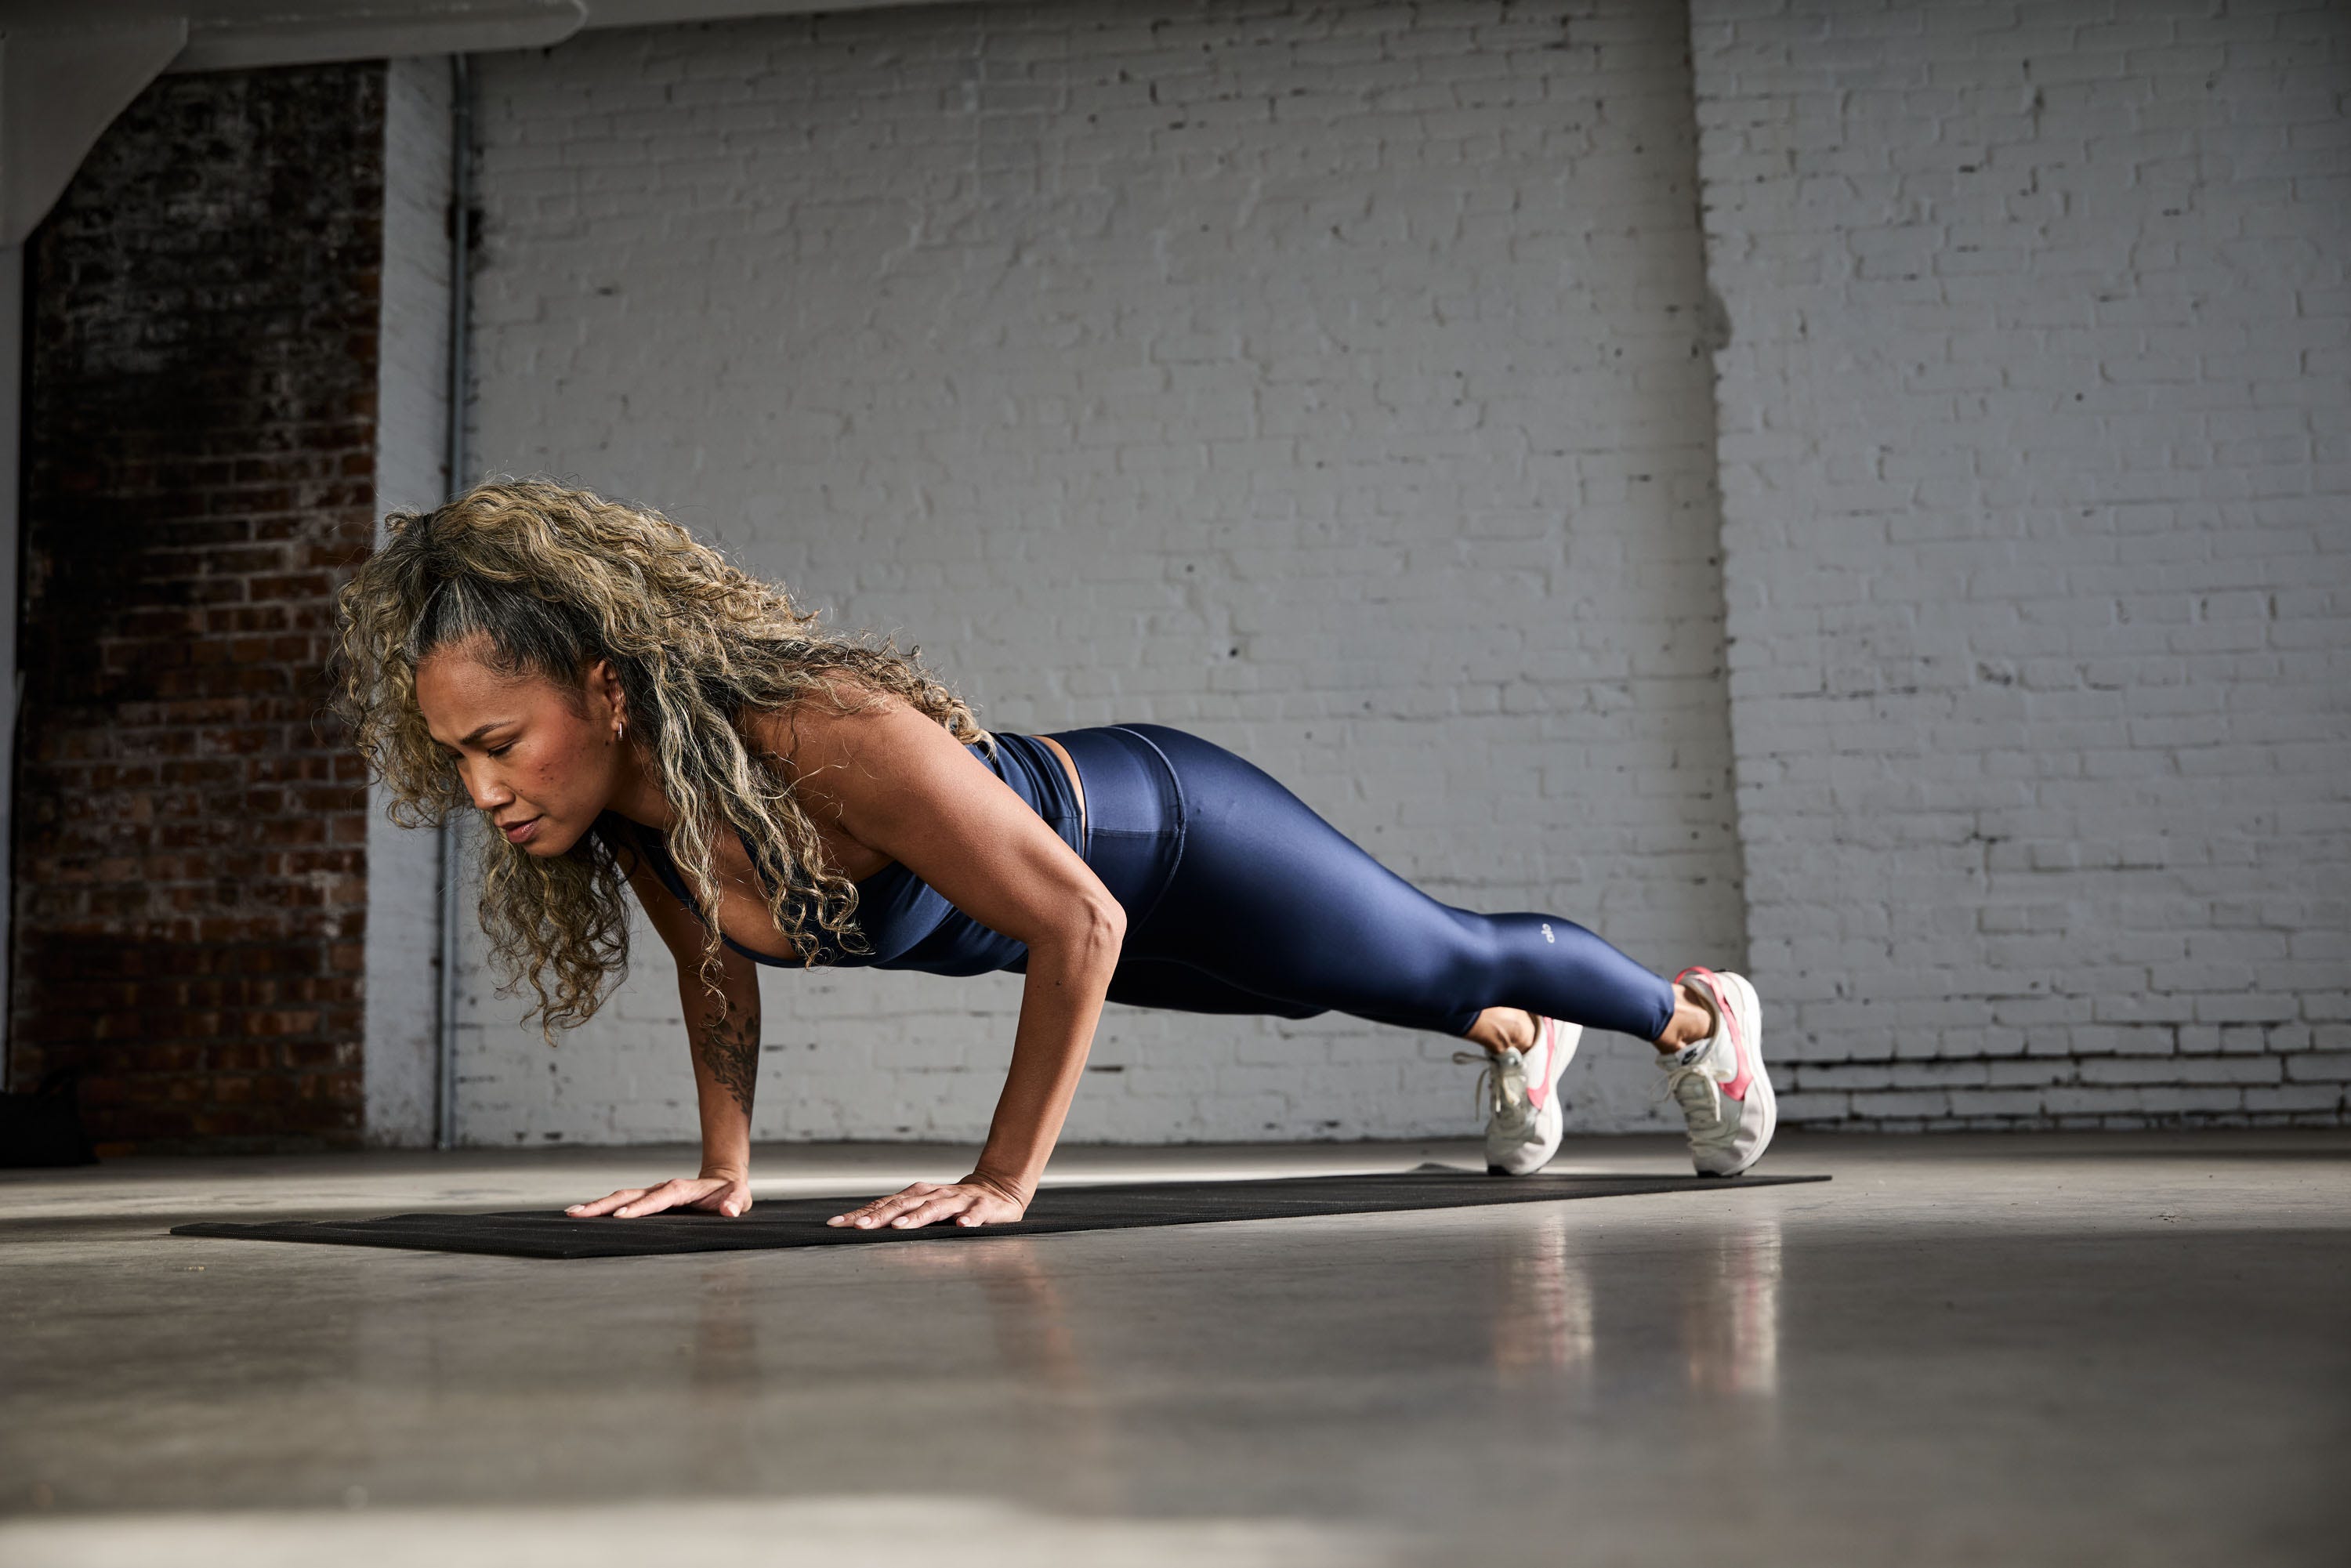
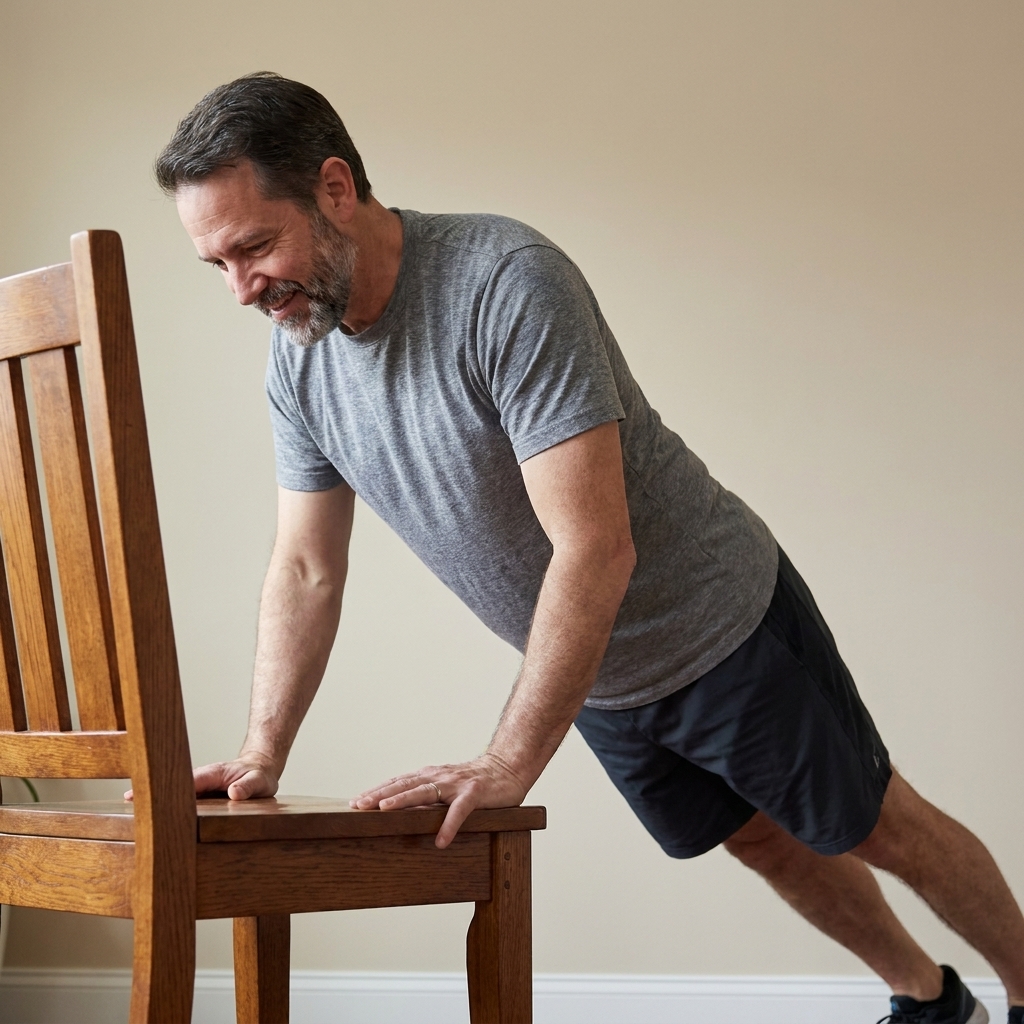
- Pushups: elevate hands at first, then lower the elevation over time until floor pushups feel strong
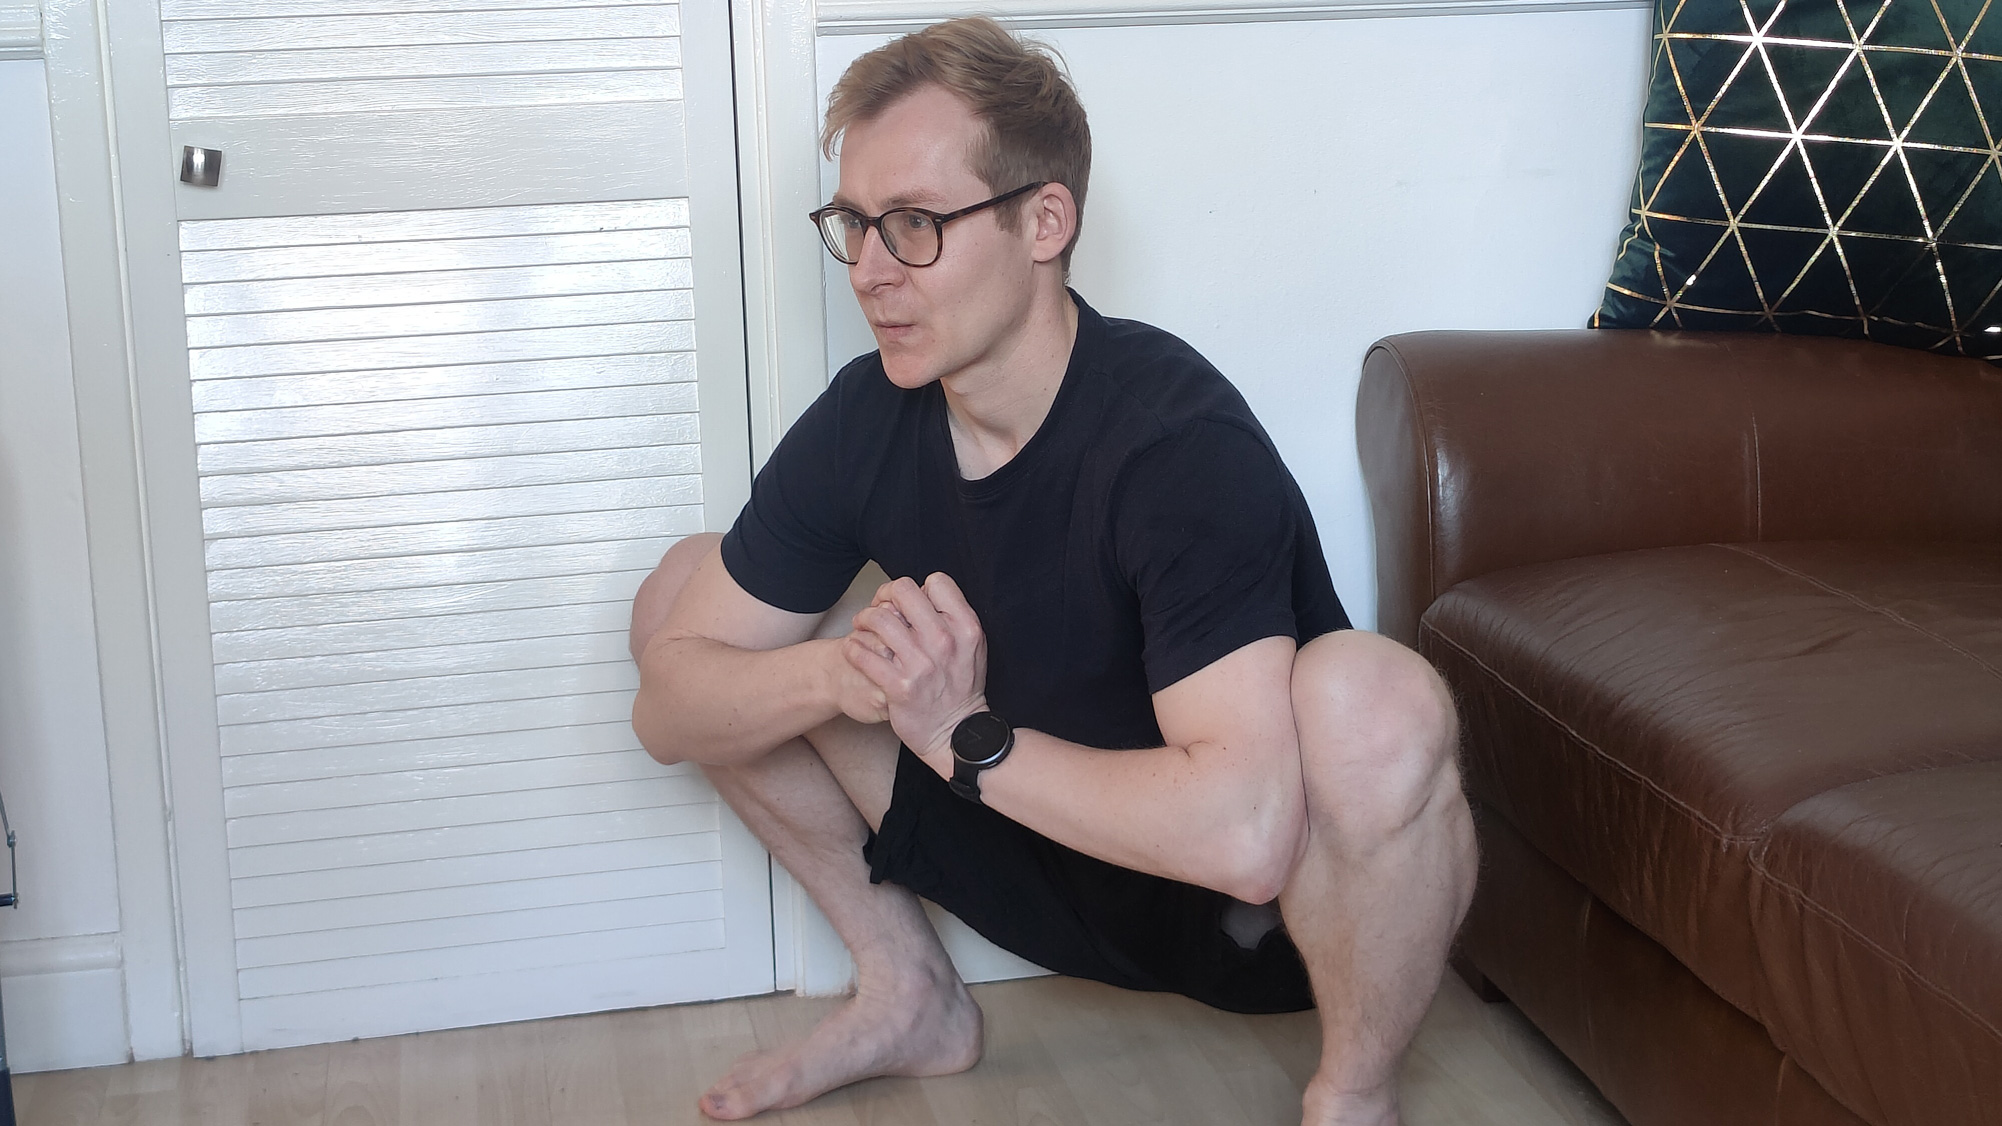
- Squats: gradually work toward a deeper squat depth you can own without your heels popping up
- Hip hinge: slow down and reach hips farther back while keeping a neutral spine
If you feel joint pinching (especially shoulders or knees), back off the range slightly and build it over time.
Method 5: Change leverage
Leverage changes are what make bodyweight training feel like it has endless levels.
Lower body progressions
- Squat → split squat → rear-foot elevated split squat
- Glute bridge → single-leg glute bridge
- Reverse lunge → walking lunge (if space allows) → tempo lunge
Upper body progressions
- Incline pushup → floor pushup → feet-elevated pushup
- Kneeling pike hold → pike pushup (shoulders) → feet-elevated pike pushup
Core progressions
- Dead bug → hollow hold tuck → hollow hold
- Front plank → long-lever plank (elbows farther forward) → plank shoulder taps
Leverage is where people get hurt if they rush. If your lower back starts “helping” on core work or your shoulders shrug up on pushups, the step was too big.
Method 6: Shorten rest
If strength moves feel fine but the workout is no longer challenging overall, rest time is a clean lever.
- Start with 60 to 90 seconds between sets
- Progress to 45 to 60 seconds
- Or keep rest the same and add one extra round
Avoid turning everything into a breathless sprint. Good reps matter more than sweating through your shirt.
Method 7: Add load
This is optional, but it is a great bridge to intermediate strength. You do not need fancy equipment.
Simple loading options
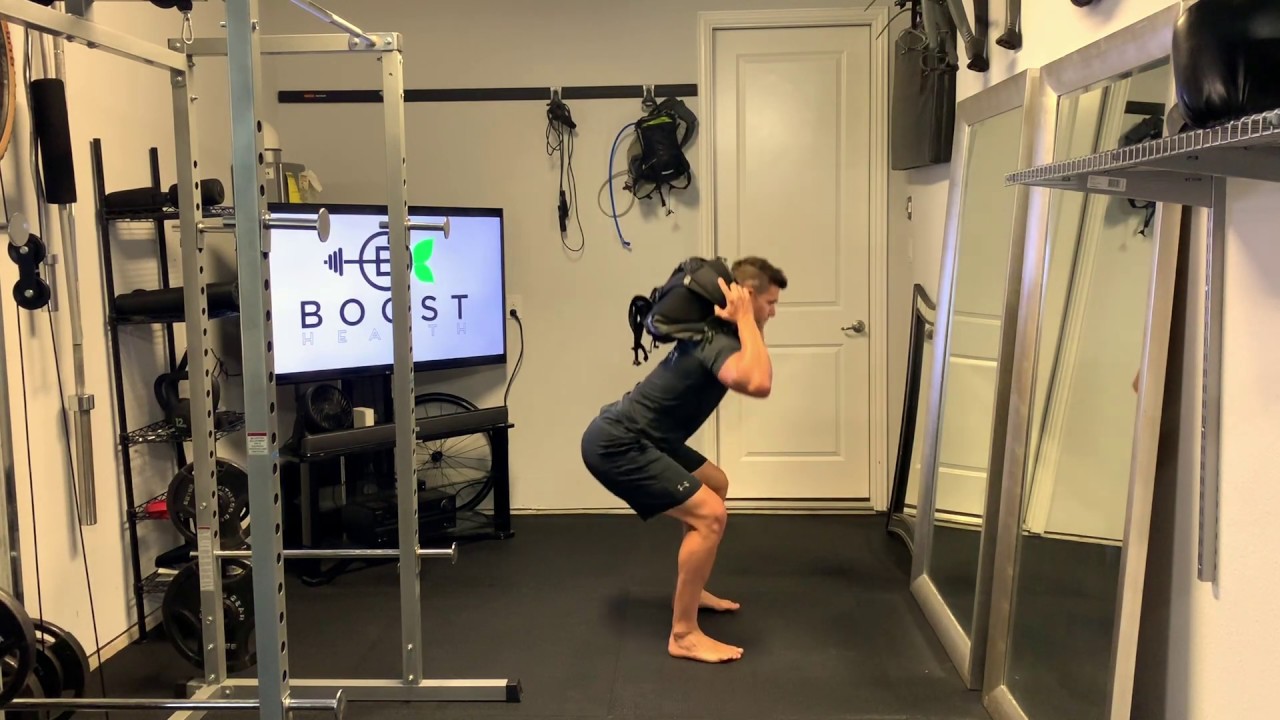
- Backpack with books or water bottles (for squats, lunges, glute bridges)
- Two grocery bags (makeshift farmer carries if you have hallway space)
- Single dumbbell or kettlebell if you own one (goblet squats, rows)
Rule: if the weight shifts around and throws off form, it is not the right tool for that movement.
A simple weekly structure
Most people stall because they progress randomly. Here is a structure that works well for busy beginners moving toward intermediate.
Option A: 3 days per week
- Day 1: Squat pattern + push + core
- Day 2: Hinge pattern + pull substitute + core
- Day 3: Split squat or lunge + push + conditioning finisher
Option B: 4 days per week
- Day 1: Lower body + core
- Day 2: Upper body + core
- Day 3: Lower body + conditioning
- Day 4: Upper body + conditioning
A 2-week wave
- Week 1: Add a small challenge (1 rep per set, or a slower tempo)
- Week 2: Repeat the same challenge and make it smoother (better depth, steadier reps)
- Then: progress again, or move to a harder variation if you are at the top of your rep range
This wave keeps you from constantly chasing “harder” and missing the point: getting stronger with great reps.
Exercise swaps
Use these when your current move is too easy at your target rep range.
Push
- Wall pushup → incline pushup (countertop) → incline pushup (chair) → floor pushup → feet-elevated pushup
- Bench dip (often cranky shoulders) → close-grip incline pushup (more shoulder-friendly for most people)
Legs
- Squat to a chair → bodyweight squat → tempo squat → split squat → rear-foot elevated split squat
- Glute bridge → single-leg glute bridge → hip thrust with shoulders on couch (if comfortable)
Core
- Knee plank → plank → long-lever plank
- Dead bug → dead bug with slower tempo → hollow hold tuck → hollow hold
Pull at home
Pulling is the hardest category for pure bodyweight at home, but you still have options. If you are doing a lot of pushups, some kind of pull work helps keep shoulders happy.
- Backpack row (hinge at hips, row the backpack handle)
- Prone W to Y raises (lying face down, slow controlled upper-back work)
- Resistance band row if you have bands (one of the safest, easiest-to-progress options)
About towel rows in a door: This can work, but it is a higher-risk DIY setup. Avoid hollow-core doors. Use the hinge side, not the latch side. Make sure the door closes toward you, lock it if possible, and test the setup with partial bodyweight before you commit. If any of that sounds sketchy in your space, skip it and use bands or backpack rows instead.
Quick balance rule
As a simple target, match your weekly pushing sets with roughly the same number of pulling sets using a row substitute. It does not need to be perfect, just consistent.
Signs you progressed too fast
Challenge is good. Pain and sloppy reps are not. Watch for these red flags:
- Joint pain (sharp, pinchy, or lingering)
- Technique breakdown in the first half of your sets
- Recovery getting worse week after week (sleep feels worse, soreness sticks around)
- Motivation drops because every session feels like a beatdown
If any of these show up, your fix is simple: reduce the difficulty one notch (less range, more rest, easier variation) and rebuild with control.
Sample progression: pushups
If pushups are your goal, here is a realistic home progression that does not require grinding failures.
- Weeks 1 to 2: Incline pushup 3x8 to 12 (pick a height that keeps form clean)
- Weeks 3 to 4: Lower the incline slightly, 3x8 to 12 with a 3-second lower
- Weeks 5 to 6: Floor pushup practice, 4x6 to 10 (stop 1 to 2 reps before technique breaks)
Once you can do 4 sets of 10 floor pushups with steady form, that is a solid milestone for this pattern in a home program. From there, you can add pauses or elevate feet.
FAQ
Should I work out longer now?
Not automatically. A well-structured 20 to 35 minutes can keep working for a long time. Progress usually comes from smarter difficulty, not longer sessions.
How often should I change exercises?
Less often than you think. If you are still improving reps, tempo, depth, or smoothness, keep the exercise. Change when progress stalls for 2 to 3 weeks despite good sleep and consistency.
Is soreness a sign I progressed correctly?
No. Soreness can happen with a new variation, but it is not a reliable marker of progress. Better markers are reps, cleaner technique, shorter rest with the same quality, and improved control.
What if I do not have equipment for pulling?
Focus on what you can do consistently: backpack rows, prone W to Y raises, and slow reverse snow angels. If you can invest later, a resistance band set is one of the most space-efficient upgrades for balanced training.
Your next step
If your beginner plan is getting easy, pick one progression method from this list and apply it for the next two weeks:
- Add 1 rep per set
- Slow the lowering phase to 3 seconds
- Add a 1-second pause in the hardest position
- Change leverage one step (like incline pushups to a slightly lower surface)
- Add 1 to 2 pulling sets per workout if your routine is push-heavy
That is it. Consistency beats intensity, especially at home. Give yourself credit for reaching the point where you need to progress. Most people never get there, not because they cannot, but because they quit too early.