Actionable ways to keep challenging your muscles without weights: harder variations, tempo, range of motion, density, and smart tracking for real muscle grow...
Home Pulse Fit
•
home workouts and fitness
No-Pull-Up-Bar Back Workout at Home
Build a stronger back at home without a pull-up bar. Use towel slides, prone isometrics, reverse snow angels, and safe towel door rows with smart progressions.

Marcus Thorne
Marcus Thorne is an NASM-certified personal trainer and the creator behind Home Pulse Fit. After successfully transforming his own health using only bodyweight routines in his small apartment, he left his demanding corporate career to help others do the same. Today, he is dedicated to making fitness accessible, sustainable, and entirely gym-free for busy beginners.
Published
October 18, 2026
Updated
October 18, 2026
If you have ever tried to train your back at home, you have probably hit the same wall I did in my old apartment: there is nowhere to hang. No pull-up bar. No sturdy beam. The good news is you can still build a strong, capable back at home by training the same patterns: pulling, shoulder control, and posture.
This is my go-to no-pull-up-bar back workout for busy beginners. It is generally joint-friendly when you stay pain-free and move with control, and it actually feels like back training, not just random flailing.
Quick safety note: If you feel sharp pain, numbness, tingling, or pain that lingers after training, stop and get checked by a qualified clinician. Mild muscle burn is normal. Joint pain is not.
What you can train without a pull-up bar
Your back is not one muscle. For a balanced, pain-resistant upper body, we want to train:
- Lats (the big “wing” muscles): help pull your upper arm down and toward your hips (shoulder extension and adduction).
- Mid-back (rhomboids and middle traps): help you squeeze shoulder blades together and keep posture tall.
- Lower traps and rear delts: help your shoulders sit in a healthier position, especially if you sit a lot.
- Spinal erectors: help you stay strong through your trunk and hinge safely.
With no bar, we create “pulling” by using friction (towels), sliding (socks or sliders), isometrics (hard squeezes), and smart lever changes.
Quick setup
Pick what you have and you’re ready.
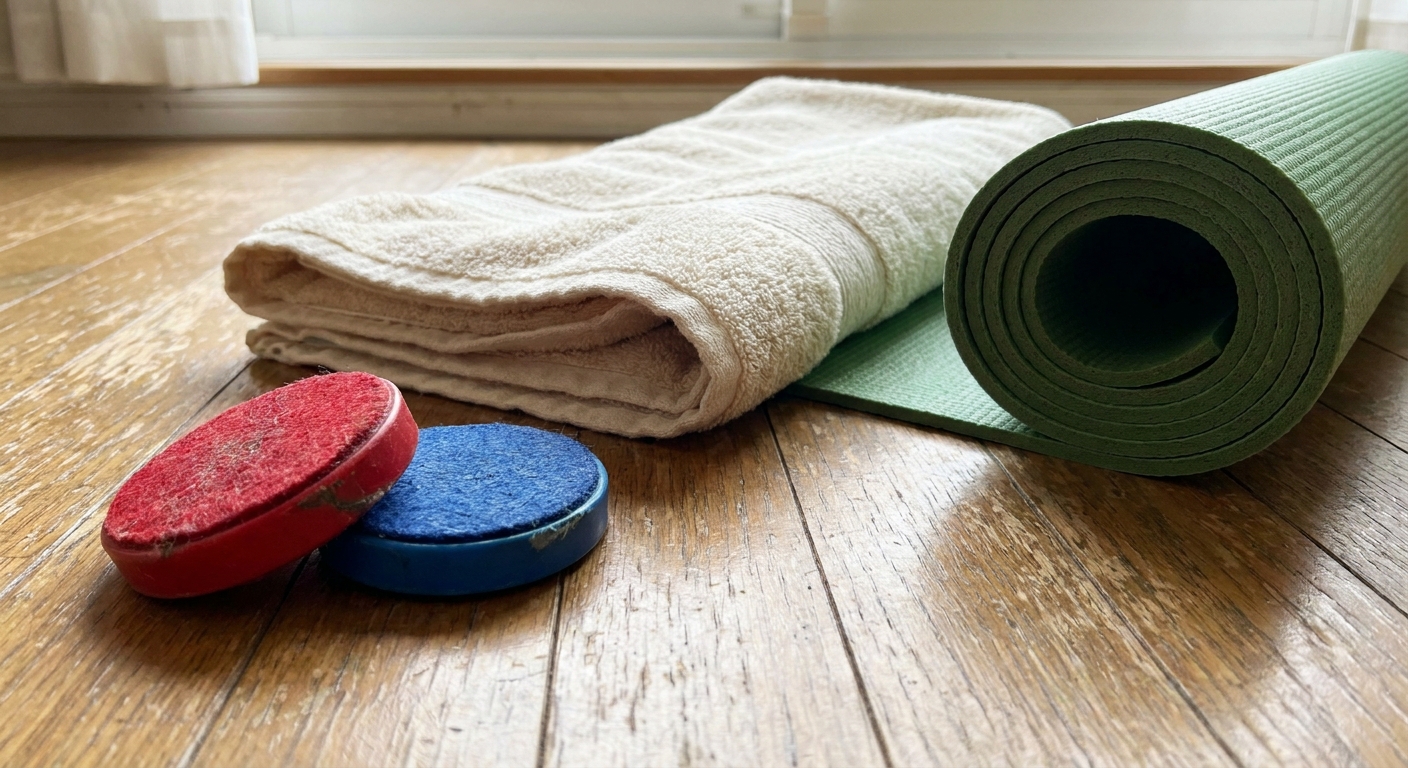
- Smooth floor (wood, tile, laminate) plus a towel or socks for sliding.
- Carpet? Use two small towels, paper plates, or inexpensive furniture sliders.
- Optional row setup: A sturdy, hinged door and a bath towel for towel door rows (details below). This is usually safer than guessing with a table edge.
- A yoga mat for comfort during prone work (optional).
Warm-up (3 to 5 minutes)
This workout will feel better if your shoulders and upper back are “awake” first.
- Shoulder circles: 10 forward, 10 backward.
- Wall slides: 8 slow reps, keep ribs down.
- Prone W squeeze: lie face down, elbows bent in a “W,” lift hands slightly and squeeze shoulder blades for 5 seconds, repeat 3 times.
- Hip hinge practice: 8 slow hinges with hands on hips, feel hamstrings load.
The no-pull-up-bar back workout
Format: 3 rounds. Rest 45 to 75 seconds between exercises as needed. Move with control. Your goal is to feel your back doing the work, not your neck.
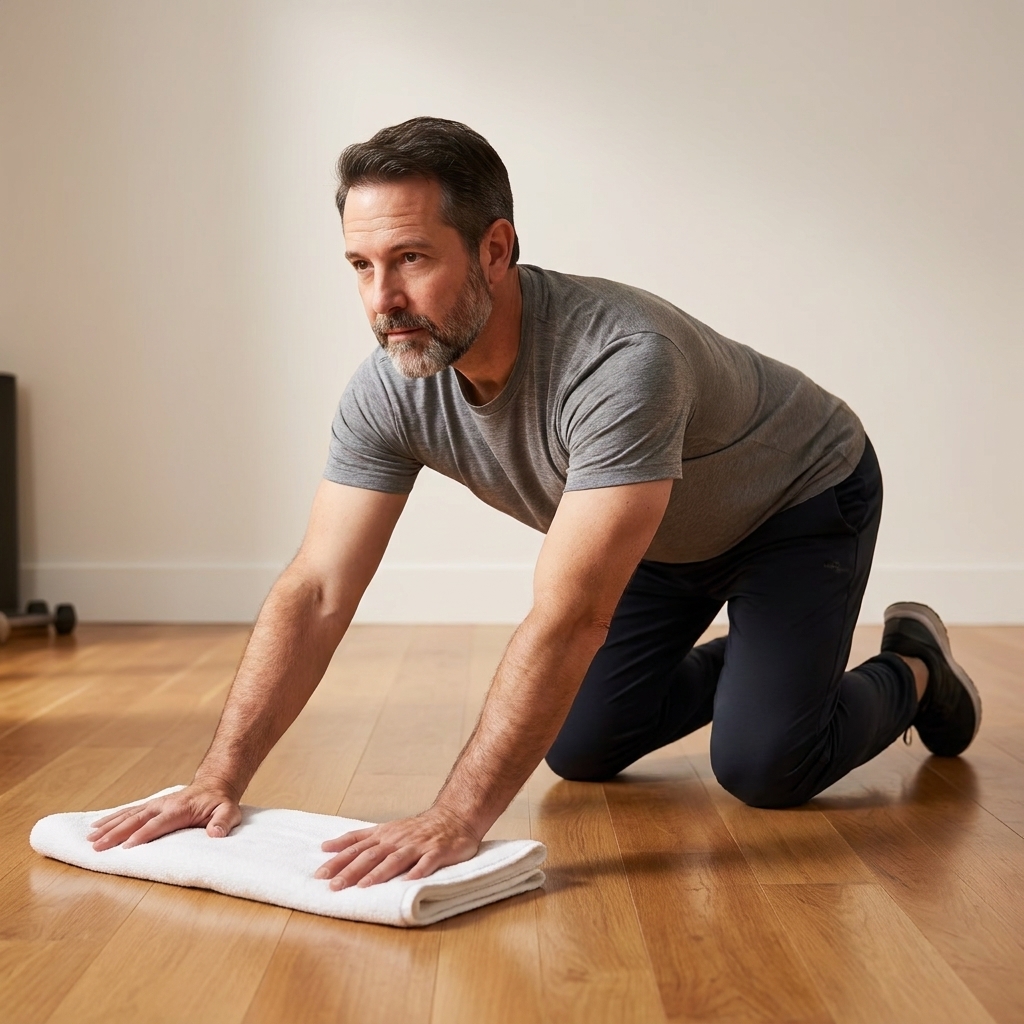
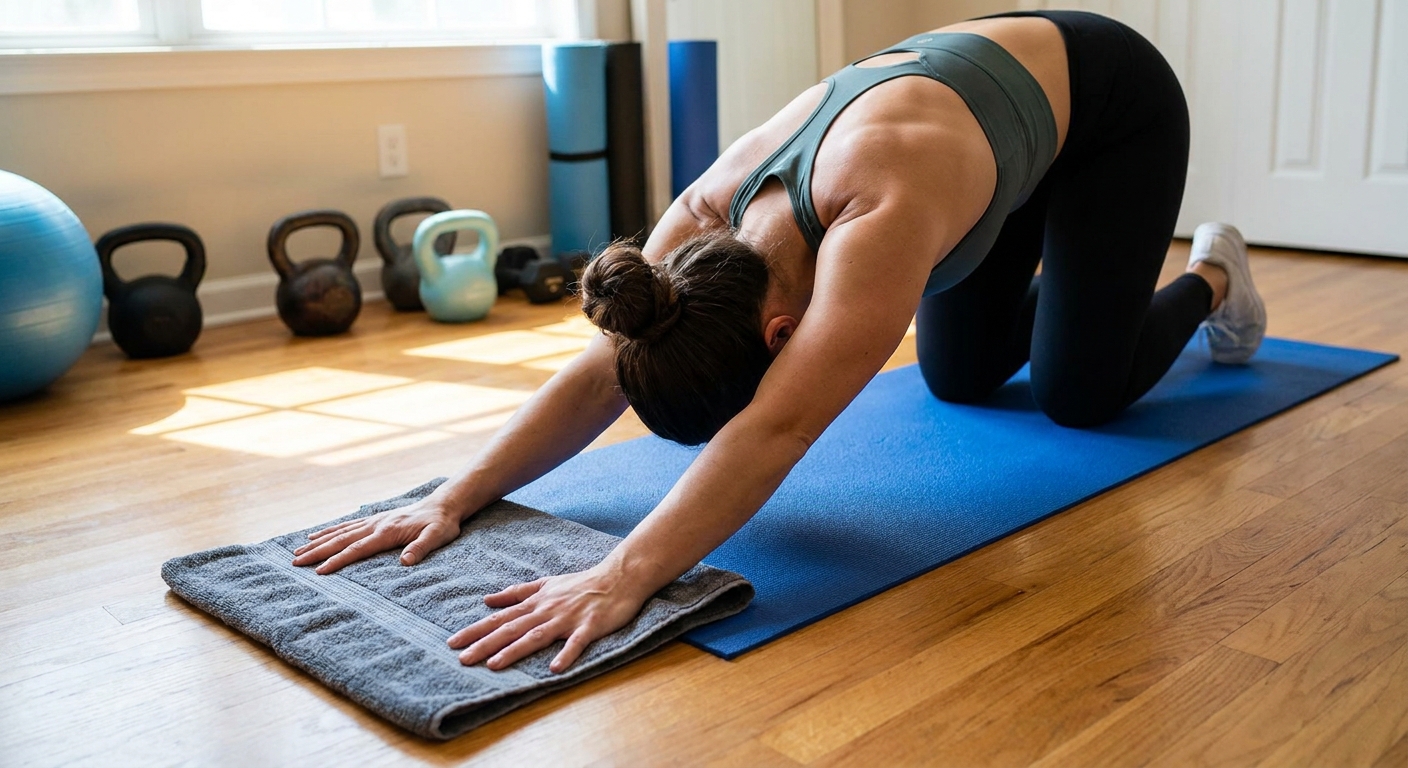
1) Sliding towel lat slide (kneeling)
What it trains: a lat-focused shoulder extension pattern, plus core bracing. It is not a perfect replacement for a true vertical pulldown. Think of it as more like a straight-arm pulldown against friction, which is still a great way to train the lats at home.
How to do it:
- Kneel on a mat. Place a towel under your hands on a smooth floor.
- Reach arms forward, hips stacked over knees.
- Keep arms fairly straight, press hands lightly into the floor, and drag the towel back toward your knees by driving elbows down and back.
- Pause 1 second when your hands reach near your knees, then slowly slide forward again.
Do: 8 to 12 reps at a slow tempo.
Coach cues: Keep shoulders away from ears. Think “armpits tight” and “pull from the armpits,” not “curl with the biceps.” If your low back arches, shorten the reach.
2) Prone pulldown isometric (to W)
What it trains: upper back and shoulder control, with some lat involvement for many people when you pull elbows down toward your ribs.
How to do it:
- Lie face down with arms overhead in a relaxed “Y.” Forehead can rest on a small towel.
- Without shrugging, pull your elbows down toward a “W” position (upper arms closer to your sides than a wide flare).
- Even if you barely move, pull hard like you are trying to drag your elbows into your back pockets.
- Hold the squeeze, then relax fully.
Do: 5 to 8 holds of 5 to 10 seconds.
Coach cues: Neck stays long. Keep ribs heavy on the floor. If lifting hands bothers your shoulders, keep them down and focus on tension only.
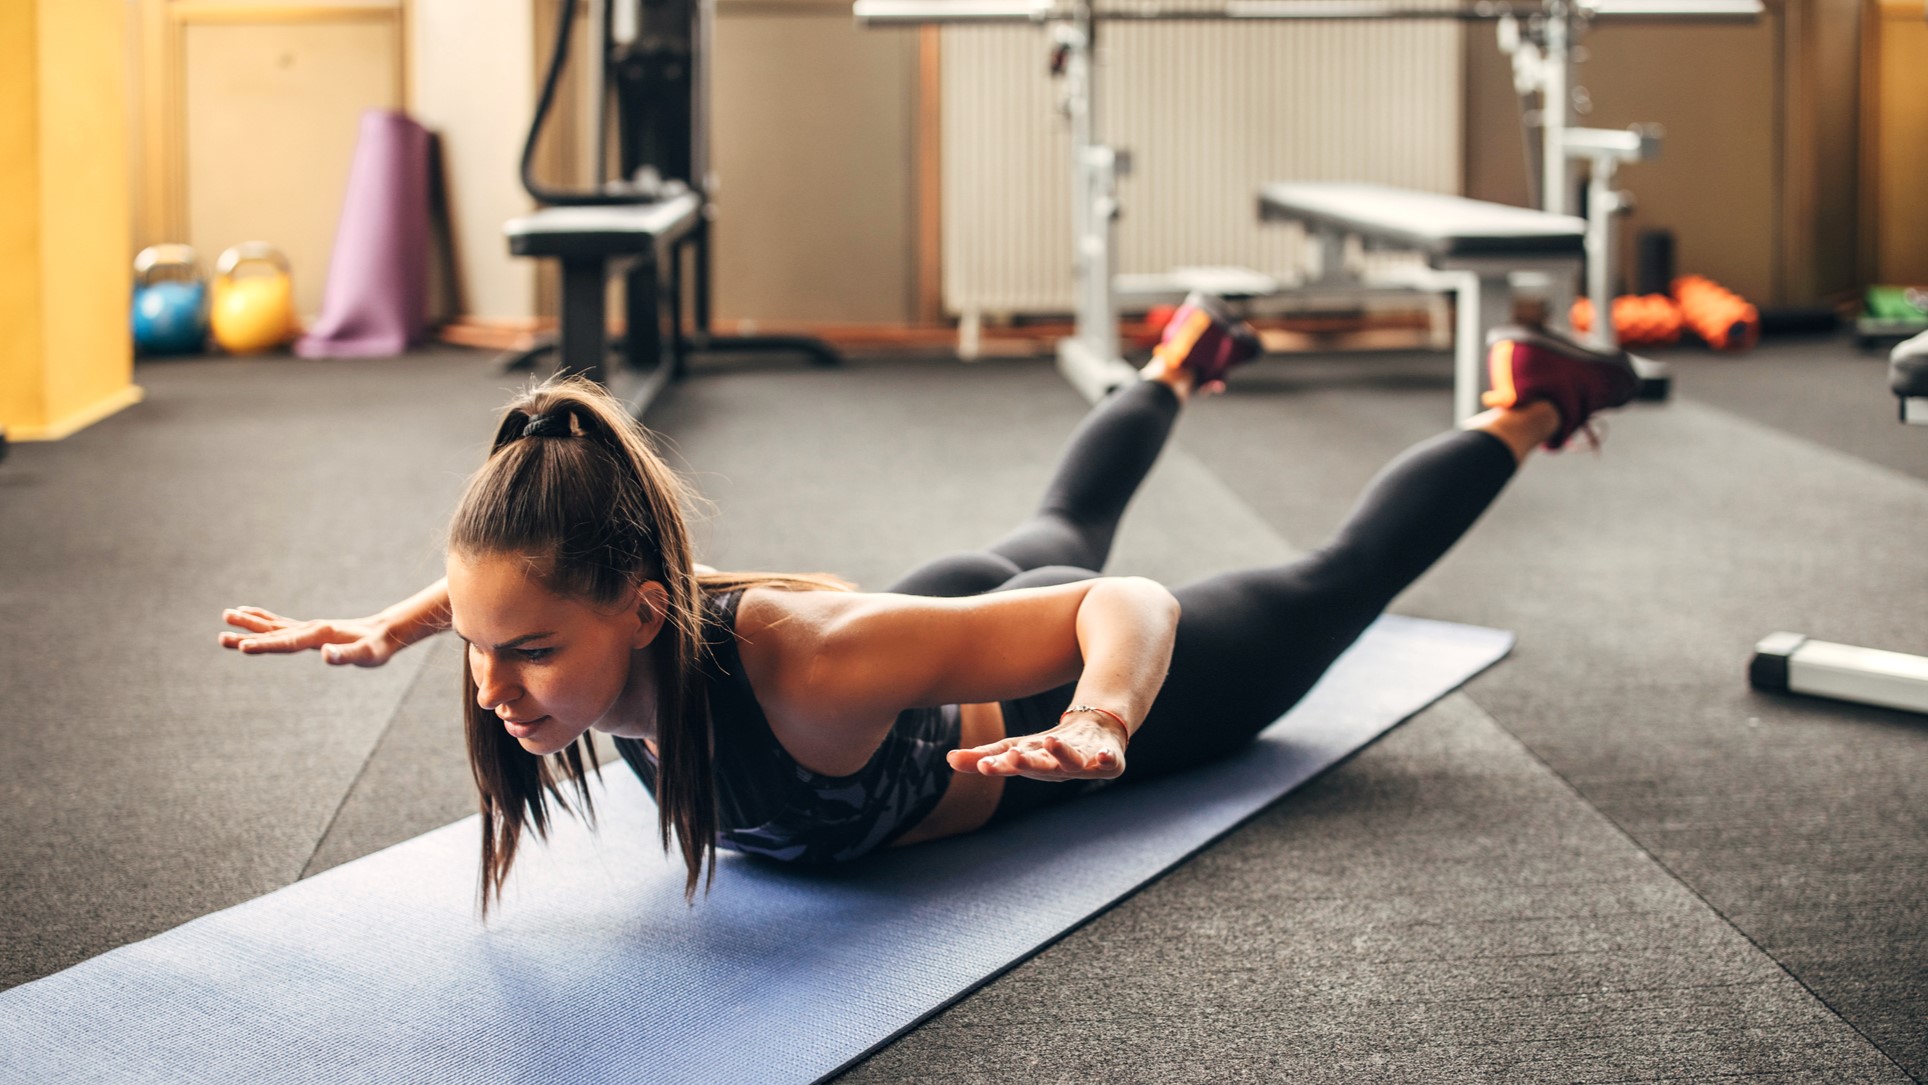
3) Reverse snow angels
What it trains: rear delts, lower traps, upper back endurance.
How to do it:
- Lie face down, arms by your sides, palms down.
- Keep your forehead supported on a small towel so you do not crank your neck.
- With ribs down, lift hands slightly (even a little counts), then sweep arms out wide and overhead like making a snow angel.
- Reverse the path back to your sides with control.
Do: 6 to 10 slow reps.
Coach cues: Think “wide collarbones.” Keep the range small if you feel your upper traps taking over or your low back trying to do the work.
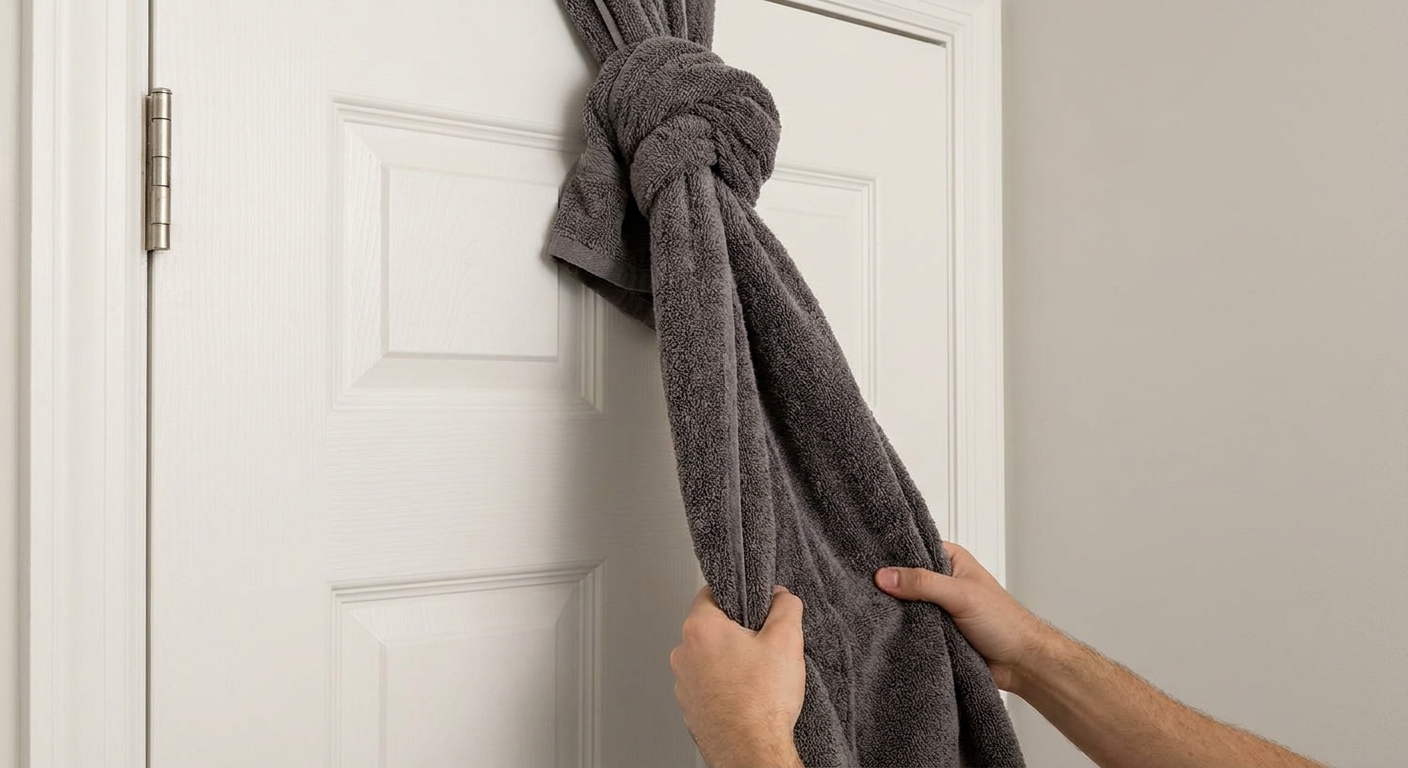
4) Towel door rows (safer row option)
What it trains: mid-back, lats, and biceps in a true horizontal pulling pattern.
Safety first: Use a solid door with sturdy hinges. Do not use a glass door, a loose door, or a door that does not latch securely. Close the door so it opens away from you. Place the towel on the hinge side so the door cannot swing toward you. Close it fully and lock it if possible. Test it gently before you commit your bodyweight. If the door has any play or the towel shifts when you load it, do not use it.
How to do it:
- Thread a bath towel through the top of the door on the hinge side and tie a big knot so it cannot slip through when the door is closed.
- Hold both ends of the towel, step feet forward, and lean back with a straight body line.
- Pull your chest toward your hands by squeezing shoulder blades back and down.
- Lower slowly with control.
Do: 6 to 12 reps.
Make it easier: Stand more upright.
Make it harder: Walk feet farther forward or pause 2 seconds at the top.
No safe door option? Skip rows and do an extra set of the towel lat slide plus the prone pulldown isometrics.
5) Prone cobra hold
What it trains: spinal erectors, lower traps, posture muscles.
How to do it:
- Lie face down, arms by your sides, thumbs pointing out.
- Gently lift chest and hands off the floor and squeeze shoulder blades together.
- Hold, then lower.
Do: 3 holds of 15 to 30 seconds.
Coach cues: This is not a big backbend. Think “tall through the crown of the head.” Keep glutes lightly engaged and ribs down.
Two finishers (choose one)
If you have 3 to 5 extra minutes, finish with one of these. They build that “my back is working” endurance that makes posture feel easier all day.
Finisher A: Back endurance ladder
- Reverse snow angels: 6 reps
- Prone pulldown isometric: 5 x 5-second holds
- Prone cobra: 20-second hold
Repeat once (2 total mini-rounds).
Finisher B: Lat focus burn
- Sliding towel lat slide: 10 reps
- Immediately hold the bottom position: 10 seconds
Rest 60 seconds and repeat for 2 total rounds.
Progressions and form checks
Progress by adding control first
- Slow the lowering to 3 to 5 seconds on slides and rows.
- Add pauses where your back is working hardest (end of slide, top of row, hardest point of the isometric).
- Add range only if you can keep shoulders away from ears and ribs down.
Then add volume or load
- Add one round: go from 3 rounds to 4 when 3 feels smooth.
- Add total holds: build prone pulldown isometrics from 5 holds to 10 holds over time.
- Add light load: hold a very light object (like a small book) in each hand for reverse snow angels, or add a small folded towel under the hands to increase friction on slides.
Unilateral option
If one side always feels weaker, add this after your main work:
- Single-arm towel lat slide: do the same kneeling slide with one hand on the towel and the other hand on the floor for support. Do 6 to 10 reps per side.
Signs you are hitting the back
- You feel effort under your armpits (lats) and between shoulder blades (mid-back), not only in your neck.
- Your shoulders feel “set” and stable during the movement.
- You finish with a warm pump in the upper back, not sharp pinching in the front of the shoulder.
Common form fixes
- Neck tension: Look down slightly, keep chin gently tucked, and reduce range.
- Low back arching on slides or angels: Tighten ribs down and shorten how far you reach.
- Shoulders shrugging: Think “shoulders in back pockets” and slow the rep.
Weekly plan
If you are a busy beginner, this is plenty:
- 2 days per week: Do this workout as written (3 rounds).
- Optional 3rd day: Do 1 to 2 rounds only, keep it easy, focus on quality.
Pair it with a push day (push-ups, incline push-ups, pike push-ups) and a leg day (squats, split squats, glute bridges) and you have a full, gym-free routine.
FAQ
Can you really build back muscle without pull-ups?
Yes, especially as a beginner. You can grow muscle with enough tension, control, and progression. Pull-ups are great, but they are not the only path. Slides, isometrics, and rows can take you a long way.
What if I cannot feel my back working?
Slow down and shorten the range. Most people move too fast and shrug. Add a 2-second pause where you are trying to squeeze something between your shoulder blades, and keep your neck relaxed.
Is this safe if I have shoulder pain?
If you have sharp pain, numbness, or pain that lingers after workouts, it is worth checking in with a qualified clinician. For mild discomfort, keep ranges small, prioritize the prone cobra and gentle isometrics, and skip anything that pinches in the front of the shoulder.
Do I need bands for this?
No. Bands are helpful, but this routine is designed to work with just your body, a towel, and a floor that lets you slide.
Your next workout
If you want to keep it simple, here is your plan for the next 14 days: do this back workout twice per week, stop each set when you feel like you could do 1 to 2 more clean reps with perfect form, and aim to improve just one thing each session, like a longer pause, an extra hold, or a slower lowering. Consistency beats intensity, every time.