A practical, no-jargon guide to dynamic warm-ups and cool-down stretching protocols that help your home HIIT feel better, safer, and more effective.
Home Pulse Fit
•
home workouts and fitness
7 High-Intensity Jump Rope Workouts for Your Garage or Driveway
Seven jump rope HIIT workouts you can do at home, from beginner to advanced. Clear intervals, form tips, safety notes, and simple ways to scale each routine.

Marcus Thorne
Marcus Thorne is an NASM-certified personal trainer and the creator behind Home Pulse Fit. After successfully transforming his own health using only bodyweight routines in his small apartment, he left his demanding corporate career to help others do the same. Today, he is dedicated to making fitness accessible, sustainable, and entirely gym-free for busy beginners.
Published
October 18, 2026
Updated
October 18, 2026
If you’ve got a garage, a driveway, and a jump rope, you’ve basically got a cardio machine that fits in a drawer. Jump rope is one of my favorite busy-beginner tools because it’s simple, wildly effective in short doses, and easy to scale up or down without changing your space.
Below are 7 high-intensity jump rope workouts ranging from “I’m still getting the hang of this” to “I want a spicy 12-minute challenge.” Pick one, repeat it 2 to 4 times per week, and let consistency do the heavy lifting.
Before you start
Quick setup
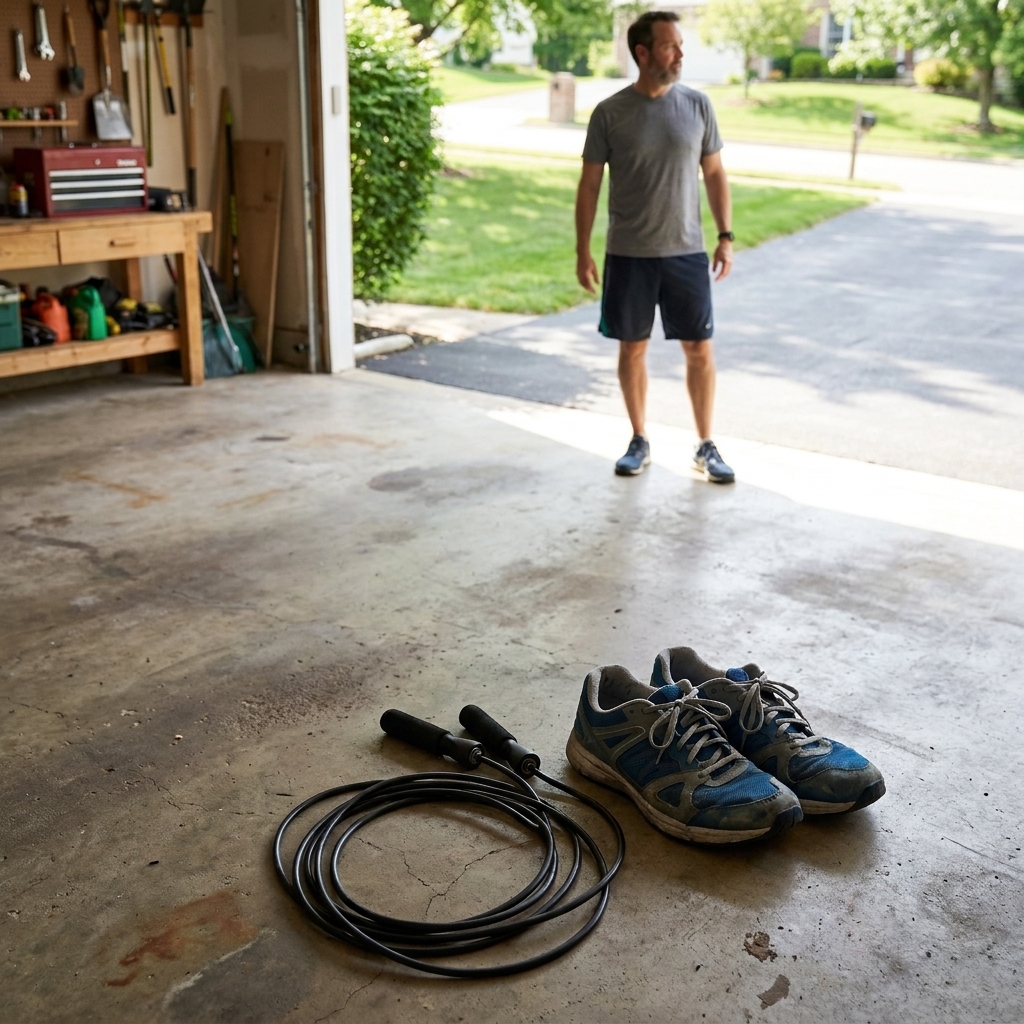
- Surface: Smooth concrete works, but it is less forgiving than rubber or wood. If you have a thin rubber mat, use it to reduce impact and protect your rope.
- Traction check: Skip the session if the driveway is wet, dusty, or covered in leaves. Slips happen fast.
- Ceiling check: In a garage, make sure your rope clears lights and the door track.
- Shoe check: Supportive trainers beat bare feet for most beginners, especially on concrete.
Quick form basics
- Posture: Tall torso, eyes forward, soft knees.
- Landing: Quiet, low hops. Think midfoot, not stomping heels.
- Hands: Elbows close to your sides, hands slightly behind your hip bones.
- Turn: Wrists do the work. Shoulders stay relaxed.
Rope length (fast check)
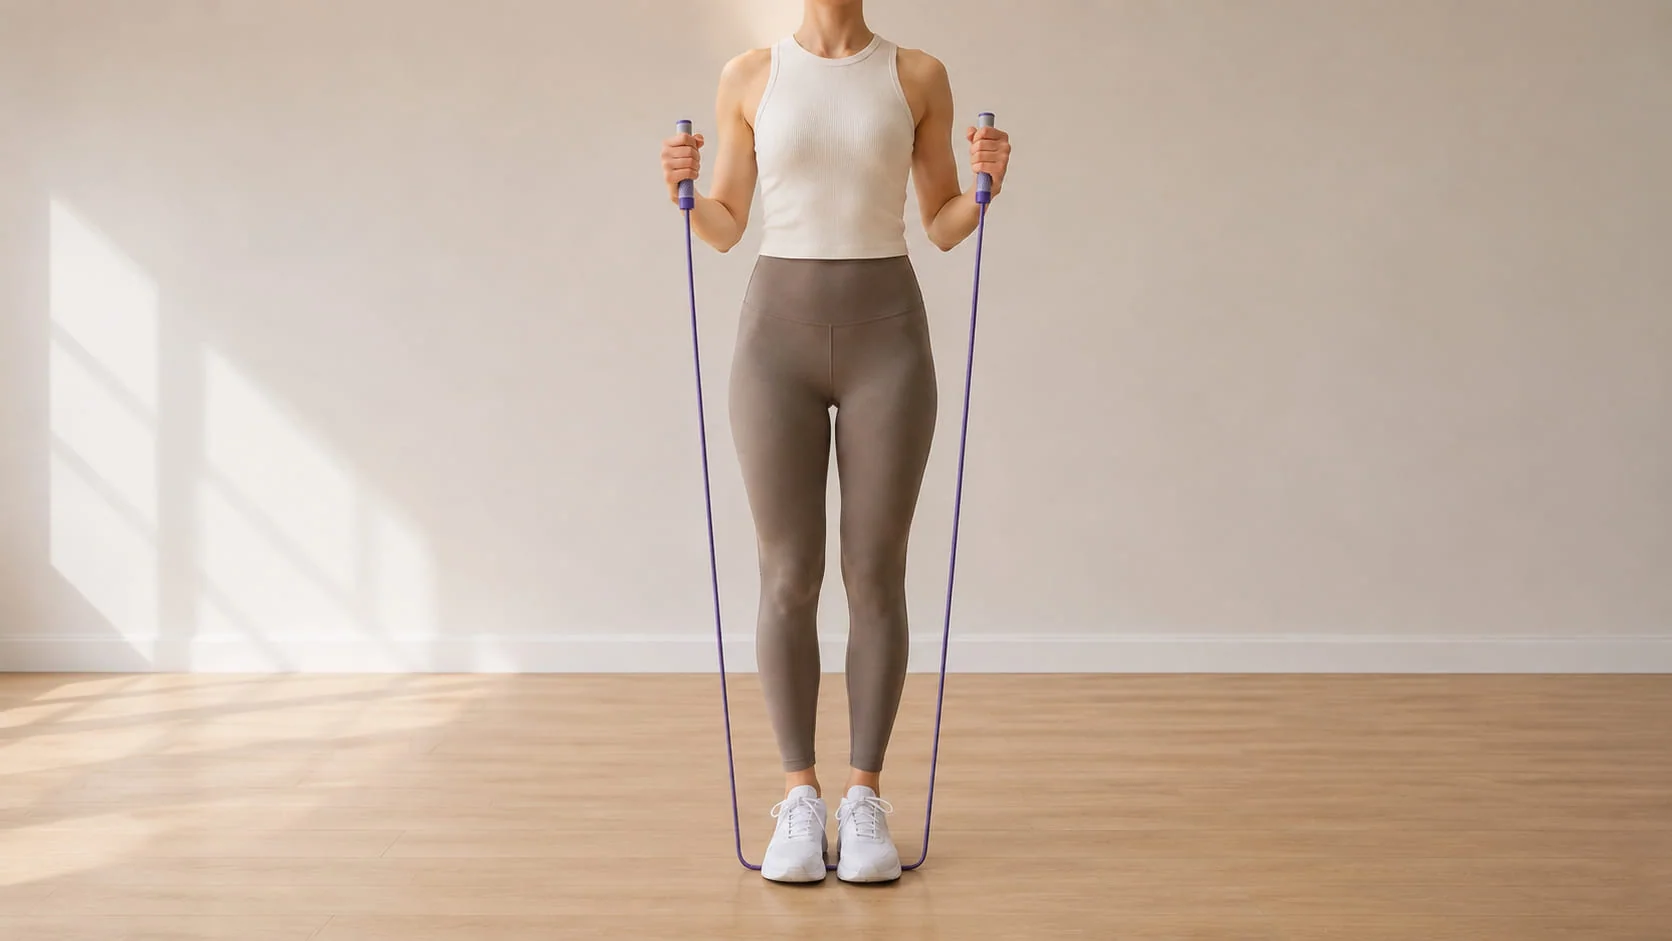
Stand on the middle of the rope with one foot. Pull the handles up. For many adults, handle tops landing around lower chest to armpit height is a solid starting point. Speed ropes and experienced jumpers often go a bit shorter, so feel free to adjust. Too long usually causes trips. Too short makes you hunch and slap the rope down.
Warm-up (4 minutes)
Do this before any workout below. You’ll jump better and your shins will thank you.
- 30 seconds easy rope bounce (or pretend jump without a rope)
- 30 seconds arm circles and shoulder rolls
- 30 seconds ankle bounces (tiny hops, heels kissing the floor)
- 30 seconds alternating toe taps forward and back
- 30 seconds easy rope bounce
- 30 seconds calf raises (slow and controlled)
- 60 seconds walk around, nasal breathing, shake out calves
7 jump rope HIIT workouts
How to use these: Each workout lists a work-to-rest plan. “Work” should feel challenging but controlled. If your form falls apart, shorten the interval, slow the rope, or switch to a basic bounce.
Safety note: Stop if you feel sharp pain (especially in the shin, ankle, knee, or Achilles). If you are pregnant or postpartum, or you have a history of shin splints, Achilles or plantar fasciitis issues, osteoporosis, or you are returning after a long layoff, getting a clinician’s or coach’s OK is a smart move.
1) Beginner On-Ramp (10 minutes)
Best for: brand new jumpers or anyone coming back from a long break.
Timer: 20 seconds work, 40 seconds rest x 10 rounds
- Rounds 1 to 10: Basic bounce (two feet) or alternating steps (march-style)
Coaching cues: Keep hops low. Elbows tucked. Turn the rope with your wrists, not your whole arms.
Make it harder: Reduce rest to 30 seconds.
Make it easier: Do ghost rope (jump without the rope) during work intervals.

2) Driveway Ladder (10 minutes)
Best for: improving stamina without getting overwhelmed.
Timer: Climb up, then down.
- 20 seconds work, 20 seconds rest
- 30 seconds work, 30 seconds rest
- 40 seconds work, 40 seconds rest
- 50 seconds work, 50 seconds rest
- 40 seconds work, 40 seconds rest
- 30 seconds work, 30 seconds rest
- 20 seconds work, 20 seconds rest
Movement: Basic bounce the entire time. If you’re comfortable, alternate steps on the longer intervals.
Make it harder: Use the last 10 seconds of each work interval as a speed push.
Optional add-on: If you want this closer to 12 minutes, repeat the full ladder twice and stop whenever your form starts getting sloppy.
3) Power 30s (10 minutes)
Best for: a classic HIIT feel with plenty of recoveries.
Timer: 30 seconds hard, 30 seconds easy x 10 rounds
- Hard: Fast basic bounce (think quick feet, low jump)
- Easy: Slow basic bounce or step-touch without the rope
Target effort: Hard rounds at about 8 out of 10 effort. Easy rounds should let you regain control of your breathing.
Make it harder: Keep the rope going for the easy round at a steady pace.
Want 15 minutes? Do 15 rounds instead of 10.

4) Footwork Builder (14 minutes)
Best for: coordination and calorie burn without jumping higher.
Timer: 40 seconds work, 20 seconds rest x 14 rounds (repeat the 7-round block twice)
Rounds (repeat twice):
- Round 1: Alternating steps (jog step)
- Round 2: Side-to-side hops (small)
- Round 3: Forward-back hops (small)
- Round 4: Alternating steps
- Round 5: Side-to-side hops
- Round 6: Forward-back hops
- Round 7: Choose your favorite and aim for smooth, steady breathing
Make it easier: Do the footwork without the rope for the first block, then add the rope for the second block.
Pro tip: If your rope keeps catching on side-to-side hops, your hands may be drifting forward. Keep them slightly behind your hip bones.

5) EMOM Rope Sprints (12 minutes)
Best for: people who like structure and a clear finish line.
Timer: Every Minute On the Minute (EMOM) for 12 minutes
At the start of each minute:
- Do 30 seconds fast jump rope
- Rest the remaining 30 seconds
Goal: Keep your fast 30 seconds consistent from minute 1 to minute 12.
Make it harder: Increase work to 35 seconds, keep the minute the same.
Make it easier: Do 20 seconds fast, rest 40 seconds.

6) Advanced Tabata Rope (8 minutes)
Best for: experienced jumpers who can keep form under fatigue.
Timer: 20 seconds work, 10 seconds rest x 16 rounds (8 minutes)
Option A (simple and spicy): Fast basic bounce every work interval.
Option B (skill-based):
- Odd rounds: High knees (rope turns under quick steps)
- Even rounds: Basic bounce to recover while still working
Important: If you start whipping the rope with your arms, stop, reset, and go back to basic bounce. Tabata only works if your form stays safe.
7) The Garage Burner (18 minutes)
Best for: advanced conditioning and full-body fatigue without equipment.
Timer: 45 seconds work, 15 seconds rest x 12 rounds
Rotation (repeat 3 times):
- Round 1: Jump rope fast (basic bounce)
- Round 2: Jump rope alternating steps (smooth, steady)
- Round 3: Jump rope power bursts (10 seconds fast, 10 seconds moderate, repeat)
- Round 4: Jump rope easy recovery pace (still moving)
Make it harder: On Round 3, make it 15 seconds fast, 15 seconds moderate.
Make it easier: Turn Round 4 into a walk around your driveway while you breathe.
How to scale
If you keep tripping
- Slow the rope and jump lower.
- Switch to alternating steps. It’s often easier than two-foot jumping.
- Shorten your work interval to 10 to 15 seconds and build up.
- Recheck rope length and keep elbows close to your sides.
If calves or shins start to ache
- Reduce frequency to 2 days per week at first.
- Use a mat if possible, especially on concrete.
- Use more step-style rounds (alternating steps) and fewer two-foot jumps.
- Add a 2-minute cool-down walk after training.
If you want more intensity without more impact
- Jump faster, not higher.
- Tighten rest periods by 5 to 10 seconds.
- Add rounds gradually, not all at once.
Cool-down (3 minutes)
- 60 seconds easy walk, deep nasal breathing
- 60 seconds calf stretch against a wall or garage step
- 30 seconds quad stretch each side
Weekly plan
If you want a simple schedule that works:
- Week 1 to 2: Workout 1 or 2, 2 to 3 days per week
- Week 3 to 4: Add Workout 3 once per week
- Week 5+: Rotate any 2 to 4 workouts per week. Keep at least one easier day (1, 2, or 4).
The real secret is not choosing the hardest session. It’s choosing the one you’ll actually repeat.
FAQ
Is jump rope HIIT?
It can be. If you use short, hard work intervals with planned recovery (like the EMOM or Tabata workouts above), jump rope fits HIIT perfectly. If you jump at a steady, conversational pace for 15 to 30 minutes, that’s more traditional cardio.
How long should a jump rope HIIT workout be?
For most home exercisers, 8 to 18 minutes of intervals plus a short warm-up is plenty. If you’re new, start at 10 to 12 minutes and build gradually.
What if I don’t have space in my garage?
A driveway usually works even better. You need a few feet of clearance around you and enough overhead room for the rope to clear comfortably.
Is jump rope good for weight loss?
Jump rope can be a strong calorie-burning tool and a fast way to build conditioning, but results depend on your body size, effort, and how consistently you train. Pair it with a repeatable weekly routine and nutrition you can sustain. Consistency beats the occasional all-out session every time.