No jumps, no heavy landings, no neighbor drama. Try these 10 low-impact HIIT moves and a ready-to-follow 20-minute apartment routine.
Home Pulse Fit
•
home workouts and fitness
20-Minute Tabata-Style Fat-Burn Routine
A fast, gym-free Tabata-style workout you can do in 20 minutes at home: five 4-minute blocks, beginner-friendly options, and pacing tips to support fat loss.

Marcus Thorne
Marcus Thorne is an NASM-certified personal trainer and the creator behind Home Pulse Fit. After successfully transforming his own health using only bodyweight routines in his small apartment, he left his demanding corporate career to help others do the same. Today, he is dedicated to making fitness accessible, sustainable, and entirely gym-free for busy beginners.
Published
October 18, 2026
Updated
October 18, 2026
If you have 20 minutes and a small patch of floor, you can absolutely get a heart-pounding workout that supports fat loss. This is the exact kind of routine I built in my apartment back when I thought “real fitness” required a gym and two-hour sessions.
This workout uses Tabata-style intervals, a simple structure: 20 seconds of hard work, then 10 seconds of rest, repeated for 8 rounds. That is 4 minutes per block. We will do five 4-minute blocks for a clean 20 minutes.
One quick reality check, in plain English: fat loss mostly comes down to overall calorie balance and consistency. HIIT helps by boosting weekly energy expenditure and improving fitness so you can do more work over time.
Before you start
What you need
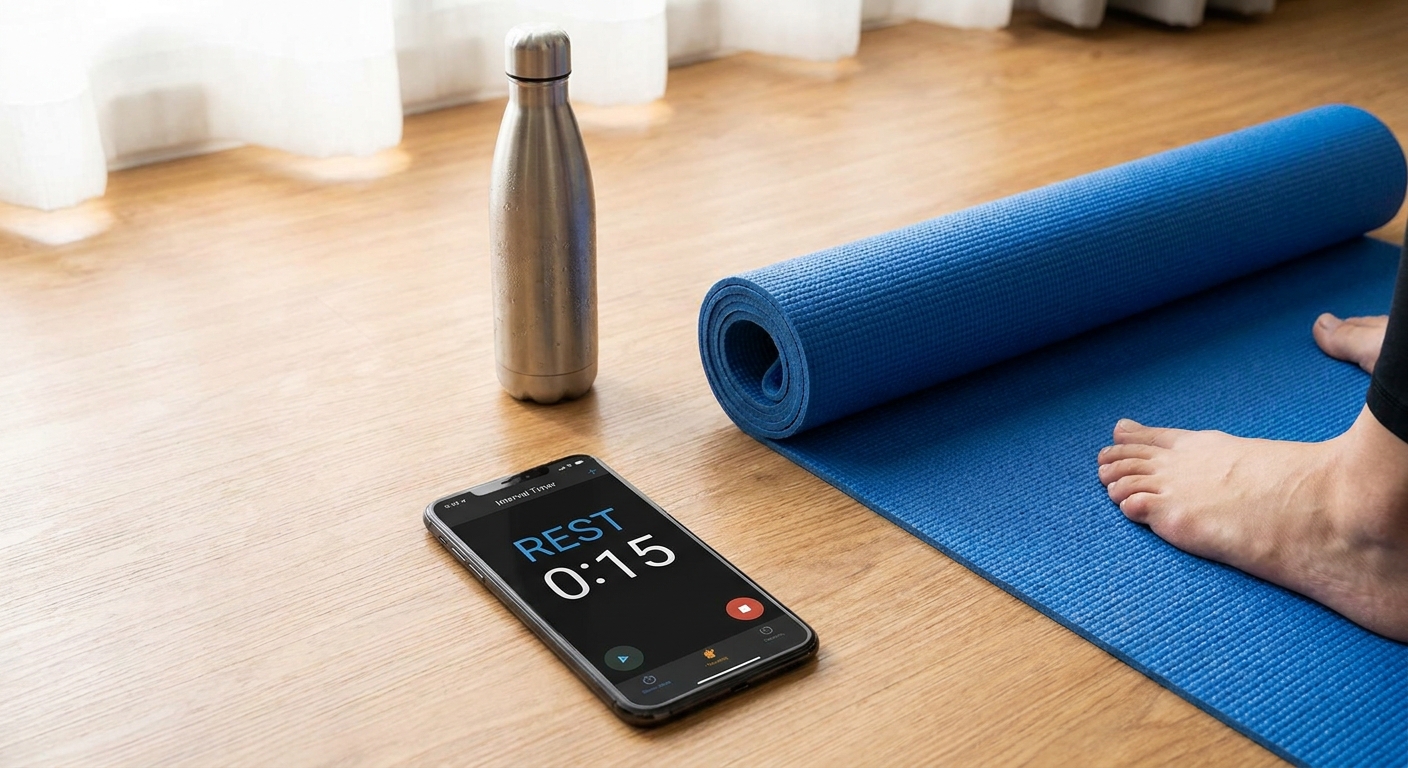
- A timer (Tabata timer app, interval timer, or YouTube timer)
- A small clear space (about the size of a yoga mat)
- Sneakers optional (barefoot is fine for many people, but use shoes if you are doing lots of jumping)
- Water
How hard should this feel?
In each 20-second work window, aim for a 7 to 9 out of 10 effort. You should be breathing hard, but still able to keep decent form. If your form falls apart, you are going too fast. Slow down and win the round with clean reps.
Quick safety notes
- If you have knee, ankle, back, or shoulder pain, use the low-impact options provided.
- If you are pregnant, postpartum, very deconditioned, or managing uncontrolled blood pressure or a cardiac condition, get medical clearance before doing HIIT and choose low-impact options.
- Land softly on jumps, keep your knees tracking over your toes, and avoid letting them cave inward.
- If you feel sharp pain, dizziness, or chest discomfort, stop and seek medical guidance.
2-minute warm-up
Tabata-style intervals hit fast. Give your joints and lungs a quick ramp-up.
- 30 seconds: March in place, big arm swings
- 30 seconds: Squat to stand (slow, controlled)
- 30 seconds: Alternating reverse lunge reach (or step-back taps)
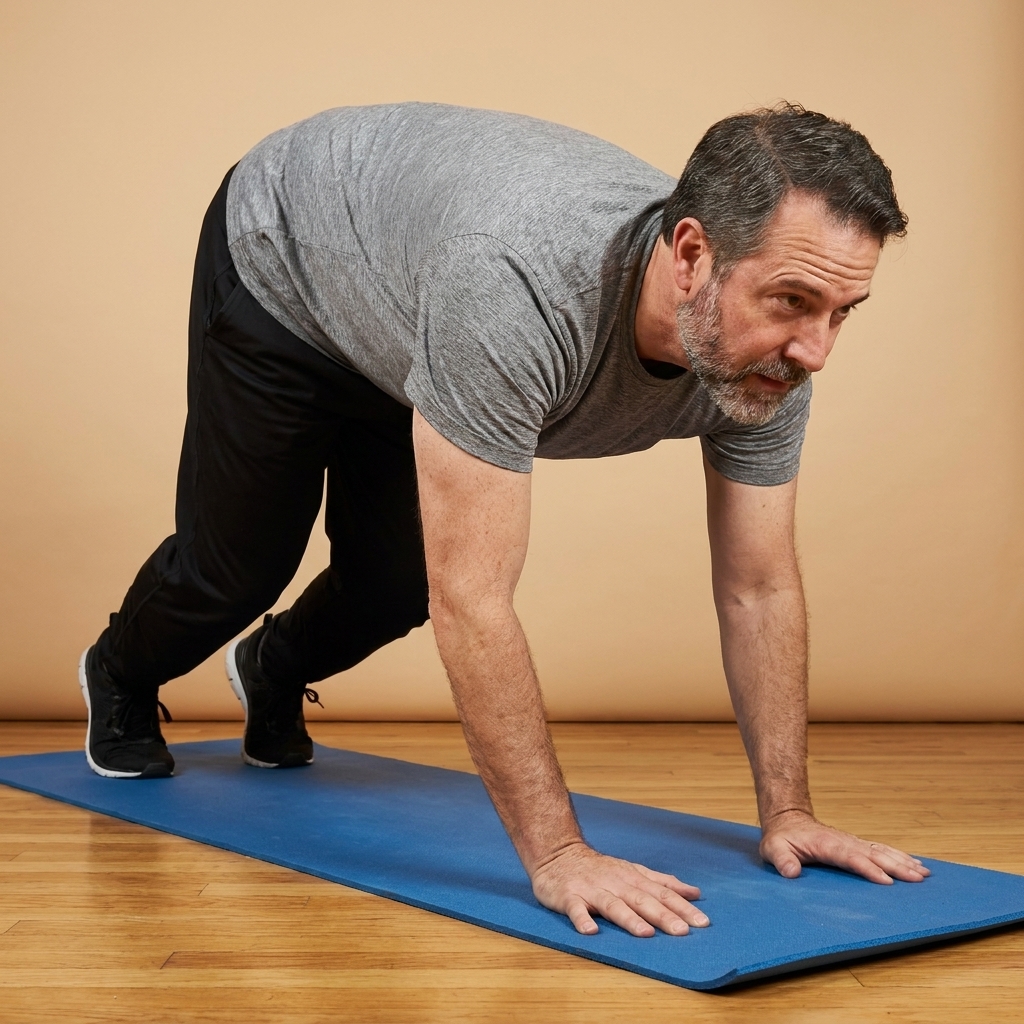
- 30 seconds: Inchworm walkout to a high plank, then walk hands back (or just hip hinges)
The 20-minute routine
Format for every block: 20 seconds work, 10 seconds rest, for 8 rounds total.
Most blocks use two exercises. Alternate them like this: Round 1 Exercise A, Round 2 Exercise B, Round 3 A, Round 4 B, and so on until you complete 8 rounds.
Transition tip: The 10 seconds go fast. When possible, set up so you do not have to move your mat or change positions. Stay close to the next start position, breathe, and go.
Block 1: Squat power
Exercise A: Squat to knee drive (right)
Exercise B: Squat to knee drive (left)
How: Sit back into a squat, stand up and drive one knee up as if you are stepping over a log. Keep your chest tall, brace your midsection.
Make it harder: Add a small hop on the knee drive.
Make it easier: Reduce squat depth and keep the knee drive low.
Block 2: Upper body and core
Exercise A: Push-up (any level)
Exercise B: Plank shoulder taps
Push-up options:
- Hard: Standard push-up
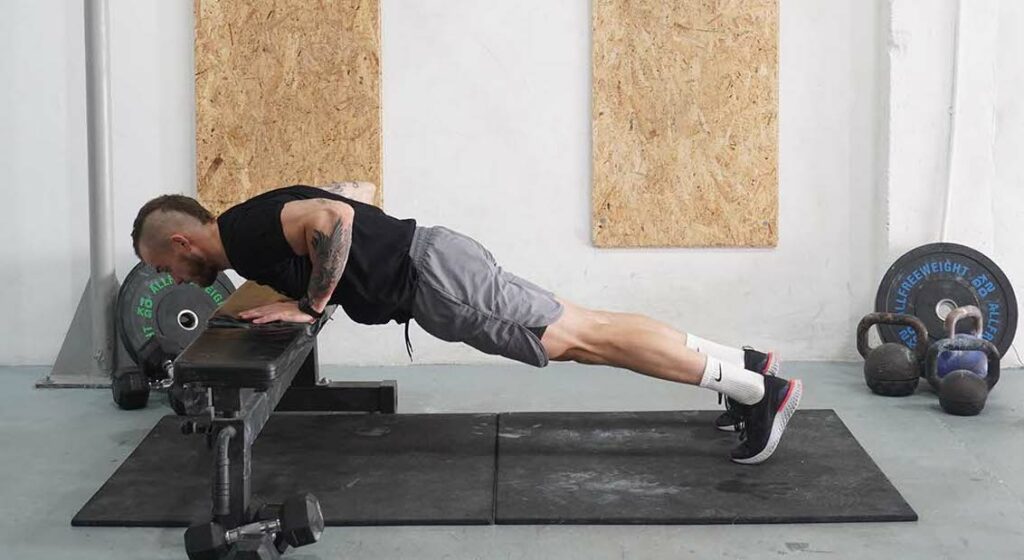
- Medium: Hands elevated on a sturdy couch or countertop
- Beginner: Wall push-ups
Plank shoulder taps: From a plank (knees down if needed), tap opposite shoulder without rocking your hips.
Coaching cue: Think “ribs down, glutes on.” Your core is the stabilizer here.
Block 3: Lunges and legs
Exercise A: Reverse lunge to knee drive (right)
Exercise B: Reverse lunge to knee drive (left)
How: Step one leg back, drop into a lunge, push the floor away to stand and bring that back knee through.
Make it harder: Turn it into a lunge jump (only if your knees and ankles tolerate jumping well).
Make it easier: Do step-back taps instead of full lunges and hold onto a chair lightly for balance.
Block 4: Cardio push
Exercise A: High knees or power march
Exercise B: Fast feet shuffle (or side step)
High knees: Run in place, driving knees up. If that is too much, do an aggressive march with strong arm pumps.
Fast feet shuffle: Small quick steps, stay light on your feet. If you are on a slick floor, switch to a side step with speed.
Goal: This block is about sustained effort. Keep it snappy, not sloppy.
Block 5: Core and total-body
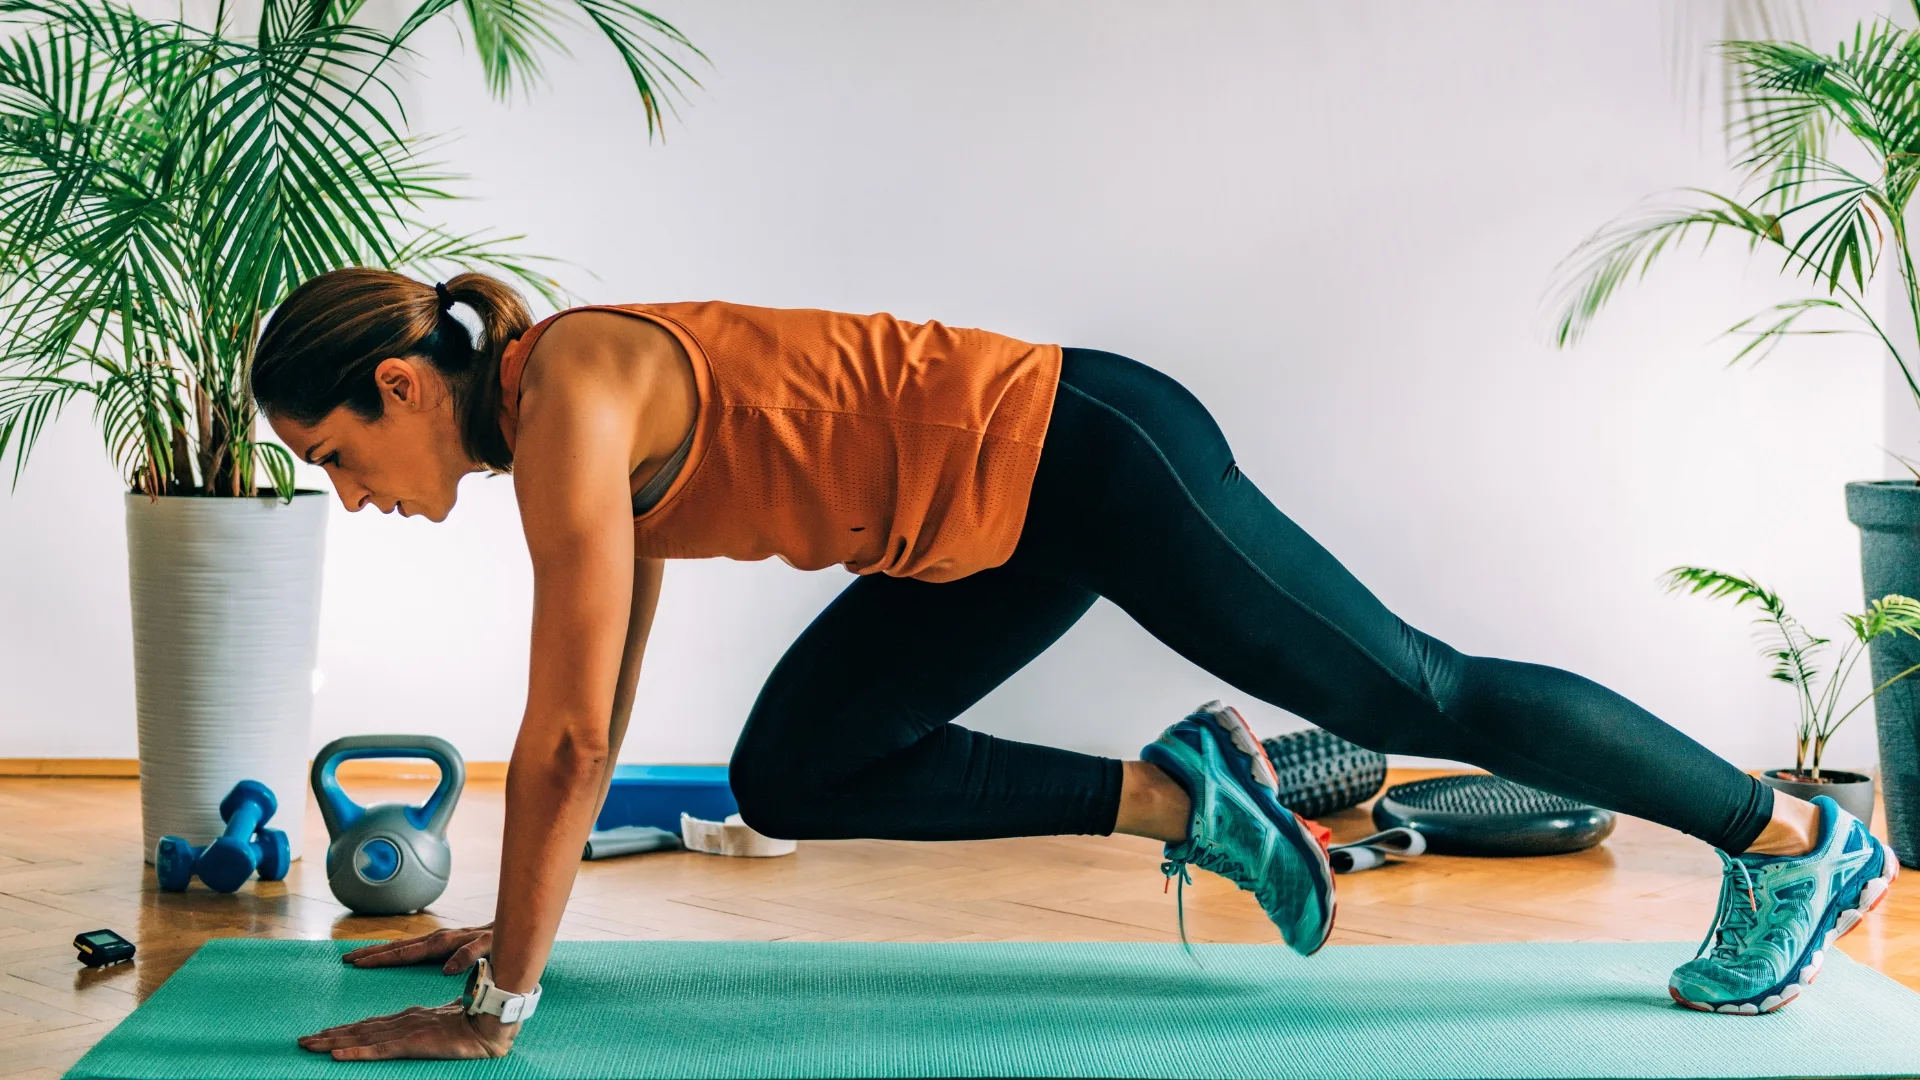
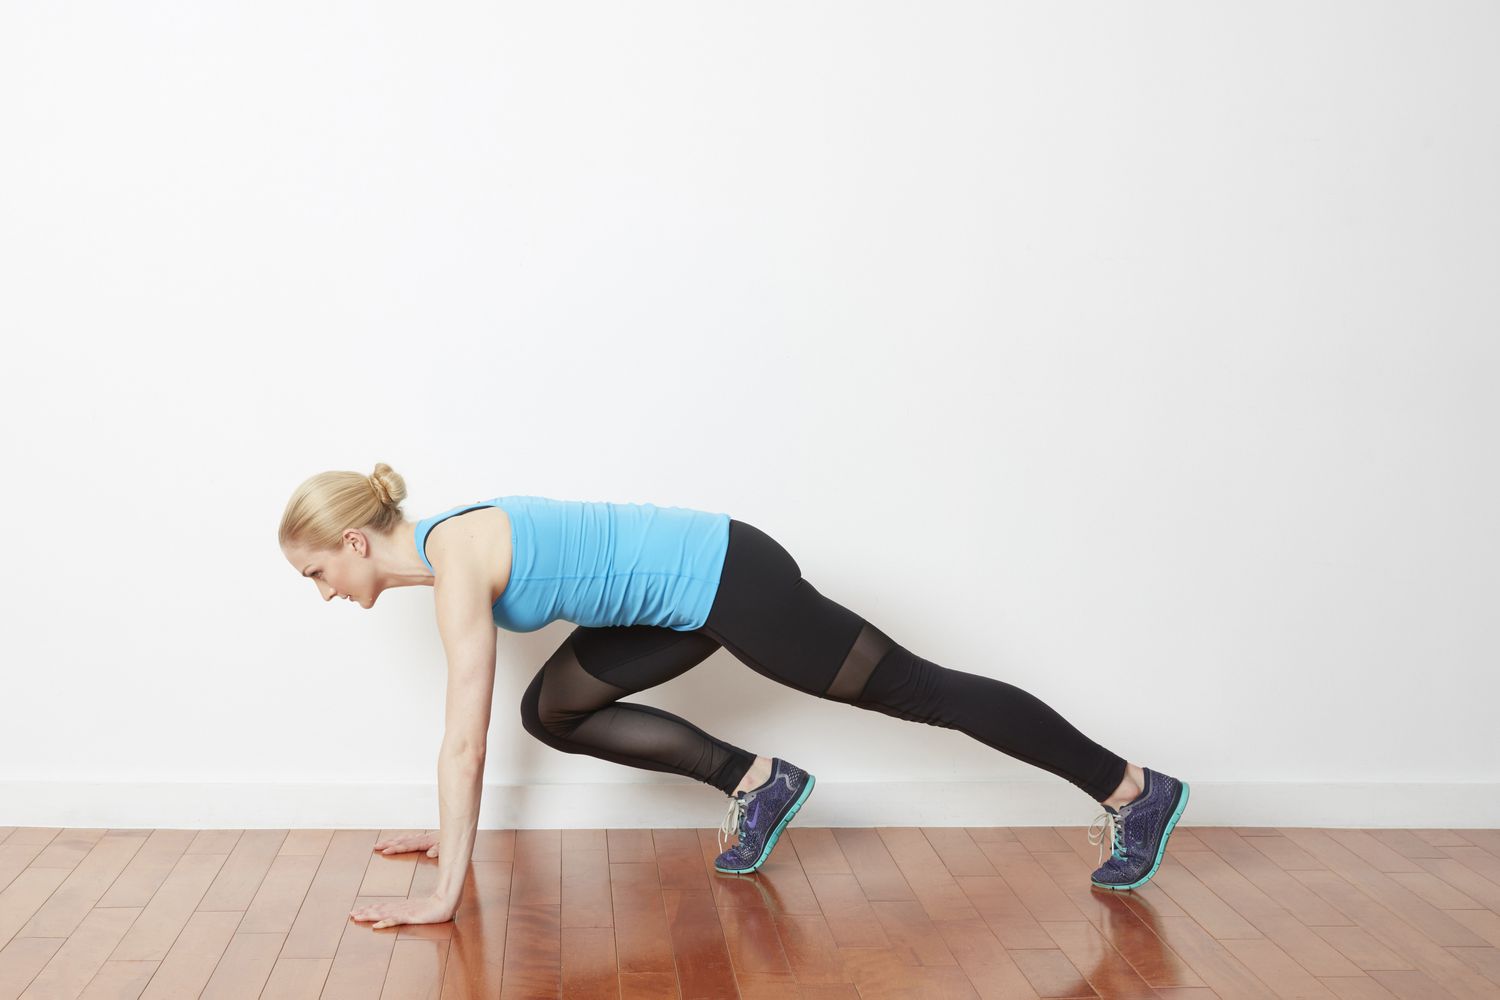
Exercise A: Mountain climbers (or slow climbers)
Exercise B: Squat hold with punches
Mountain climbers: Hands under shoulders, bring knees toward chest. Go fast only if you can keep hips steady.
Squat hold with punches: Sit into a comfortable squat depth, keep your chest proud, and throw quick straight punches at shoulder height.
Make it easier: Elevated mountain climbers with hands on a couch, and a higher squat hold.
Make it tougher safely
- Chase great reps first. Clean form increases muscle recruitment, which boosts the training effect.
- Use the 10-second rests well. Stand tall, breathe deep, and set up for the next round.
- Pick one lever to push. Either move a little faster or increase range of motion. Do not do both at once until you own the movement.
- Keep transitions simple. That is why this plan alternates sides and pairs movements that do not require equipment or room changes.
Beginner plan
If you are new to HIIT, the goal is to finish feeling proud, not demolished.
Option A: Full 20 minutes, lower impact
- Use the beginner versions (power march, elevated push-ups, step-back taps).
- Aim for steady movement all 20 seconds, even if it is slower.
Option B: 16 minutes to start
- Do Blocks 1 to 4 only, then cool down.
- Next week, add Block 5.
Option C: Same blocks, less intensity
- Work at 6 to 7 out of 10 effort for the first week.
- Focus on learning pacing and breathing.
Simple progression
If you repeat this routine, you will get more out of it with a plan.
- Week 1: 6 to 7 out of 10 effort. Nail form, keep moving the full 20 seconds.
- Week 2: 7 to 8 out of 10 effort. Slightly faster pace or slightly bigger range of motion.
- Week 3: 8 to 9 out of 10 effort. Add a small hop to knee drives or lunges if joints feel great, or keep it low-impact and push speed.
- Week 4: Deload. Keep the routine, bring intensity back to 6 to 7 out of 10 for recovery, then build again.
Cool down
Bring your heart rate down and help your body shift out of “go mode.”
- 30 to 60 seconds: Slow walk around your room, inhale through nose, exhale long
- 30 seconds per side: Quad stretch or standing heel-to-butt hold
- 30 seconds per side: Calf stretch against a wall
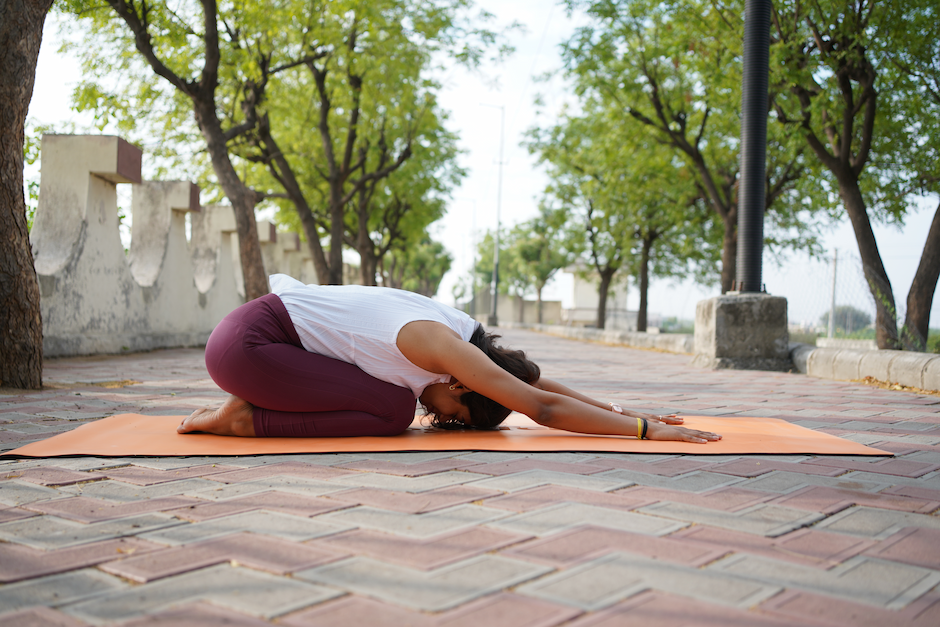
- 30 to 60 seconds: Child’s pose or gentle forward fold
How often for fat loss?
For most busy beginners, 2 to 4 times per week is the sweet spot.
- 2 days/week: Great starting point if you are rebuilding consistency.
- 3 days/week: Ideal for progress without feeling constantly sore.
- 4 days/week: Works if your recovery is solid and you are sleeping enough.
On non-interval days, keep it simple: a brisk walk, a light mobility session, or an easy bodyweight strength routine. Fat loss loves consistency, not punishment.
Common form fixes
Knee pain in squats or lunges
- Shorten your range of motion and slow down.
- Think “sit back” and keep your heels down.
- Try step-back taps instead of lunges for a week or two.
Wrist pain in push-ups or climbers
- Use an incline (hands on couch).
- Spread fingers and press the floor away.
- Try holding the plank on fists if comfortable, or switch to forearms for the plank work.
Gassing out early
- Start at about 80 percent effort for Round 1 and build.
- Keep breathing intentional: inhale on the easier part, exhale on the hard part.
FAQ
Is Tabata good for belly fat?
Tabata-style intervals can help you burn calories and improve fitness quickly, which supports overall fat loss. But spot reduction is not a thing. The win is combining consistent workouts with nutrition habits you can actually stick with.
Do I need to jump to make it effective?
No. Low-impact intervals can be very effective if you move with purpose and keep rest periods honest. Power marching, knee drives, step-backs, and fast hands can get your heart rate up quickly.
What should I eat after?
Keep it simple: water, then a balanced meal with protein, carbs, and some color from fruits or vegetables. If you are training early, even a quick protein-forward snack helps.
How do I know I am improving?
Track one thing for two weeks: either total reps in Round 1 and Round 8 for one exercise, or how quickly your breathing recovers after each block. If you are doing more work with the same effort, you are progressing.
Your next step
Set a timer, clear a small space, and do just the warm-up plus Block 1 today if you are nervous. Momentum counts. When you are ready, run the full 20 minutes and repeat it 2 to 3 times this week.
Consistency beats intensity. Every time.