Safe progression methods for home bodyweight workouts: add reps, slow the tempo, increase range, change leverage, shorten rest, add load, and follow a simple...
Home Pulse Fit
•
home workouts and fitness
10 Essential Core Exercises for Beginners to Do at Home
Build a stronger core at home with 10 beginner-friendly exercises. Clear form cues, simple progressions, and quick routines you can repeat without equipment.

Marcus Thorne
Marcus Thorne is an NASM-certified personal trainer and the creator behind Home Pulse Fit. After successfully transforming his own health using only bodyweight routines in his small apartment, he left his demanding corporate career to help others do the same. Today, he is dedicated to making fitness accessible, sustainable, and entirely gym-free for busy beginners.
Published
October 18, 2026
Updated
October 18, 2026
If you are new to core training, here is the most important mindset shift: your core is not just “abs.” It is your front, sides, and back working together to keep your spine steady while your arms and legs move. When you train it that way, you usually feel better during everyday stuff like carrying groceries, sitting at a desk, and climbing stairs. And yes, your midsection gets stronger and more defined over time too.
I built my first real core strength in a cramped apartment with zero machines. The trick was choosing beginner-friendly moves, keeping the reps clean, and repeating them consistently. Below are 10 foundational core exercises you can do at home, with simple form cues and easy ways to scale them.
Before you start
- Space: You only need enough room to lie down and extend your arms and legs.
- Equipment: A yoga mat or folded towel is plenty. Optional: a small pillow or folded towel to support your head during dead bugs and hollow holds.
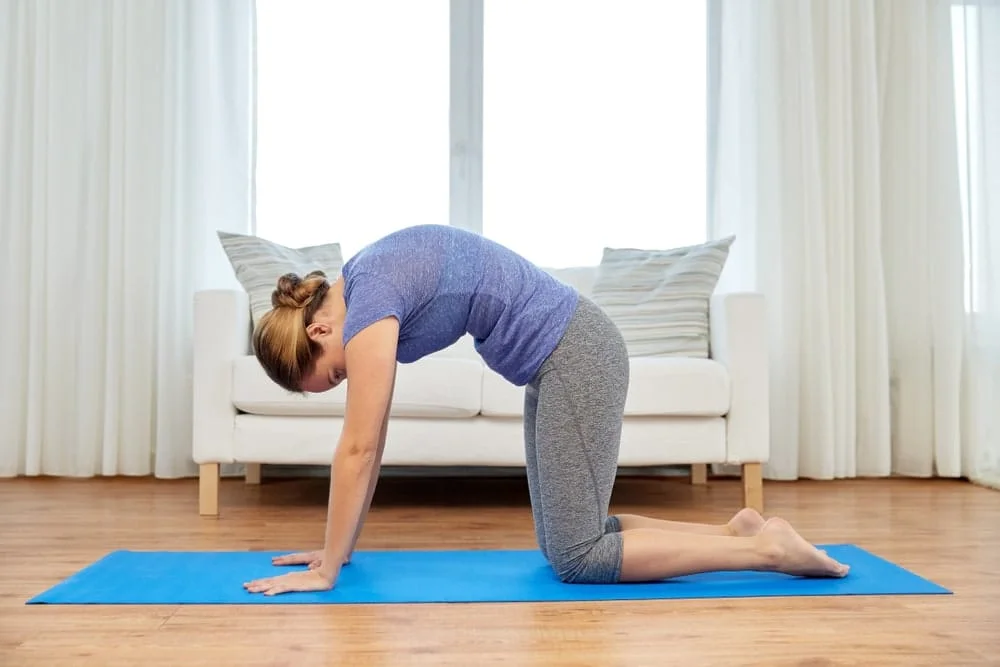
- Quick warm-up (1 to 3 minutes): Try 5 slow breaths (exhale fully), then 6 to 8 cat-cows, then 10 marching glute bridges (small range, smooth reps). You should feel warmer, not tired.
- Breathing cue that changes everything: Exhale like you are fogging a mirror, then gently “tighten your midsection” as if bracing for a friendly poke. Keep breathing while you hold that tension.
- Back comfort rule: If an exercise causes sharp pain, pinching, numbness, or symptoms that shoot down a leg, stop and regress the movement. Mild muscle work is fine. Joint pain is not.
- When to get help first: If you are postpartum (especially with diastasis recti symptoms), have a hernia, recently injured your back, or pain keeps coming back, check with a qualified clinician or coach before pushing intensity.
The 10 core exercises
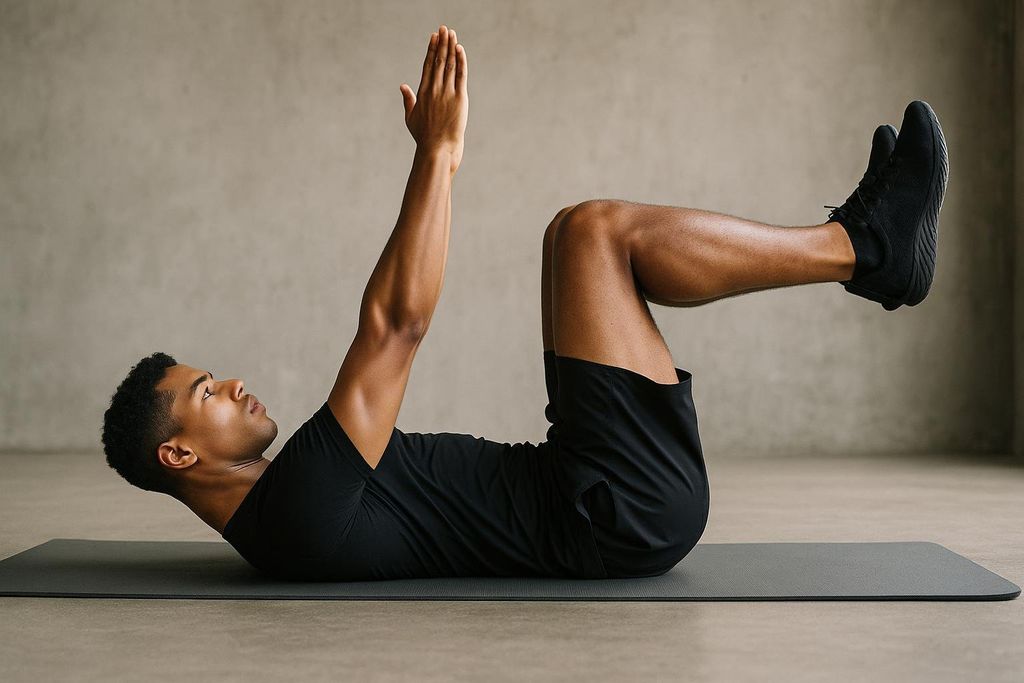
1) Dead Bug
Why it matters: Teaches your core to stabilize your spine while your arms and legs move. This is a cornerstone for beginners.
How to do it:
- Lie on your back, knees bent to 90 degrees over hips, arms straight up over shoulders.
- Exhale and brace gently. Aim to keep your low back gently in contact with the floor (not forcefully flattened). Keep your ribs from flaring up.
- Slowly lower your right heel toward the floor while reaching your left arm overhead.
- Return to start and switch sides.
Beginner goal: 6 to 10 reps per side, slow and controlled.
Make it easier: Only move the legs (keep arms still), or tap your heel down instead of fully extending.
Common mistake: Low back popping off the floor. If that happens, shorten the range of motion and slow down.
2) Glute Bridge
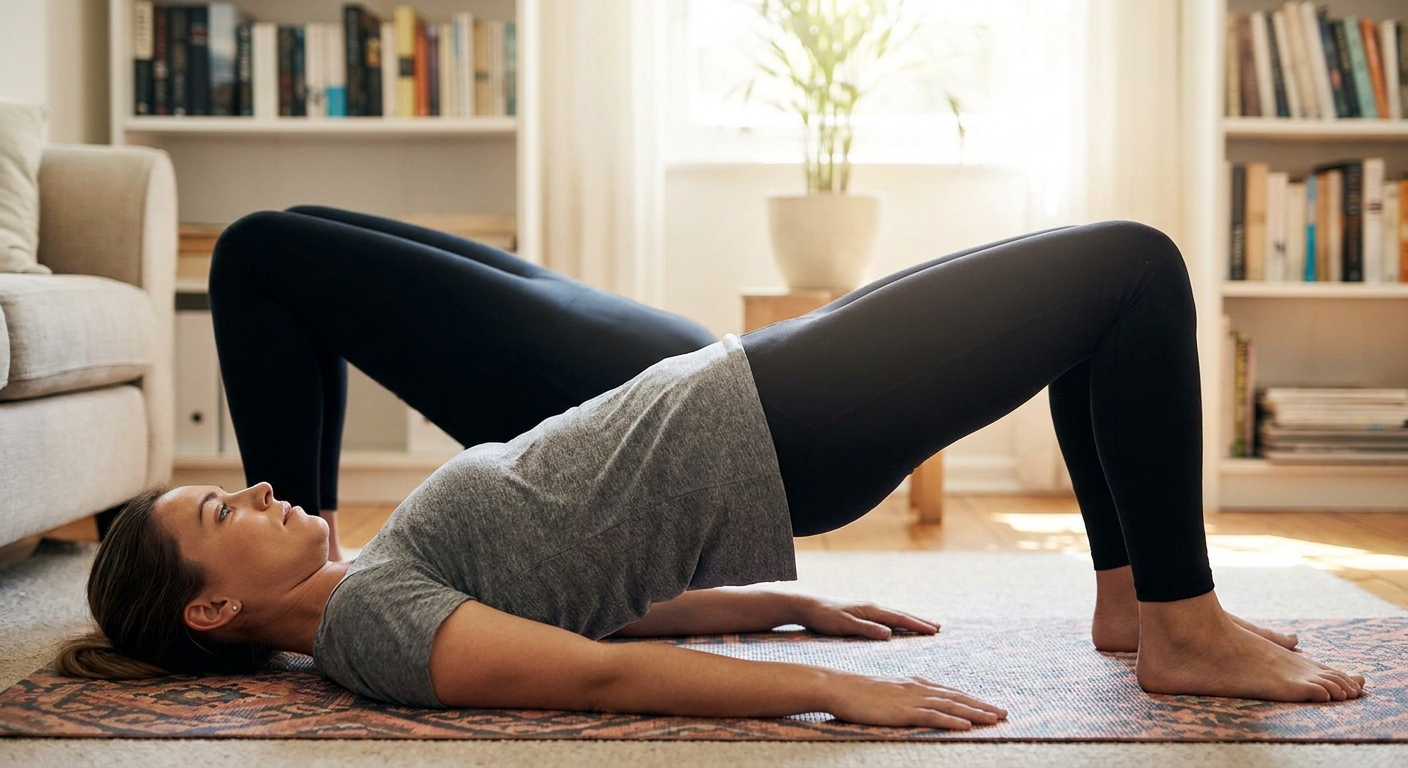
Why it matters: Your glutes and core are teammates. A strong bridge can support your lower back and may help you stay taller through the day.
How to do it:
- Lie on your back with knees bent, feet flat about hip-width.
- Exhale and brace lightly, then lift your hips until your body forms a straight line from shoulders to knees.
- Pause for one second at the top, squeezing glutes.
- Lower with control.
Beginner goal: 10 to 15 reps.
Make it easier: Reduce the height of the lift and focus on smooth control.
Common mistake: Overarching at the top. Keep ribs down and think “lift with glutes, not low back.”
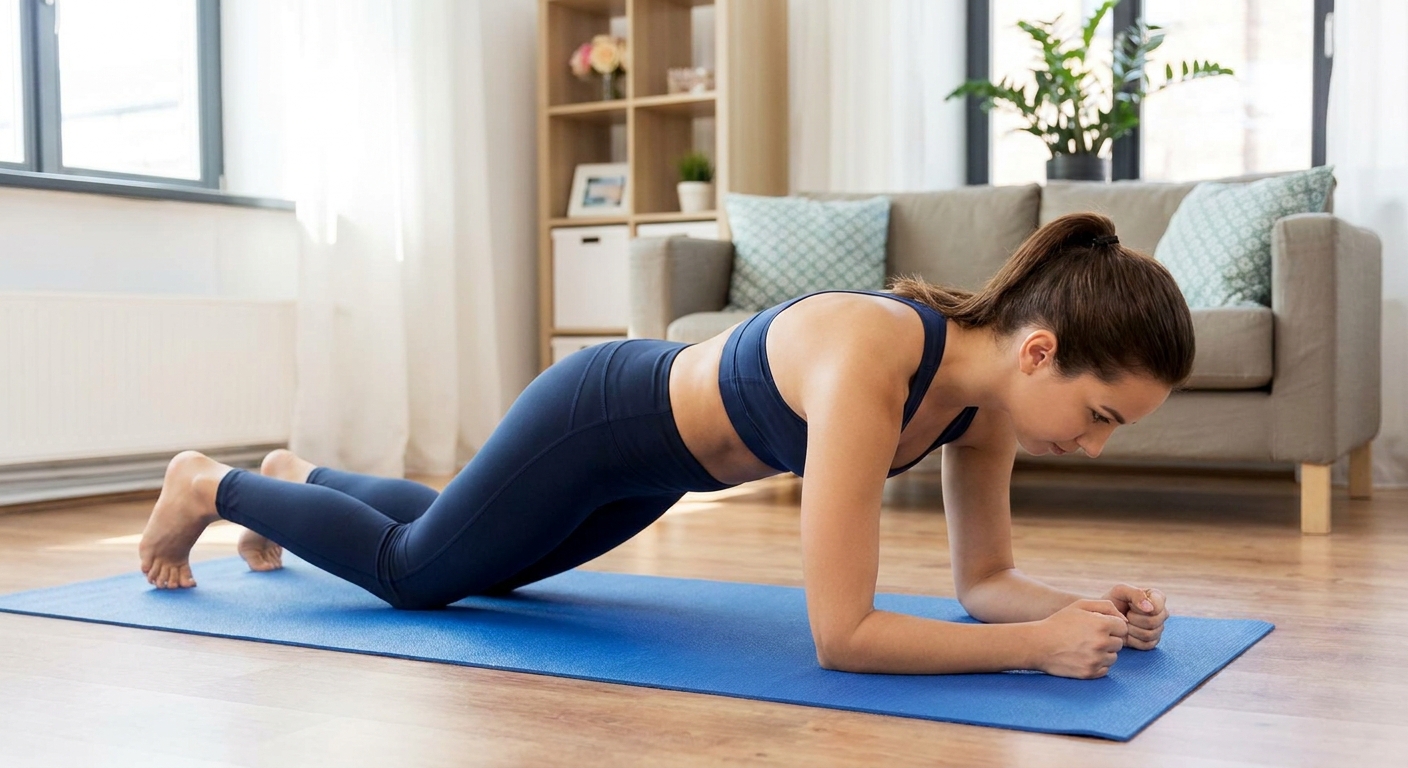
3) Forearm Plank
Why it matters: Builds full-core endurance without repeated spinal flexion.
How to do it:
- Place forearms on the floor, elbows under shoulders.
- Step feet back and create a straight line from head to heels.
- Find a neutral spine, then add a small tail tuck so your low back does not sag. Another cue that helps: gently knit ribs toward hips. This should feel like control, not a hard crunch.
- Hold while breathing calmly.
Beginner goal: 15 to 30 seconds.
Make it easier: Drop knees to the floor and keep a straight line from head to knees.
Low back note: If you feel your low back more than your abs, shorten the hold, do knee-down planks, or elevate your forearms on a sturdy couch (same bracing, less load).
Shoulder note: If your shoulders feel cranky, shorten the hold, do knee-down planks, or try the bear plank hold (below) which spreads the load differently.
Common mistake: Hips hiking up or sagging down. Think “tall through the shoulders, ribs tucked.”
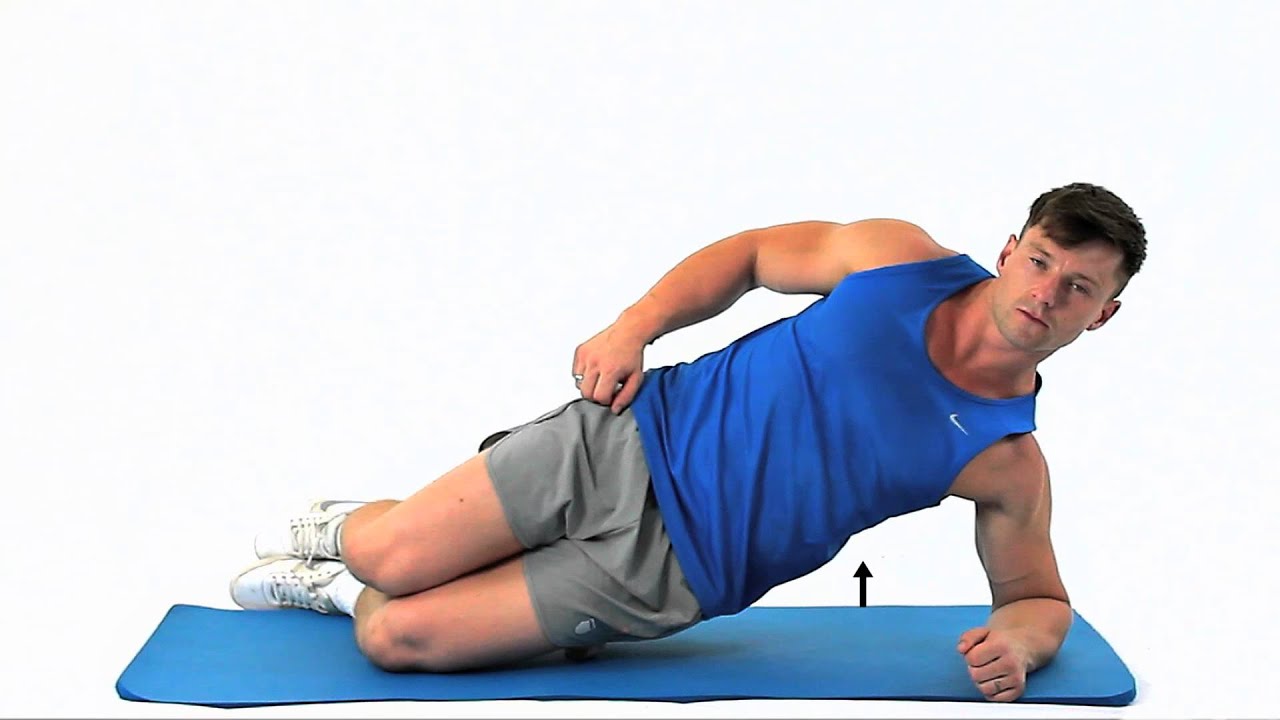
4) Side Plank (Knee-Down)
Why it matters: Strengthens the side core muscles that support your spine and help with balance.
How to do it:
- Lie on your side with bottom knee bent, top leg extended (or bent for more support).
- Plant your forearm under your shoulder.
- Lift hips so your body forms a straight line from head to knees.
- Hold, then switch sides.
Beginner goal: 15 to 25 seconds per side.
Make it harder: Straighten both legs and stack feet.
Common mistake: Shoulder creeping up toward your ear. Press the floor away and keep your neck long.
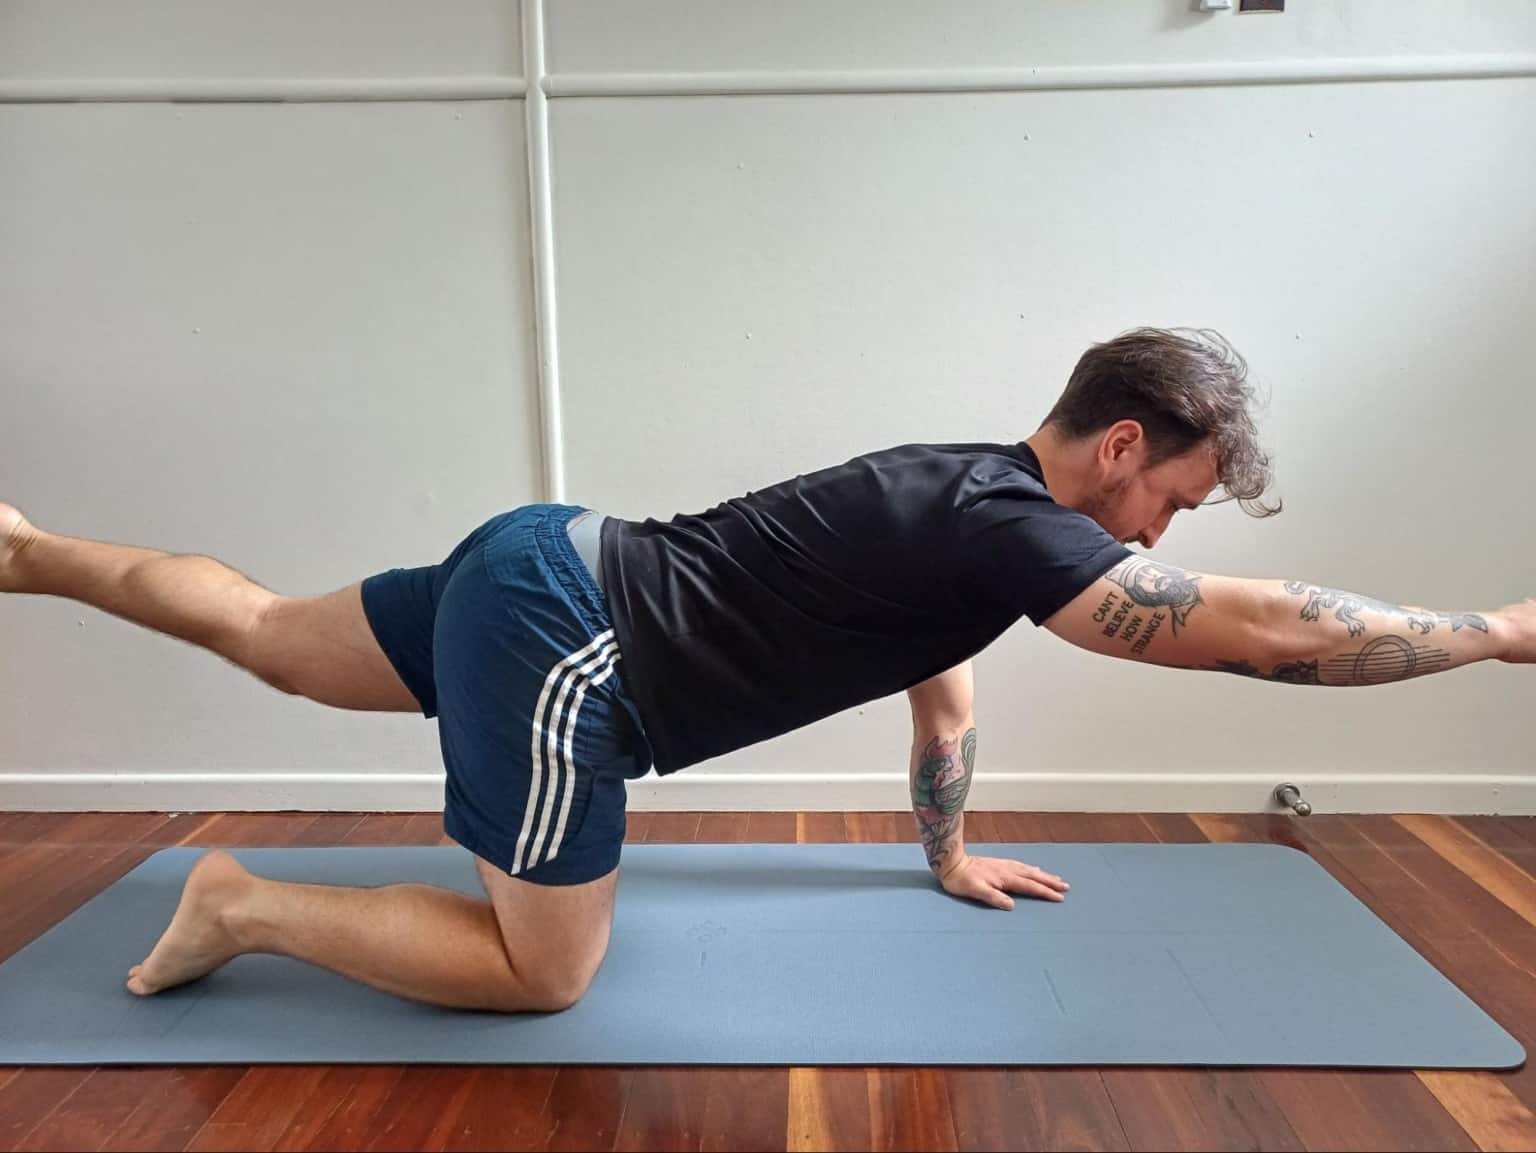
5) Bird Dog
Why it matters: Trains core stability and coordination, and it is often a solid pick if you sit a lot and want to practice better trunk control.
How to do it:
- Start on hands and knees, hands under shoulders, knees under hips.
- Exhale, brace lightly, and extend one leg straight back.
- Optionally reach the opposite arm forward.
- Pause, then return and switch sides.
Beginner goal: 6 to 10 reps per side with a 1 to 2 second pause.
Make it easier: Move only the legs and keep both hands down.
Common mistake: Twisting the hips open. Keep hips pointing to the floor like headlights.
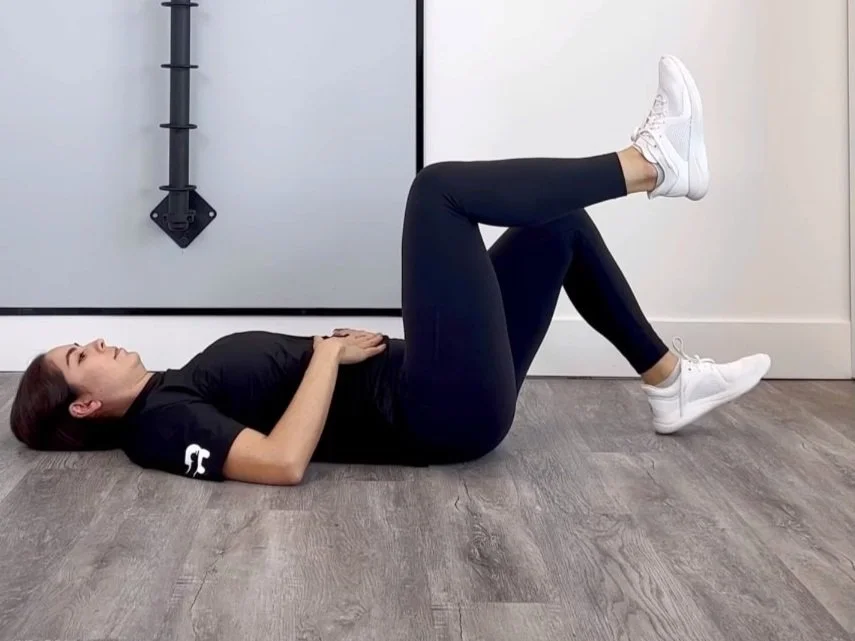
6) Heel Taps
Why it matters: A gentle way to train the front core while practicing rib control.
How to do it:
- Lie on your back, knees bent, feet up so hips and knees are around 90 degrees and shins are roughly parallel to the floor.
- Exhale and brace, keeping your low back heavy on the floor.
- Lower one heel to tap the floor, then return and switch.
Beginner goal: 8 to 12 reps per side.
Make it easier: Keep knees more bent and tap closer to your body.
Common mistake: Letting the ribs flare. Think “ribs down, slow taps.”
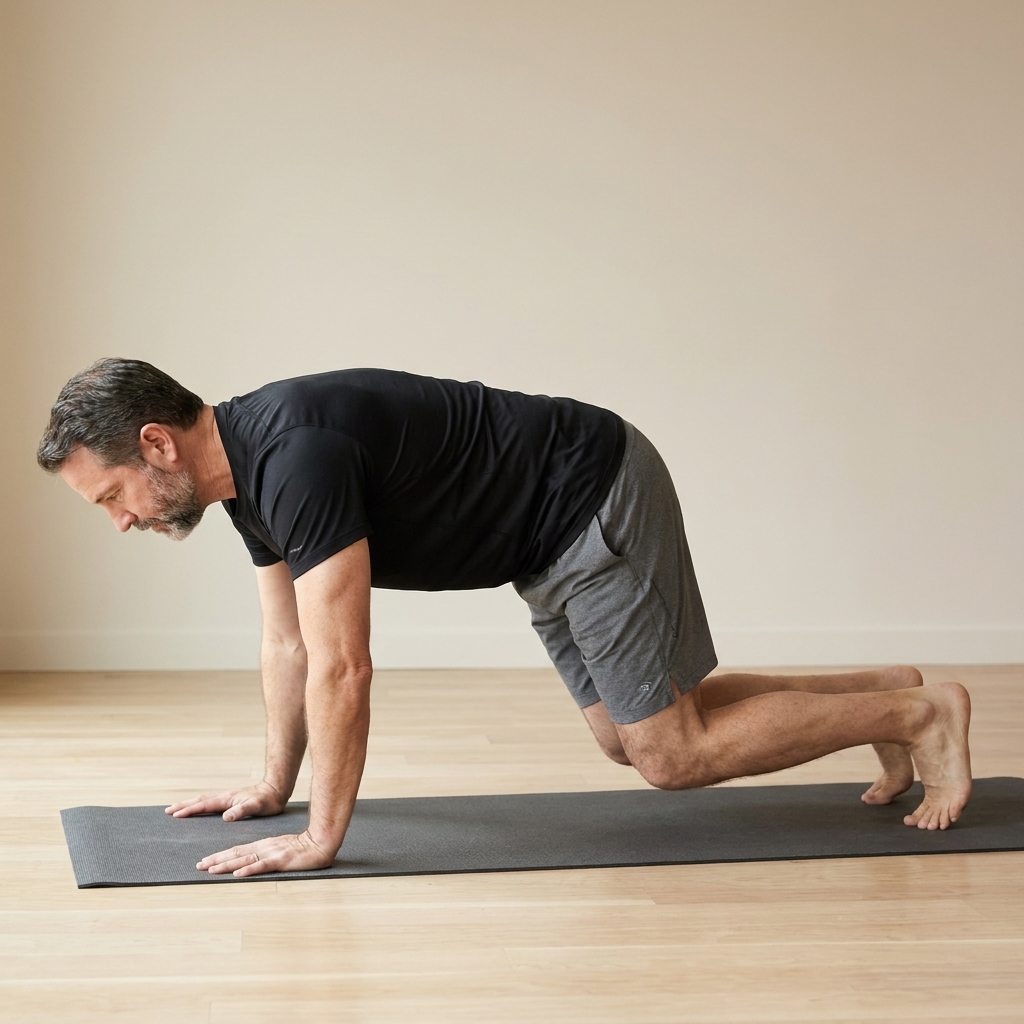
7) Bear Plank Hold
Why it matters: Lights up your core without a long plank hold and teaches bracing under load.
How to do it:
- Start on hands and knees, hands under shoulders, knees under hips.
- Tuck toes and lift knees 1 to 2 inches off the floor.
- Keep back flat, neck neutral, and breathe.
- Hold, then set knees down.
Beginner goal: 10 to 20 seconds.
Make it easier: Hold for shorter bursts, like 5 to 10 seconds.
Common mistake: Hips shooting up. Keep knees under hips and imagine a tabletop.
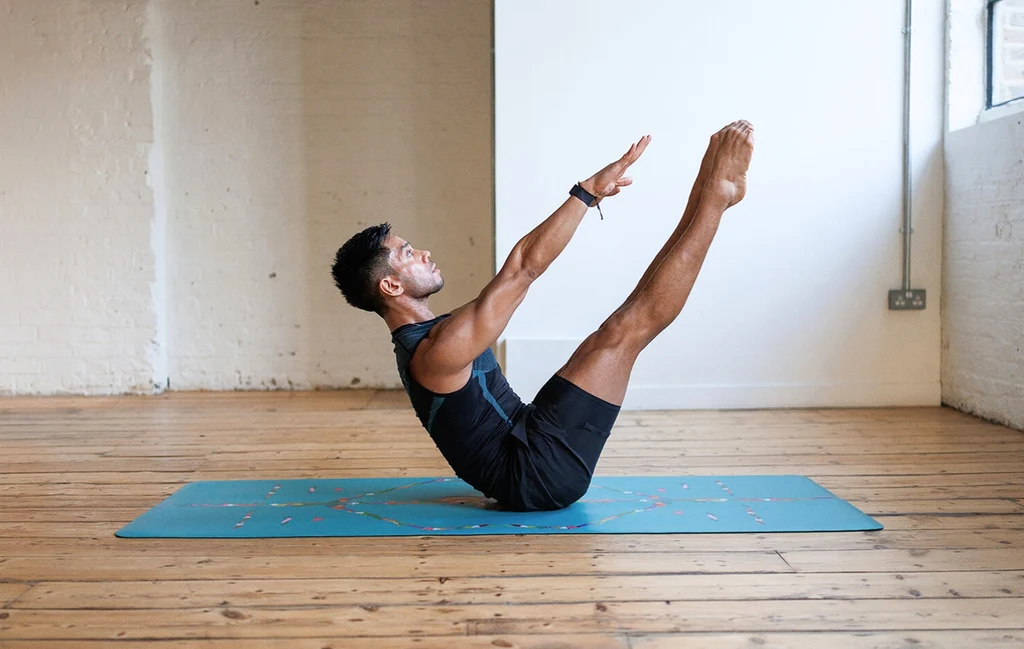
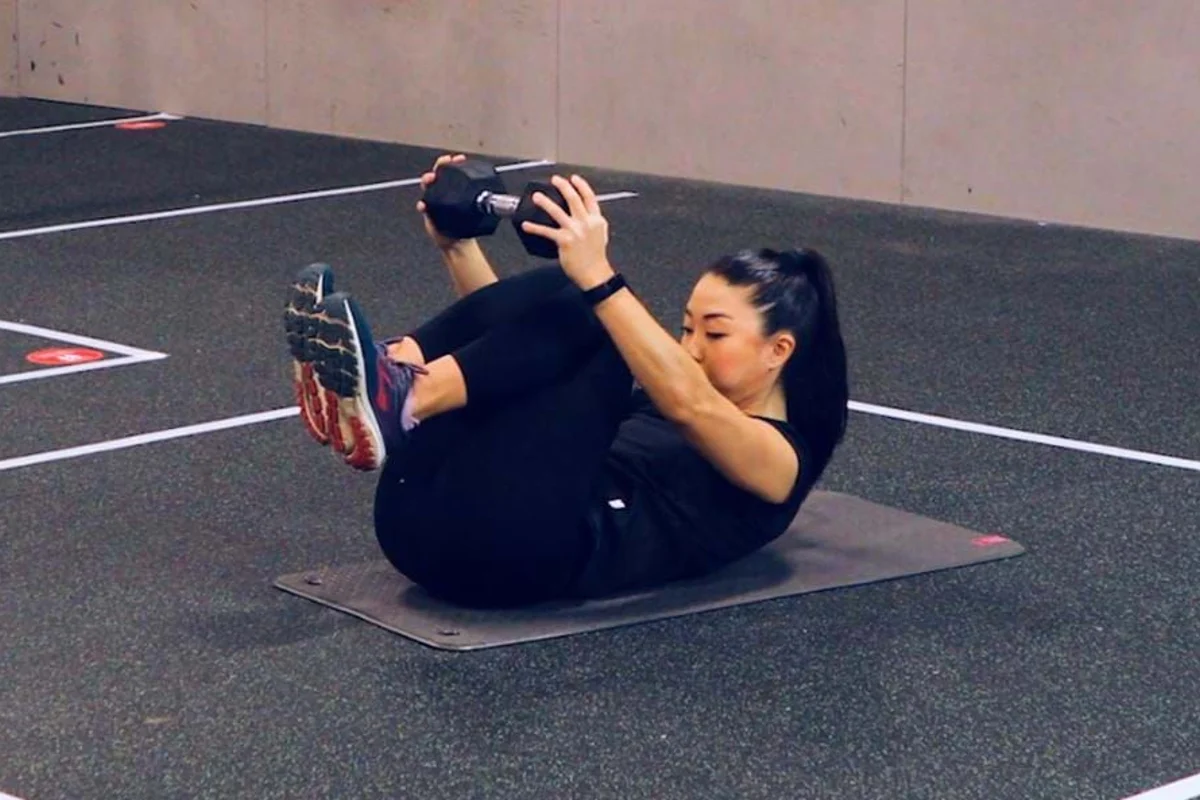
8) Hollow Body Tuck Hold
Why it matters: Builds deep core tension and teaches you to keep ribs down. The tuck version is beginner-safe.
How to do it:
- Lie on your back, knees bent, feet off the floor.
- Exhale and brace so your low back stays gently connected to the mat.
- Neck comfort first: You can keep your head down, use a small pillow or folded towel, or lightly support your head with your hands.
- If comfortable, lift head and shoulders slightly, eyes toward knees.
- Hold while breathing small controlled breaths.
Beginner goal: 10 to 20 seconds.
Make it easier: Keep head down and just hold the brace with feet up.
Common mistake: Neck strain. If your neck takes over, scale down and make the brace the priority.
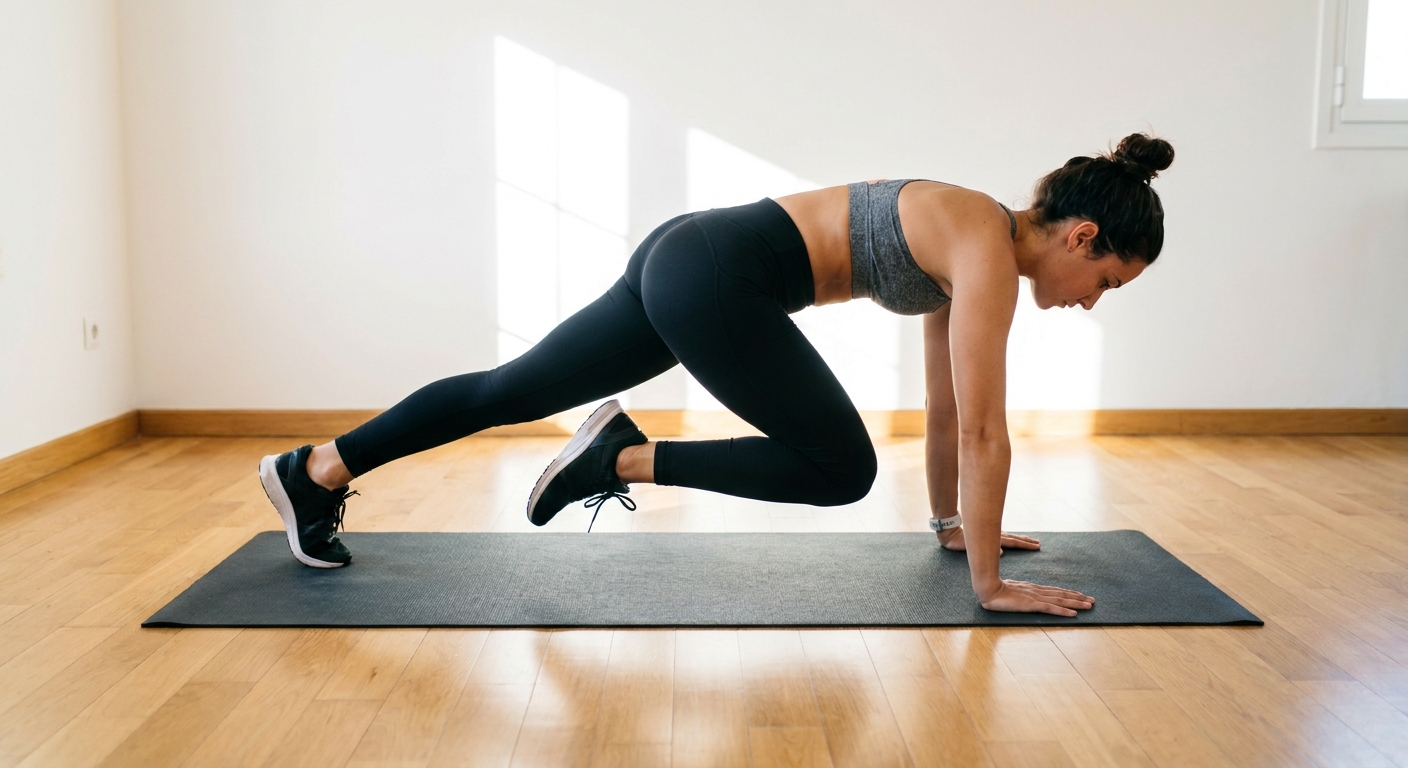
9) Slow Mountain Climbers
Why it matters: Trains the core to resist twisting while your legs move. Going slow keeps it beginner-friendly and controlled.
How to do it:
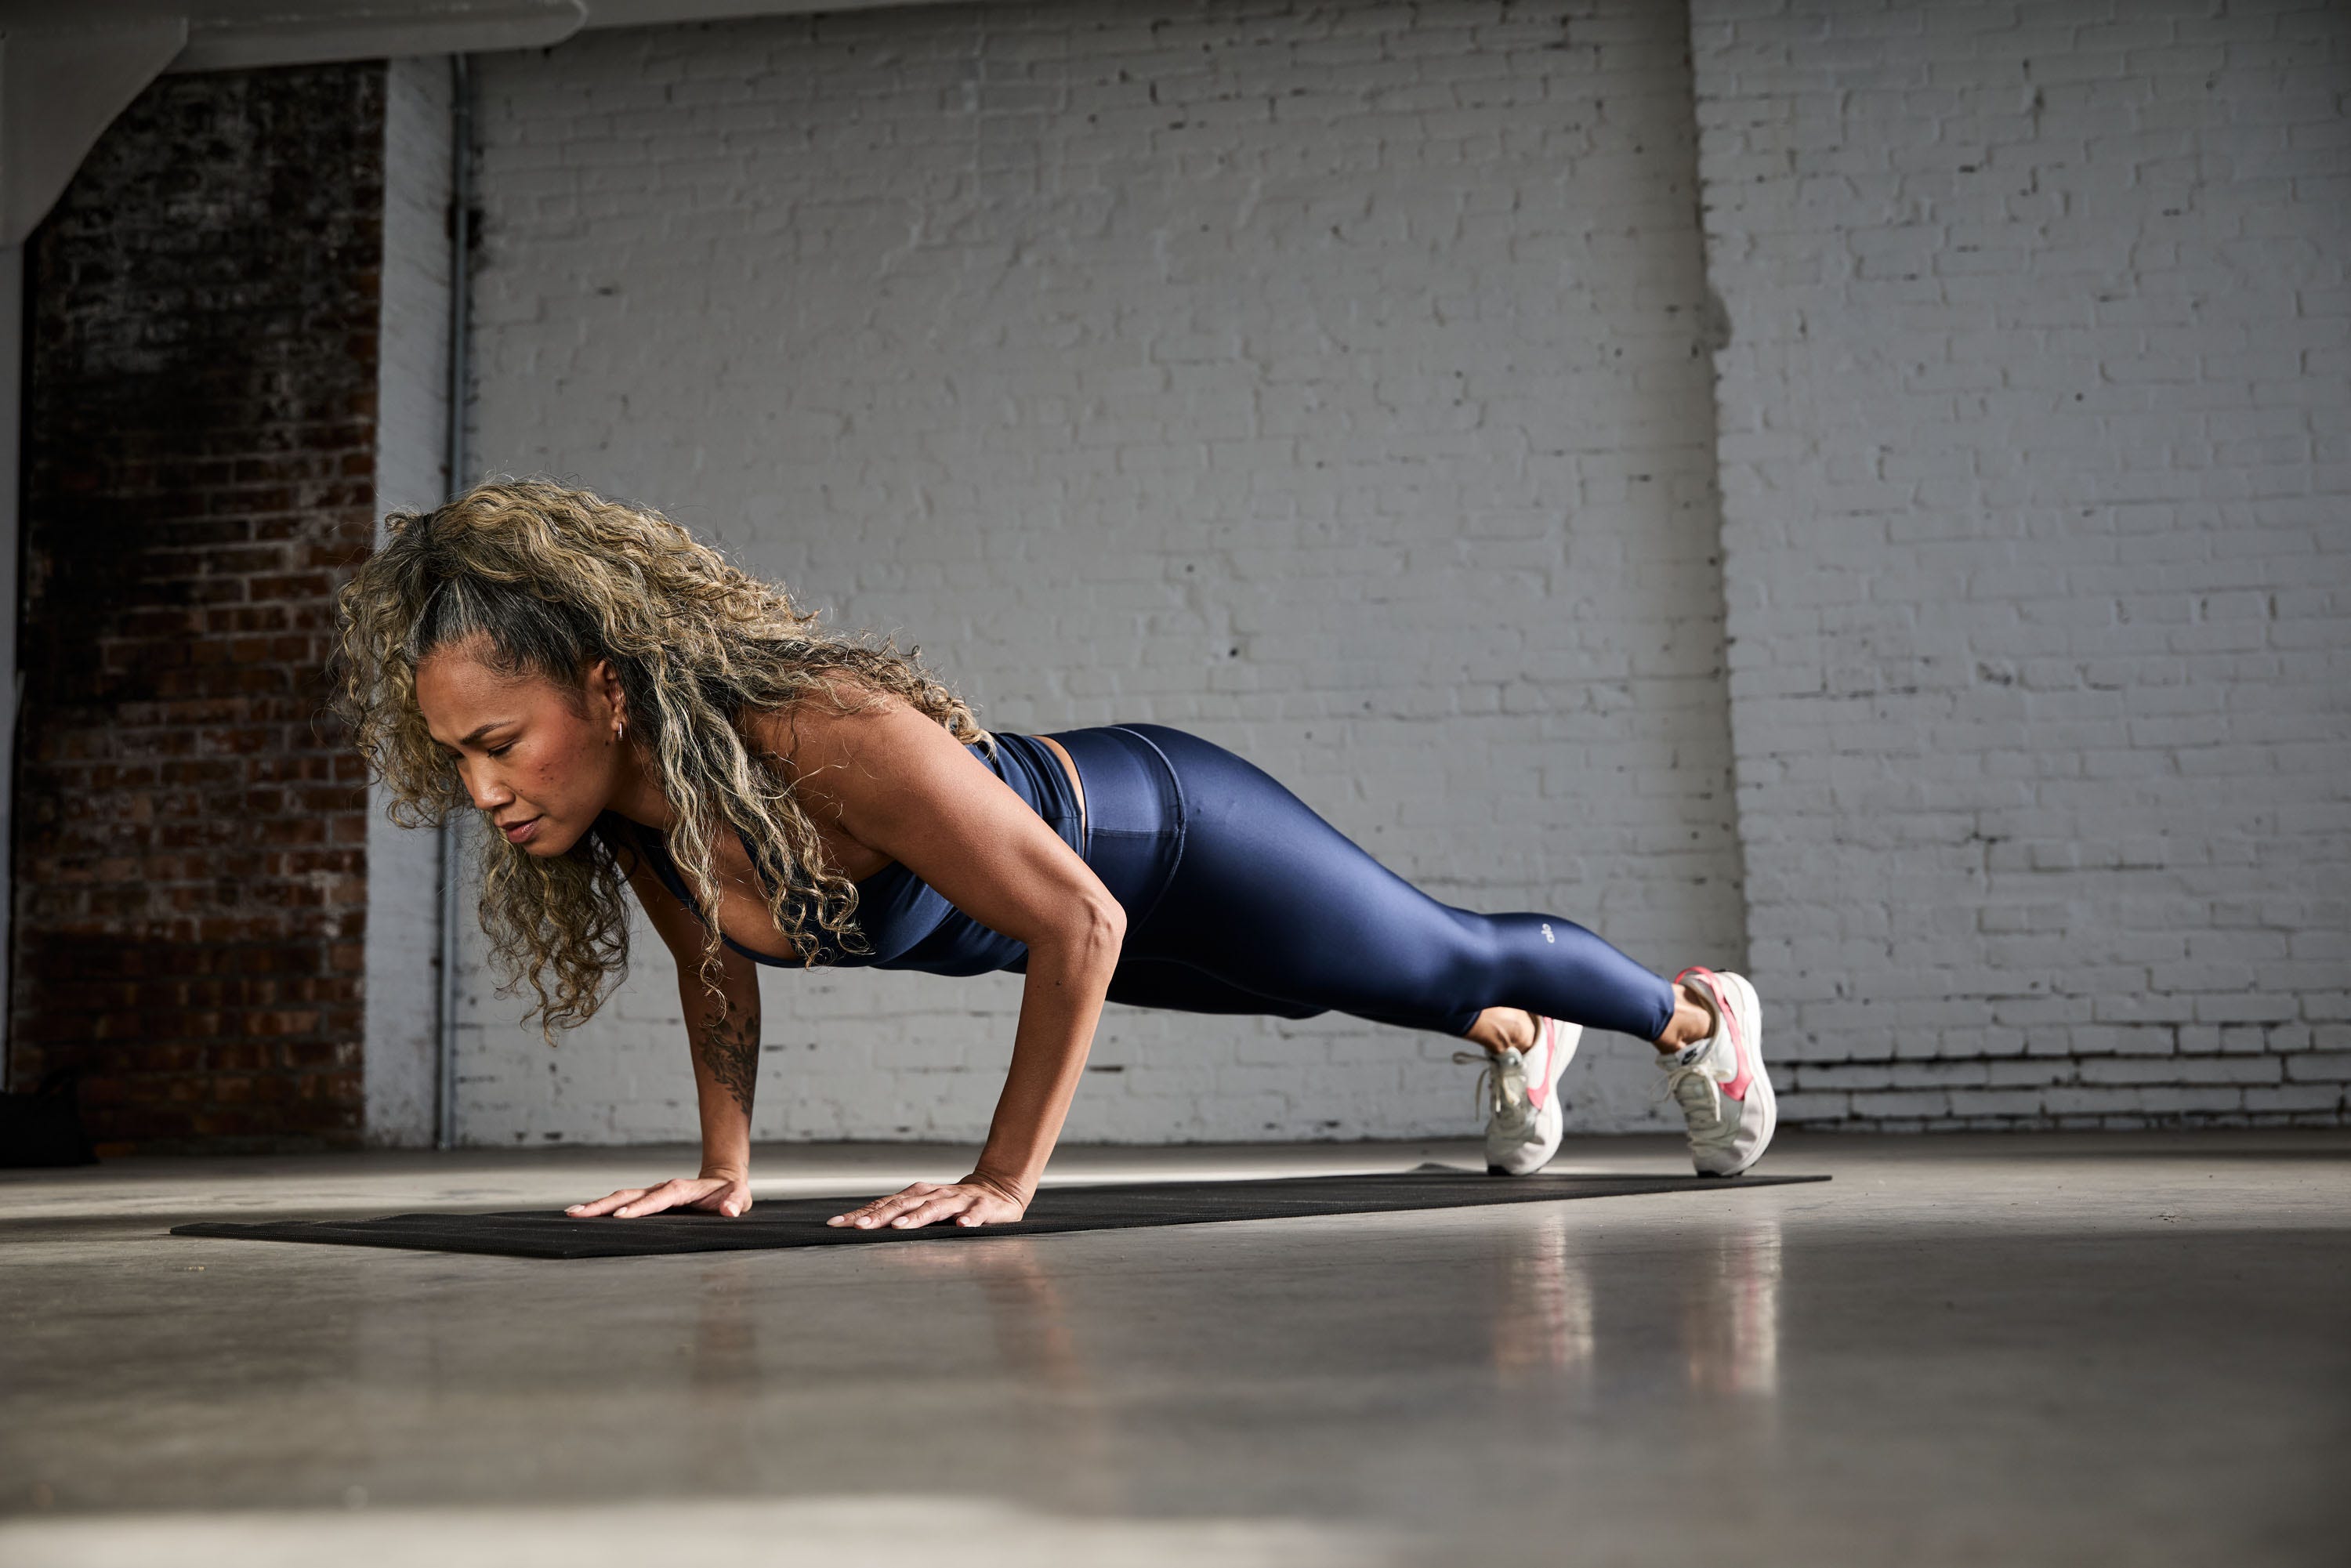
- Start in a high plank, hands under shoulders.
- Bring one knee toward your chest slowly, without hiking hips.
- Return that leg back, then switch.
Beginner goal: 6 to 10 reps per side.
Make it easier: Elevate hands on a sturdy couch or countertop to reduce load on shoulders and core.
Common mistake: Rushing and bouncing. If your hips wiggle a lot, slow down or elevate your hands.
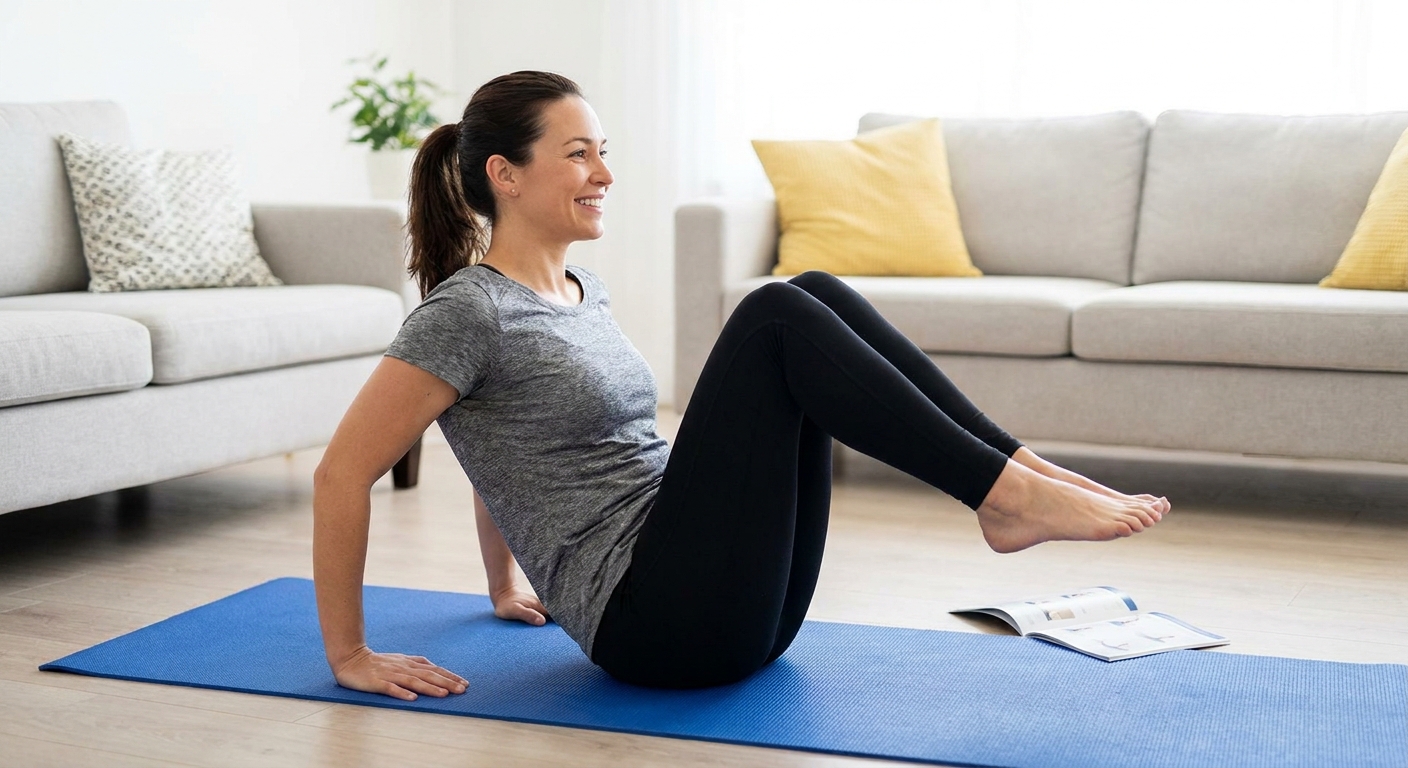
10) Seated Knee Tucks (Hands Behind)
Why it matters: Beginner-friendly flexion work that teaches you to control your pelvis and abs together.
How to do it:
- Sit on the floor with knees bent, heels lightly on the floor.
- Place hands behind you for support, chest open. If wrists do not love this, turn fingertips slightly outward, prop hands on yoga blocks, or do the easier toe-slide version below.
- Lean back slightly and lift feet a little (or keep toes down).
- Bring knees toward chest, then extend back out with control.
Beginner goal: 8 to 12 reps.
Make it easier: Keep toes on the floor and slide feet in and out.
Shoulder note: If you feel pinching in the front of your shoulders, sit a touch taller and reduce the lean-back. You should feel abs, not a shoulder jam.
Common mistake: Collapsing the chest. Stay tall through the upper body and move from the hips.
Simple routines
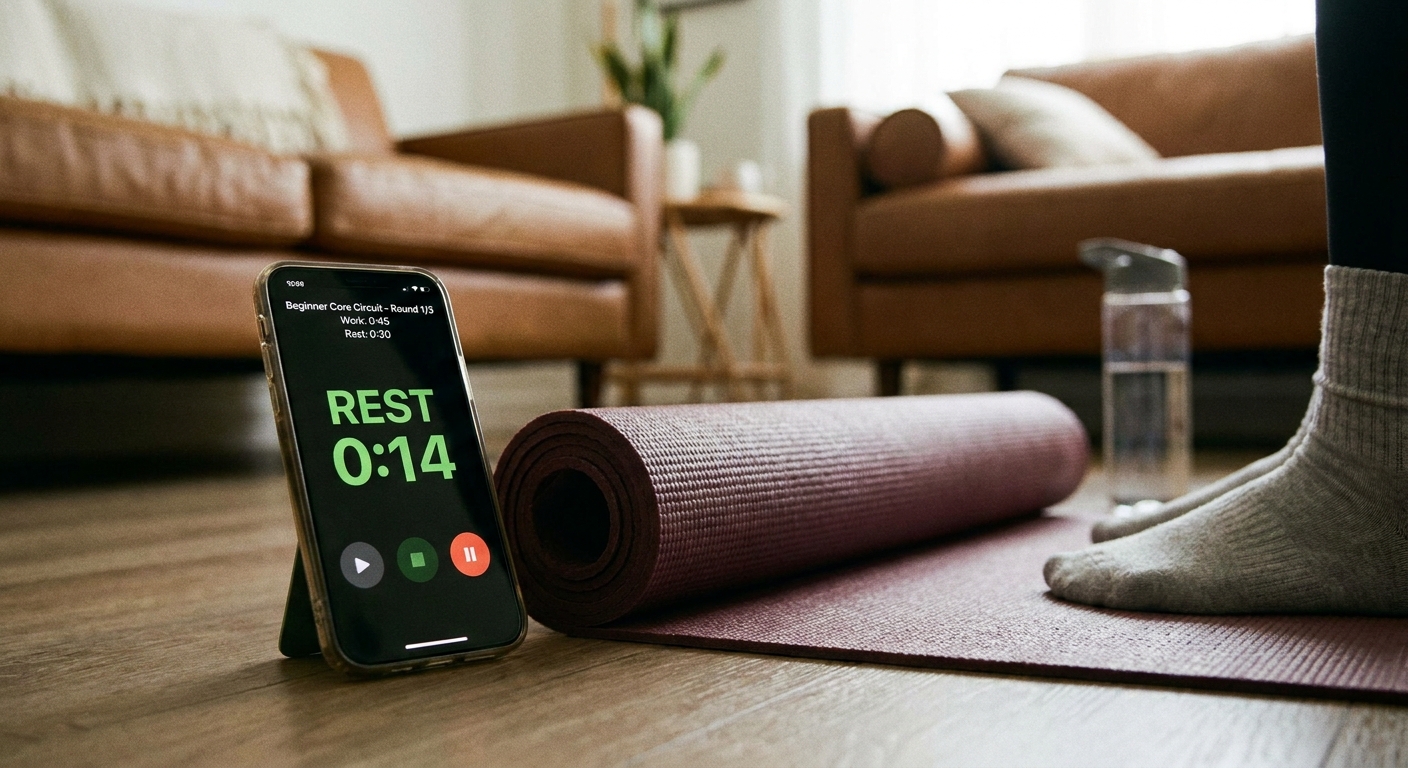
If you want a no-stress plan, here are two options I use with busy beginners. Choose the one that feels doable this week. Consistency beats intensity every time.
Option A: 10-minute circuit
- Dead Bug: 8 reps per side
- Glute Bridge: 12 reps
- Forearm Plank: 20 seconds
- Side Plank (knee-down): 15 seconds per side
- Bird Dog: 6 reps per side (pause 1 second)
Rounds: 2
Rest: 20 to 40 seconds between moves if you need it.
Rest between rounds: 60 to 90 seconds.
Option B: 15 to 20 minutes
- Heel Taps: 10 reps per side
- Bear Plank Hold: 15 seconds
- Hollow Body Tuck Hold: 15 seconds
- Slow Mountain Climbers: 8 reps per side
- Seated Knee Tucks: 10 reps
Rounds: 3
Rest: 20 to 45 seconds between moves.
Rest between rounds: 60 to 90 seconds.
Weekly schedule: 2 to 4 times per week is plenty for beginners. Leave a day between sessions at first if you feel sore.
Effort guide: Aim for about a 6 to 8 out of 10 effort. You should finish each set feeling like you could do 1 to 2 more clean reps, or hold 5 more seconds with good form.
Form checkpoints
- Ribs down: If your ribcage flares up, your low back often tries to do more of the job. Exhale first, then move.
- Move slower than you think: Slow reps are not “easy.” They are more controlled and usually more effective.
- Stop one rep early: End sets while your form is still clean. That is how you build a foundation without aggravating your back or shoulders.
- Neck relaxed: If your neck is doing the work, scale down. Most core moves can be regressed.
Progressions
When an exercise feels too easy, upgrade only one thing at a time. Here are a few simple, concrete paths that work well at home.
- Dead bug: Heel taps only → dead bug (arms and legs) → straighter legs and longer reaches.
- Planks: Forearm plank knees down → forearm plank full → longer holds or shoulder taps in a high plank (only if you can stay steady).
- Side plank: Knee-down side plank → straight-leg side plank → top-leg lift (small range).
- Bear hold: 10-second holds → 20 to 30-second holds → bear shoulder taps (slow, minimal hip sway).
- Hollow tuck: Head down tuck hold → head up tuck hold → one heel lightly reaching away and back.
FAQ
How often should beginners train core?
Two to four sessions per week works well for most beginners. Your core also trains indirectly during walking, squats, pushups, and carries, so you do not need to crush it daily.
Should I feel core exercises in my lower back?
You might feel your back muscles working a bit during planks and bird dogs, but you should not feel sharp pain, pinching, or worsening discomfort. If you do, scale down and focus on rib control, shorter sets, and slower reps. If symptoms persist, it is worth getting checked out.
Do these exercises help with belly fat?
They strengthen the muscles underneath, which is a great start. Fat loss comes mostly from overall habits like daily movement, nutrition, sleep, and consistency. Think of core training as building the foundation, not spot-reducing one area.
What is the best beginner core exercise if I only pick one?
If I had to choose one, it would be the dead bug. It teaches the “brace and breathe” skill that carries over to almost everything else.
One last note
If your core feels weak right now, that is not a flaw. It is just a starting point. Pick 4 to 6 of the exercises above, keep the reps clean, and show up two or three times a week for a month. That is where the real transformation lives, especially when you are doing this at home with a busy schedule.