Follow this month-long, no-equipment bodyweight plan designed for true beginners. Clear weekly schedule, step-by-step workouts, and simple progressions for s...
Home Pulse Fit
•
home workouts and fitness
15-Minute Daily Home Workout for Busy Beginners
A simple 15-minute, no-equipment home workout you can do daily. Warm-up, full-body circuit, cool-down, plus easy modifications for true beginners.

Marcus Thorne
Marcus Thorne is an NASM-certified personal trainer and the creator behind Home Pulse Fit. After successfully transforming his own health using only bodyweight routines in his small apartment, he left his demanding corporate career to help others do the same. Today, he is dedicated to making fitness accessible, sustainable, and entirely gym-free for busy beginners.
Published
October 18, 2026
Updated
October 18, 2026
If you are busy, new to exercise, and a little intimidated by “real workouts,” this is for you. This is the exact style of routine I used when I was burned out, living in a small apartment, and convinced fitness required a gym membership and a huge time block.
You need 15 minutes, a little floor space, and the willingness to show up. That is it. The goal is not to destroy yourself. The goal is to build the daily habit, get your full body moving, and finish feeling proud and energized.
How this 15-minute routine works
- 2 minutes warm-up to wake up your joints and raise your heart rate
- 11 minutes full-body circuit (strength + cardio blended)
- 2 minutes cool-down to bring your breathing down and reduce stiffness
Intensity target: You should be able to speak in short sentences while working. If you are gasping, scale it down. If it feels too easy, scale it up using the options I list under each move.
What you need: A clear patch of floor and a sturdy chair or couch edge (optional, but helpful for modifications).
Safety and form, in plain English
I am an NASM-certified trainer, but I am going to keep this simple. Many beginner workout aches and tweaks come from moving too fast, holding your breath, or letting your joints take the load your muscles should be handling.
- Breathe: Exhale on effort (standing up, pushing, pulling yourself up). Inhale on the easier part.
- Move smoothly: You are not racing anyone. Control beats speed.
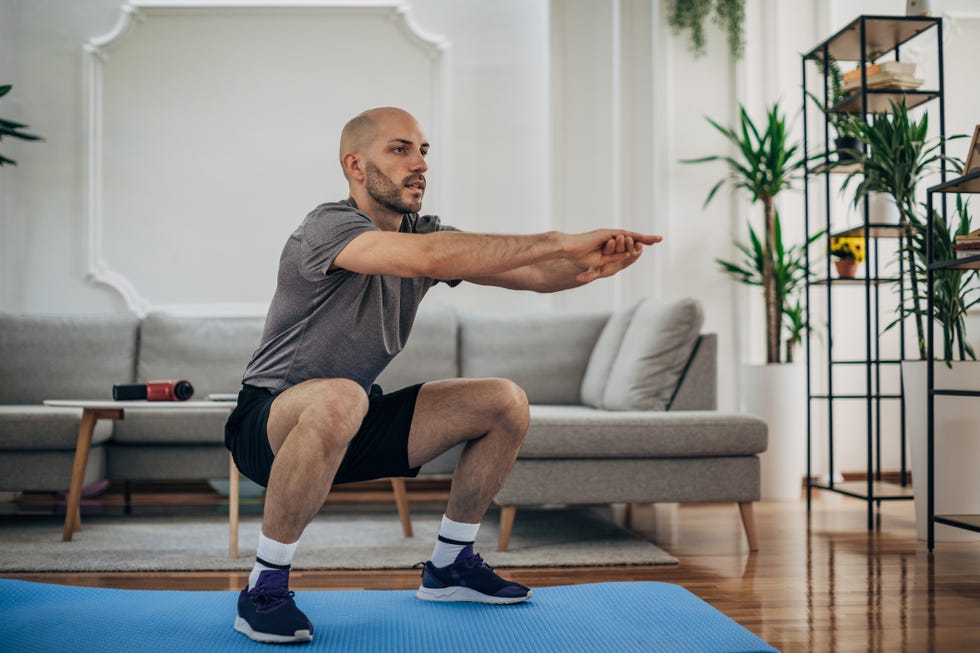
- Knees and toes: When you squat or lunge, aim for knees tracking in the same direction as your toes.
- Wrists: If planks or push-ups bother your wrists, do them on fists, on a countertop, or on the wall.
If you feel sharp pain (not normal muscle effort), stop that movement and switch to an easier option. If you are dealing with a recent injury, are pregnant or postpartum, get dizzy easily, or are not sure what is safe for you, check with a qualified clinician before you start.
2-minute warm-up (set a timer)
Do these back-to-back. Keep it easy. You are just turning the lights on.
1) March in place with big arm swings (60 seconds)
Stand tall. March and swing your arms like you are late for a meeting but trying to stay polite.
2) Hip hinge to reach (30 seconds)
Soft knees. Push hips back like you are closing a car door with your butt. Reach arms forward, then stand tall.
3) Shoulder circles + torso twists (30 seconds)
10 seconds circles forward, 10 seconds back, then gentle twists side to side.
The 11-minute full-body circuit
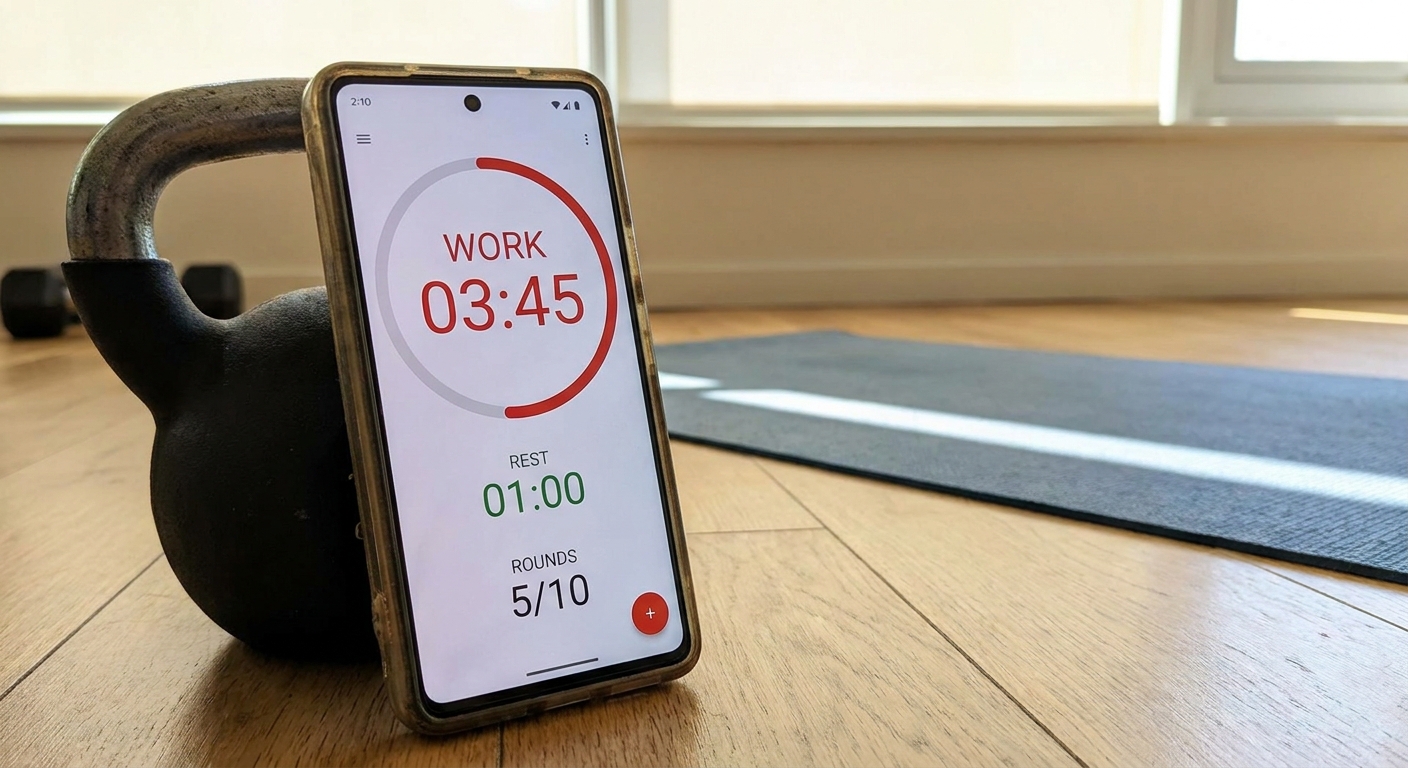
Format: 5 exercises. Do 40 seconds work, then 20 seconds rest. Complete Round 1, take a 1-minute breather, then repeat the list for Round 2.
That 1-minute breather is part of the plan. Use it to sip water, shake out your arms, and remind yourself: smooth reps, steady breathing.
If you do not want to think, just start the timer and follow the list in order.
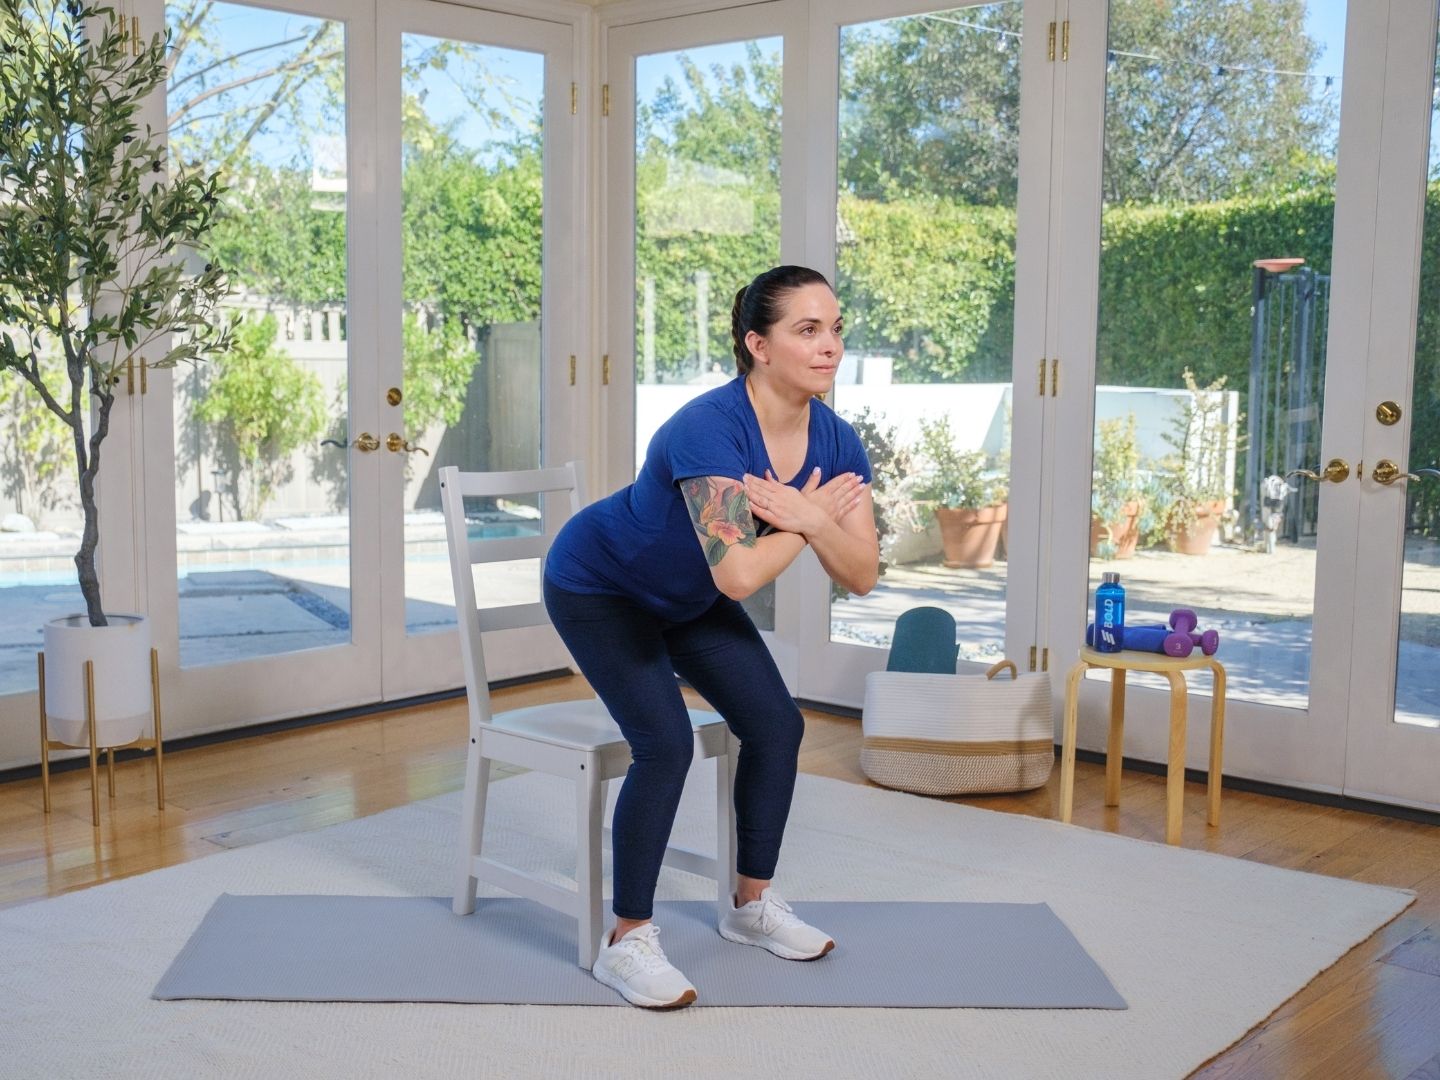
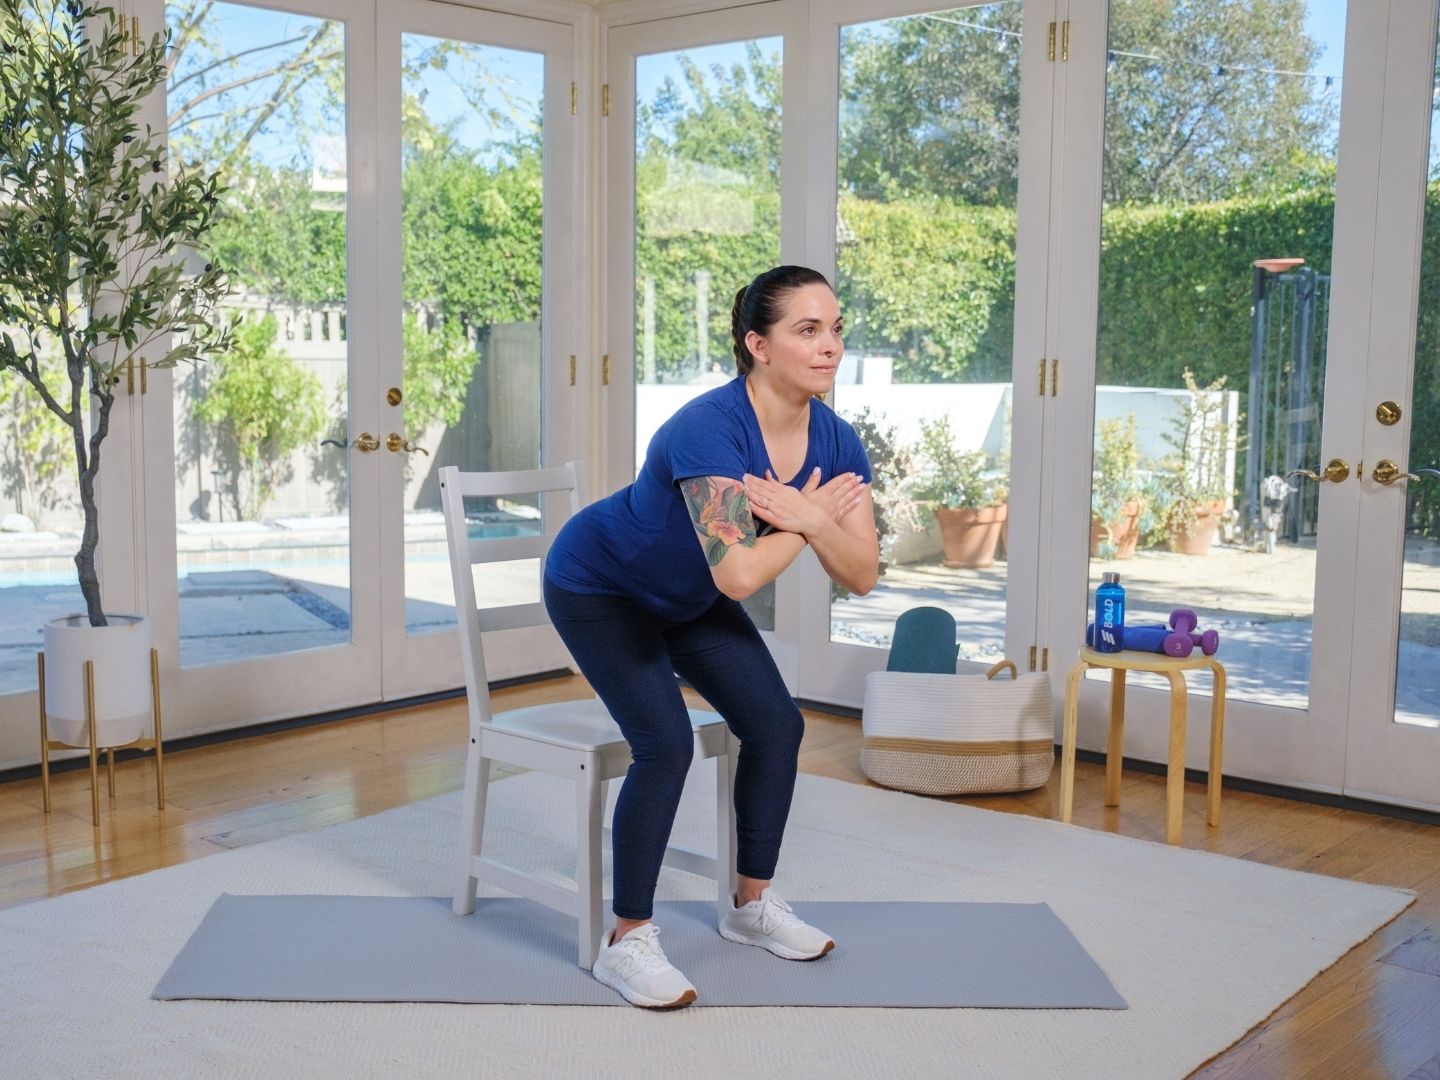
Exercise 1: Sit-to-Stand Squat
What it works: Legs and glutes, plus everyday strength for stairs and getting up off the couch.
How to do it:
- Sit on the edge of a sturdy chair.
- Feet about hip-width, toes slightly out.
- Lean forward a little, stand up, then sit back down with control.
Make it easier: Use your hands lightly on your thighs or the chair.
Make it harder: Tap the chair lightly without fully sitting, or slow down to a 3-second lower.
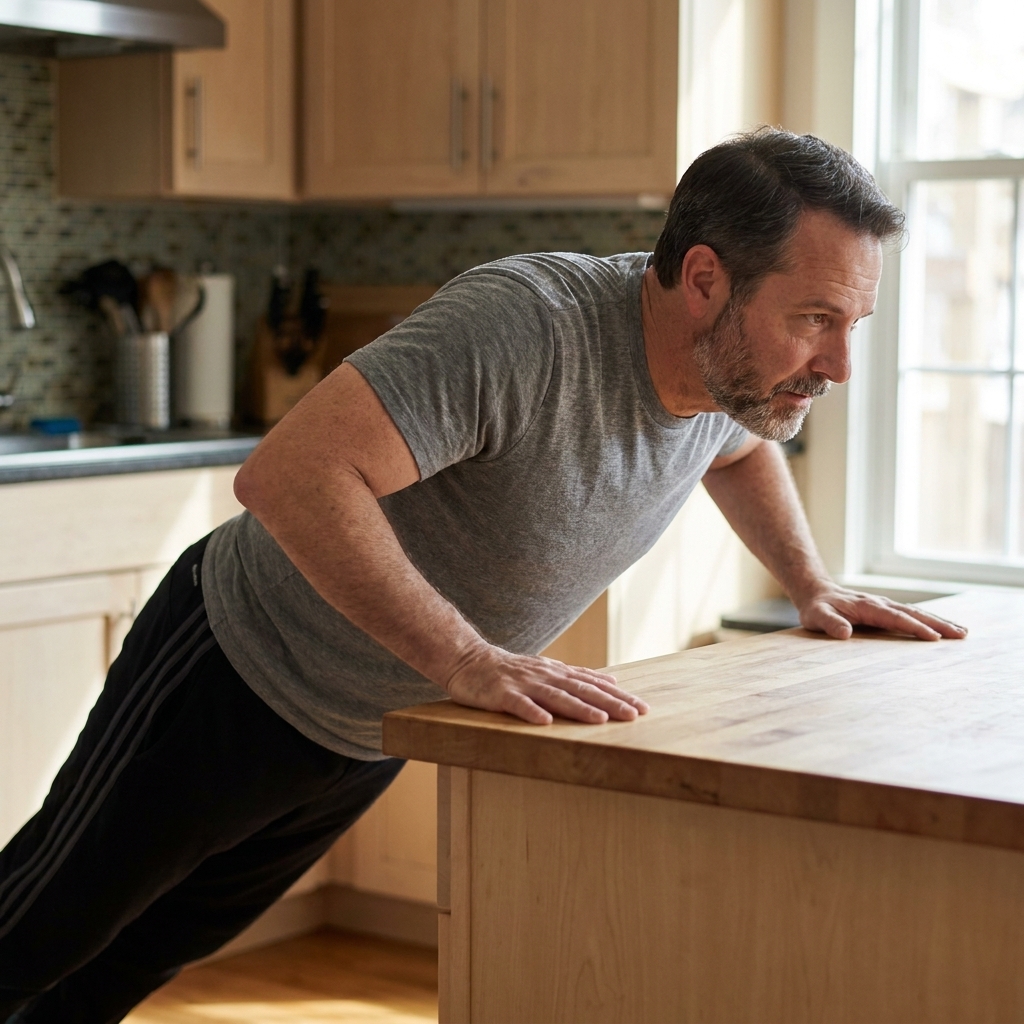
Exercise 2: Incline Push-Up
What it works: Chest, shoulders, triceps, and core without the intimidation of floor push-ups.
How to do it:
- Hands on a countertop, sturdy table, or the back of a couch.
- Body in a straight line from head to heels.
- Lower your chest toward the surface, then press away.
Make it easier: Use the wall (higher incline).
Make it harder: Use a lower surface, or pause for 1 second at the bottom.
Exercise 3: Glute Bridge
What it works: Glutes and hamstrings, plus support for your lower back when done correctly.
How to do it:
- Lie on your back, knees bent, feet flat.
- Set your feet so your heels are under your knees, or close enough that your fingertips can graze your heels.
- Press through your heels and lift your hips.
- At the top, squeeze your glutes like you are holding a credit card between them.
- Lower with control.
Make it easier: Reduce range of motion and focus on a gentle squeeze.
Make it harder: Hold the top for 2 seconds each rep, or do a slow 3-second lower.
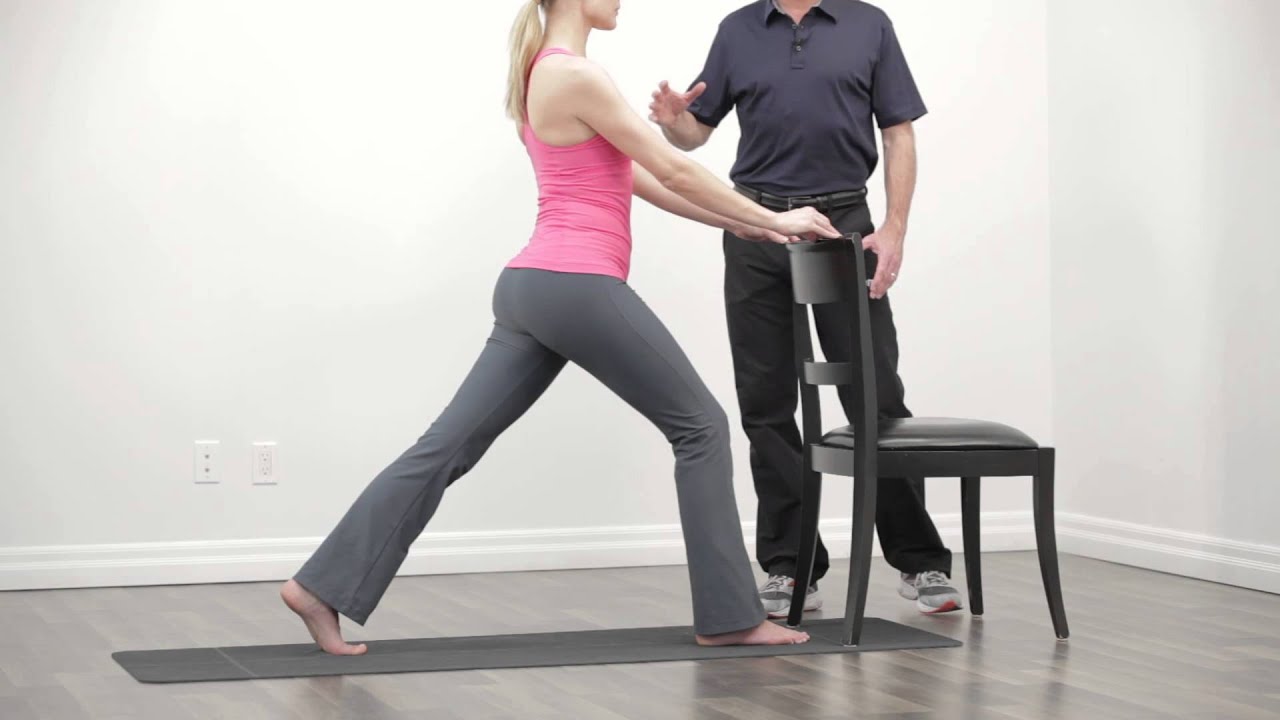
Exercise 4: Step-Back Lunge
What it works: Legs, glutes, balance, and joint stability.
How to do it:
- Stand tall, hands on hips or lightly holding a chair for balance.
- Step one foot back, lower until both knees bend comfortably.
- Keep most of your weight in the front heel and midfoot.
- Push the floor away with your front foot to stand.
- Switch sides by alternating each rep (right back, stand, left back, stand) at a steady pace.
Make it easier: Hold a chair with one hand, or keep the back foot closer (smaller step).
Make it harder: Slow it down, or add a knee drive at the top (only if balanced and pain-free).
Exercise 5: Dead Bug
What it works: Deep core strength that protects your back and improves posture.
How to do it:
- Lie on your back, arms up, knees bent at 90 degrees.
- Gently press your lower back toward the floor (no aggressive flattening).
- Slowly extend your right leg and left arm away from you.
- Stop your range if your lower back starts to arch, then come back in.
- Return, then switch sides.
Make it easier: Only move legs, keep arms still. Or reduce how far you extend.
Make it harder: Extend both the arm and leg fully and slow the return.
2-minute cool-down (do not skip this)
This is where you tell your nervous system, “We are done. You can relax now.”
1) Slow breathing (60 seconds)
Inhale through your nose for 4 seconds, exhale for 6 seconds. Keep shoulders down.
2) Quick mobility reset (60 seconds)
- 20 seconds gentle forward fold or hamstring reach
- 20 seconds chest opener: clasp hands behind back or place hands on hips and open the chest
- 20 seconds child’s pose or hands-on-counter back stretch
Your weekly plan
If you are a true beginner, I recommend this approach:
- Week 1: Do the routine 4 days. On the other days, take a 10-minute walk or do gentle stretching.
- Week 2: Aim for 5 days.
- Week 3 and beyond: You can do it 5 to 6 days a week, or alternate with walking days.
My honest coaching take: Daily is great for habit building, but you do not need to “go hard” daily. Keep most days at a moderate effort and let your consistency do the heavy lifting.
When you are really busy
Use the minimum viable workout rule
If you cannot do 15 minutes, do 5. One round only. The win is showing up.
Pair it with an existing habit
- Right after brushing your teeth
- While coffee brews
- Before your first shower of the day
- Immediately after work, before you sit down
Track one thing
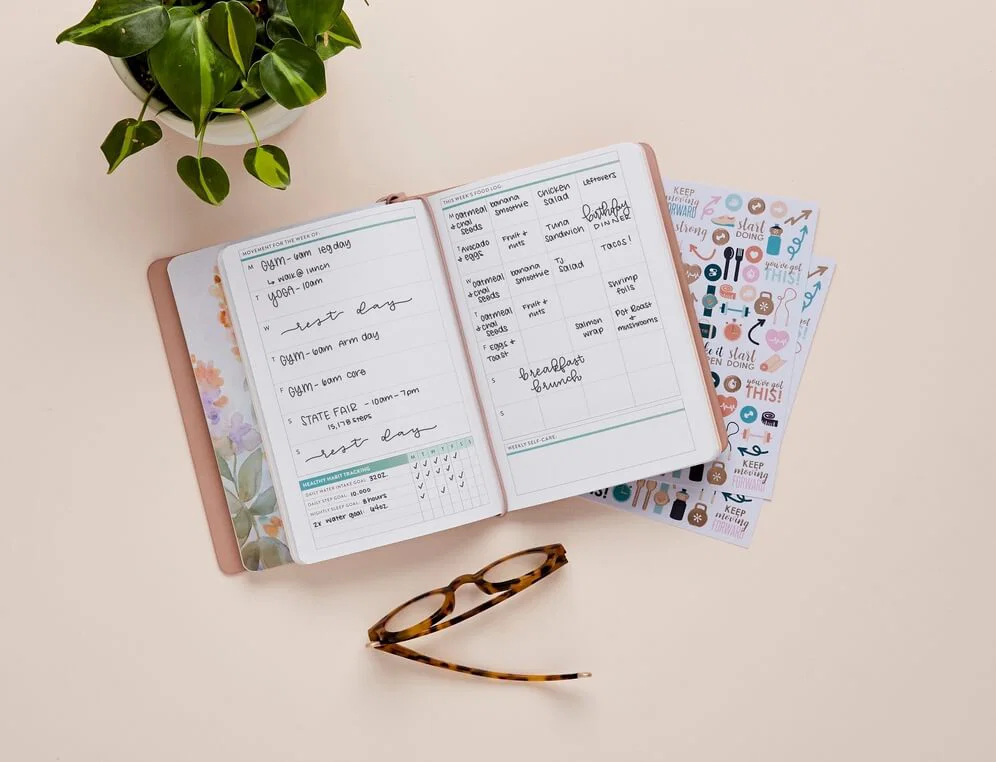
Put an X on a calendar for every day you do it. That visual streak is powerful.
Common beginner questions
Is 15 minutes actually enough?
Yes, if you do it consistently and you challenge your muscles a little. Think of it like brushing your teeth. The magic is in the repeatability. Over weeks, this builds strength, stamina, and momentum.
Should I do this in the morning or at night?
Either works. Morning tends to help with consistency. Night can be great for stress relief. Pick the time you can repeat most often.
What if I cannot do lunges or they hurt my knees?
Swap them for step-ups on a sturdy step, mini squats, or wall sits. Knee discomfort is usually a sign to reduce range, slow down, or use support. If pain persists, check in with a qualified clinician.
How do I know when to progress?
If you can complete both rounds with good form and still feel like you could do another round, progress one variable:
- Work 45 seconds, rest 15 seconds
- Add a third round once or twice per week
- Slow your lowering phase (3 seconds down)
- Choose the harder modification (lower incline push-ups, deeper squats)
Quick recap
Set a timer for 15 minutes. Warm up for 2, cycle through the 5 moves for 5 minutes, rest 1 minute, cycle through them again for 5 minutes, cool down for 2. Keep it moderate. Focus on smooth reps and steady breathing.
If you want a simple challenge: do this routine 4 times this week. Not perfect. Not intense. Just done. That is how the “busy beginner” version of fitness becomes the “this is just what I do now” version.