A practical breakdown of planks vs. crunches for home workouts, including form cues, posture support, joint-friendly options, and simple progressions for beg...
Home Pulse Fit
•
home workouts and fitness
What “Engage Your Core” Really Means
Learn what “engage your core” actually means, how to brace correctly, and the simple cues that help you feel it during squats, pushups, planks, and more at home.

Marcus Thorne
Marcus Thorne is an NASM-certified personal trainer and the creator behind Home Pulse Fit. After successfully transforming his own health using only bodyweight routines in his small apartment, he left his demanding corporate career to help others do the same. Today, he is dedicated to making fitness accessible, sustainable, and entirely gym-free for busy beginners.
Published
October 18, 2026
Updated
October 18, 2026
If you have ever heard “engage your core” and thought, cool, but how?, you are not alone. For years I treated it like a magic spell trainers said when something looked wobbly. The truth is way more practical: engaging your core is simply creating 360-degree tension around your midsection so your spine stays stable while your arms and legs do the work.
In a small apartment (and with zero fancy equipment), this one skill made my pushups feel stronger, my squats feel safer, and my lower back stopped complaining. Let’s make it simple and usable today.

What your core is
Your core is not just your six-pack. It is the group of muscles that stabilize your trunk and pelvis so you can move powerfully without your spine doing extra work.
- Front: abs (including the deeper layers that act like a natural weight belt)
- Sides: obliques (help resist twisting and side bending)
- Back: lower back muscles (support and control posture)
- Top and bottom teammates: diaphragm (breathing) and pelvic floor (support)
When someone says “engage your core,” they usually mean: brace your trunk so your spine stays neutral, then keep breathing while you move.
Engage vs. suck in
A lot of people respond to “engage your core” by sucking their stomach in hard, like trying to zip up tight jeans. That “drawing in” or hollowing can be useful in some rehab settings and for certain people, but for most strength and bodyweight exercises it often:
- reduces stability when things get challenging (even bodyweight “loads” count)
- makes you hold your breath or breathe shallowly
- may shift work into your low back because your ribs flare and your spine compensates
Bracing is different. Bracing is firming up your midsection as if someone is about to poke you in the sides and belly. Your torso becomes more like a sturdy cylinder, not a hollowed-out stomach.
Quick test: Put your fingers on the sides of your waist. If you only feel your belly pull inward but no gentle outward “push” into your fingers, you are probably sucking in rather than bracing.
Simple definition
Engaging your core = lightly exhale, then create 360-degree tension around your midsection while keeping your ribs stacked over your hips and continuing to breathe.
That is it. Not a crunch. Not a vacuum pose. Not holding your breath until your face turns purple.
How to brace
Step 1: Ribs over hips
Stand tall. Put one hand on your lower ribs and the other on the front of your hips.
- If your ribs are flared up (chest popped high), gently bring them down.
- If you are tucked under hard (butt squeezed and pelvis slammed forward), come back to neutral.
Think: sternum and belt buckle facing the same direction.
Step 2: Exhale
Do a quiet, controlled exhale through your mouth. You should feel your rib cage come down a bit and your abs naturally tighten.
If “fog a mirror” does not click, try a gentle “sss” exhale like you are slowly letting air out of a tire.
Step 3: Add moderate tension
Now “lock in” that position with a moderate brace. Imagine tightening a wide belt around your entire waist. You should feel:
- firmness in the front of your abs
- pressure into your sides
- a little support in the low back area
Some coaches call this 20 to 40% effort. Use that only as a rough idea. The real target is: firm enough to feel stable, light enough to breathe and talk.
Step 4: Keep breathing
The goal is bracing while breathing. Try small nasal inhales and controlled exhales without losing your ribs-over-hips stack.
Home cue: “Brace like you are about to lift a heavy grocery bag off the floor, but keep your breathing calm enough to talk in short sentences.”
Cues that work
Different cues click for different bodies. Here are my most reliable beginner-friendly options:
- “Someone is about to poke you.” Brace your belly and sides as if you are about to be poked, not punched.
- “Zip ribs to hips.” Light exhale, ribs come down, abs turn on.
- “360-degree belt.” Feel the tension wrap all the way around your waist, not just the front.
If one cue makes you hold your breath or tense your neck, ditch it and try another.
What it should feel like
Good signs
- Your midsection feels firm, like a supportive cylinder
- You can still breathe, especially on the exhale
- Your low back feels quieter during movement
- Your reps feel steadier and more controlled
Red flags
- Neck and shoulders tense up while your abs stay soft
- Lower back pinches during planks, pushups, or leg lifts
- You are holding your breath for long stretches
- Your belly is sucked in hard and you feel unstable
Use it in exercises
Squats
When to brace: before you start lowering.
Cue: “Exhale, ribs down, brace, then sit between your heels.”
What to watch: If your chest pops up and your low back arches at the bottom, you likely lost the brace. Reset at the top and slow down.
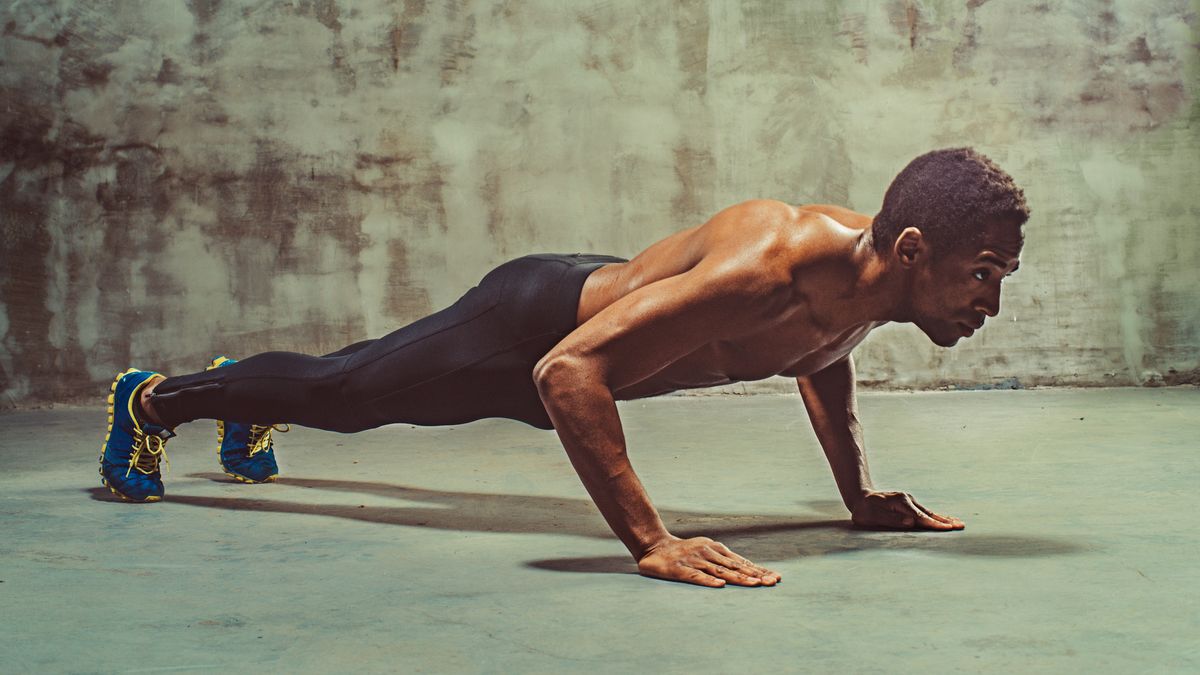
Pushups
When to brace: at the top plank position before the first rep.
Cue: “Ribs toward hips, squeeze glutes lightly, push the floor away.”
What to watch: Hips sagging is often a brace issue, not an arm strength issue. Elevate your hands on a sturdy counter or couch and practice keeping the same trunk position.
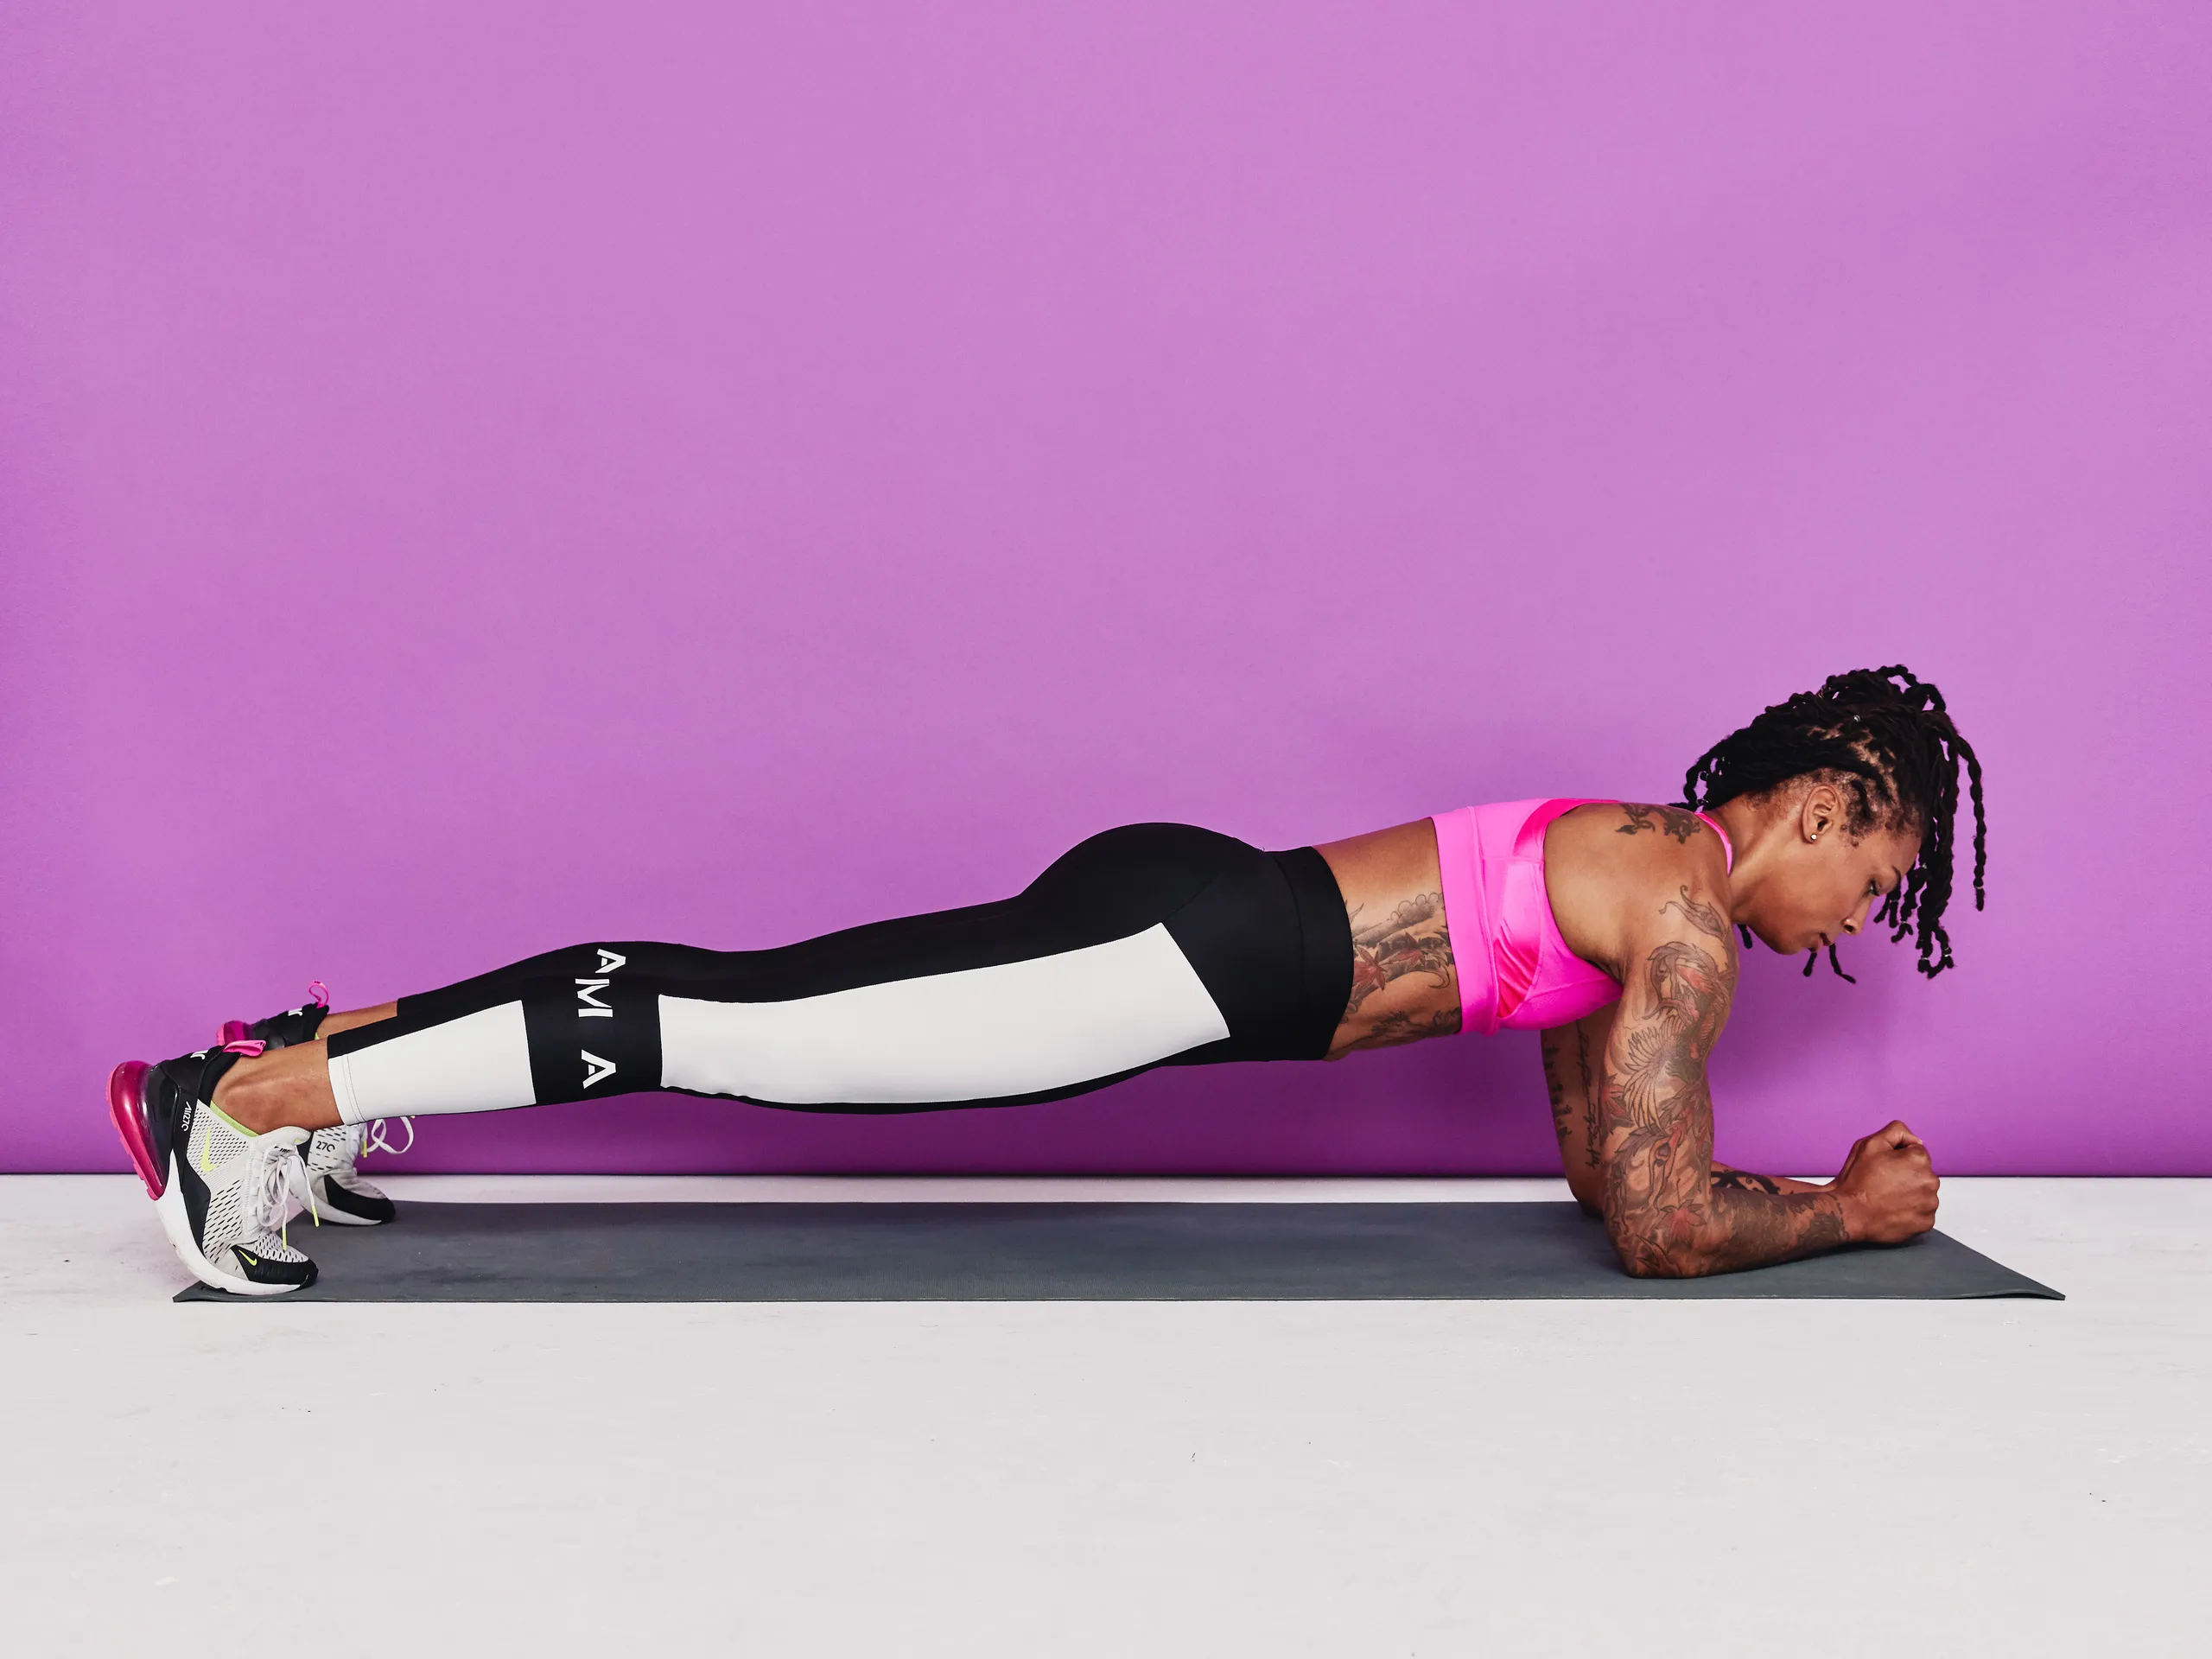
Planks
When to brace: as soon as you set your elbows and toes.
Cue: “Long spine, ribs down, breathe behind the brace.”
What to watch: If you feel planks mostly in your low back, shorten the plank (knees down) and focus on exhale plus ribs down.
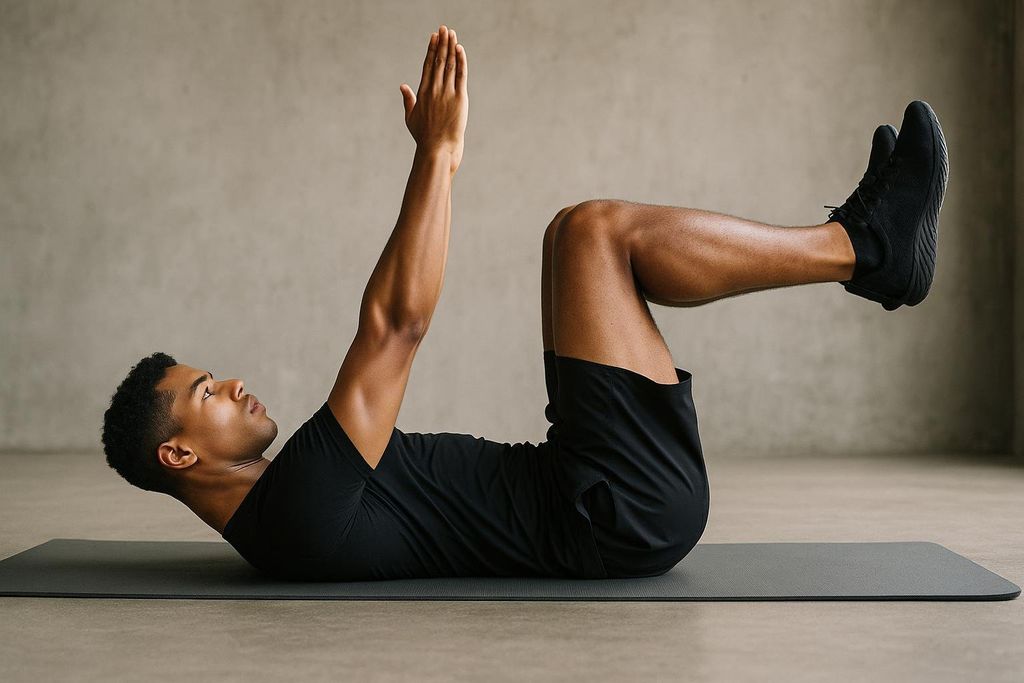
Dead bug
When to brace: before your arm and leg start moving.
Cue: “Press your low back gently into the floor, then move slow like you are balancing a glass of water.”
What to watch: If your low back lifts off the floor as you extend, make the movement smaller.
Breathing tips
If bracing always turns into breath-holding, try this simple rhythm:
- Exhale on effort (standing up from a squat, pushing up from a pushup, lifting a hip bridge)
- Inhale on the easier part (lowering into the squat, lowering in the pushup)
This is a beginner-friendly default, not a law of physics. For very heavy lifting, some people use a deliberate breath-hold strategy for extra stiffness. For home workouts, keep it simple: brace and keep breathing.
Quick self-checks
Finger-wrap test
Wrap your fingers around your waist (thumbs toward your low back, fingers toward your belly). Lightly exhale, then brace. You should feel gentle pressure into your fingers and thumbs, not just a hard tightening in the front.
Talk test
Hold your brace and say a short sentence out loud. If you cannot speak at all, you are bracing too hard or holding your breath.
Wall squat reset
Stand with your back near a wall. Slightly bend your knees and keep ribs over hips. Practice exhale plus brace for 5 seconds while breathing. This teaches stacking without overthinking.
Common mistakes
Over-tucking
Fix: Light glute tension is great. A hard tuck can flatten your natural spine and make movement feel awkward. Aim for neutral with ribs stacked over hips.
Chasing the burn
Fix: Bracing is a stability skill. You might not feel a huge burn. You are looking for steadiness and better control.
Bracing too late
Fix: Brace before you move, then maintain it through the rep.
Ribs flaring with fatigue
Fix: Use a mini exhale reset between reps. Quality reps beat messy reps every time.
When to relax
You do not need a hard brace for everything. For relaxed walking, easy mobility work, and most stretching, let your belly move naturally with your breath. Save your strongest brace for moments that actually challenge you, like lifting, pushing, pulling, carrying, or balancing.
Also, bracing demands scale with the task. The heavier or more awkward the move, the more stiffness you will need. Your goal is always the minimum brace that keeps you stable.
2-minute practice
This is my favorite warm-up when you want your form to feel instantly tighter.
- Standing brace practice: 3 slow exhales, brace at the end of each exhale for 3 seconds while breathing softly.
- Plank setup: Get into a plank (knees down if needed). Exhale, ribs down, brace. Hold 10 seconds while breathing.
- Bodyweight squat reps: 5 slow squats. Brace before each rep. Exhale as you stand.
Total time is about two minutes. The payoff is you start your workout already connected to your midsection.
Safety note
If you have acute or worsening back pain, new abdominal or groin bulging (possible hernia), pelvic floor symptoms (leaking, heaviness, pressure), or you are pregnant or postpartum, consider getting individualized guidance before pushing bracing hard. If bracing makes symptoms worse, stop and get checked out.
FAQ
Should I engage my core all day?
No. You do not need to walk around braced like you are about to be tackled. Think of bracing as a tool you turn on for effort, like lifting, pushing, pulling, carrying, or any movement that challenges your balance.
Is engaging your core the same as flexing your abs?
Not exactly. Flexing often means a front-only squeeze. Engaging is more like 360-degree tension with good alignment and breathing.
Why do I feel exercises in my lower back instead of my abs?
Usually one of three things: ribs flaring, losing pelvic control, or moving beyond the range you can stabilize. Scale the exercise (knees down, smaller range, slower tempo) and prioritize the exhale plus ribs down cue.
Can I brace too hard?
Yes. For most bodyweight moves, a moderate brace is plenty. If you cannot breathe or your neck gets tense, back it off.
Takeaway
“Engage your core” is not a mysterious command. It is a practical skill: stack ribs over hips, lightly exhale, create 360-degree tension, and keep breathing. Nail that, and a lot of home exercises suddenly feel safer, stronger, and smoother.
If you want a simple next step, use one cue for a full week (my pick: “360-degree belt”) and practice it during squats, pushups, and planks. Consistency beats intensity, every time.