A beginner-friendly, step-by-step push-up guide: proper setup, hand placement, full-range reps, plus wall, incline, and knee modifications to build strength ...
Home Pulse Fit
•
home workouts and fitness
Tricep Dips on a Chair: Proper Form to Protect Your Shoulders
Learn how to do chair tricep dips with shoulder-friendly form. Step-by-step setup, key cues, safe depth tips, common mistakes, and beginner alternatives.

Marcus Thorne
Marcus Thorne is an NASM-certified personal trainer and the creator behind Home Pulse Fit. After successfully transforming his own health using only bodyweight routines in his small apartment, he left his demanding corporate career to help others do the same. Today, he is dedicated to making fitness accessible, sustainable, and entirely gym-free for busy beginners.
Published
October 18, 2026
Updated
October 18, 2026
Chair dips are one of those “looks simple, feels brutal” moves. They can light up your triceps with nothing but a sturdy chair. But they are also a common culprit for cranky shoulders, especially when we drop too low, let the shoulders roll forward, or set up with the hands too wide.
I am a big fan of gym-free training, but I am an even bigger fan of training that still feels good next week. Let’s walk through a more shoulder-friendly way to do tricep dips on a chair, plus smart alternatives if dips do not agree with your body right now.
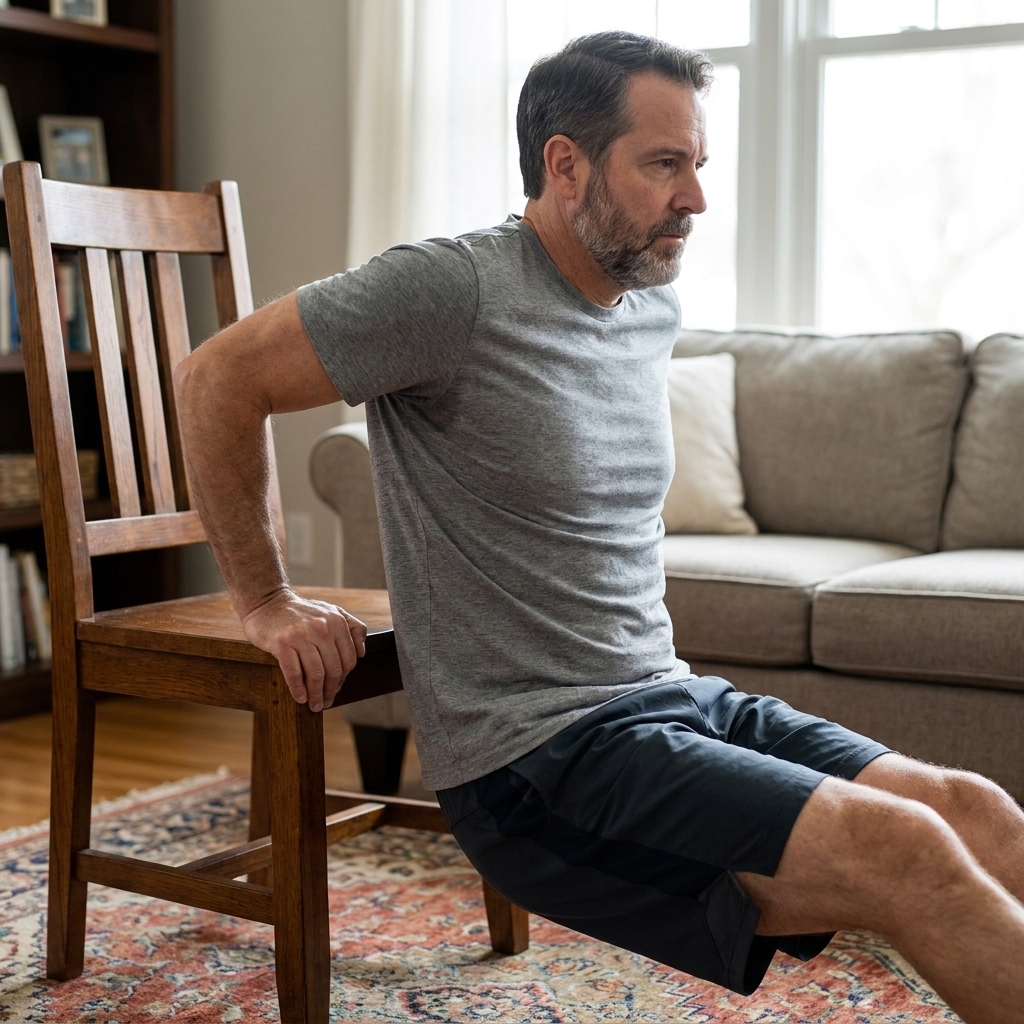
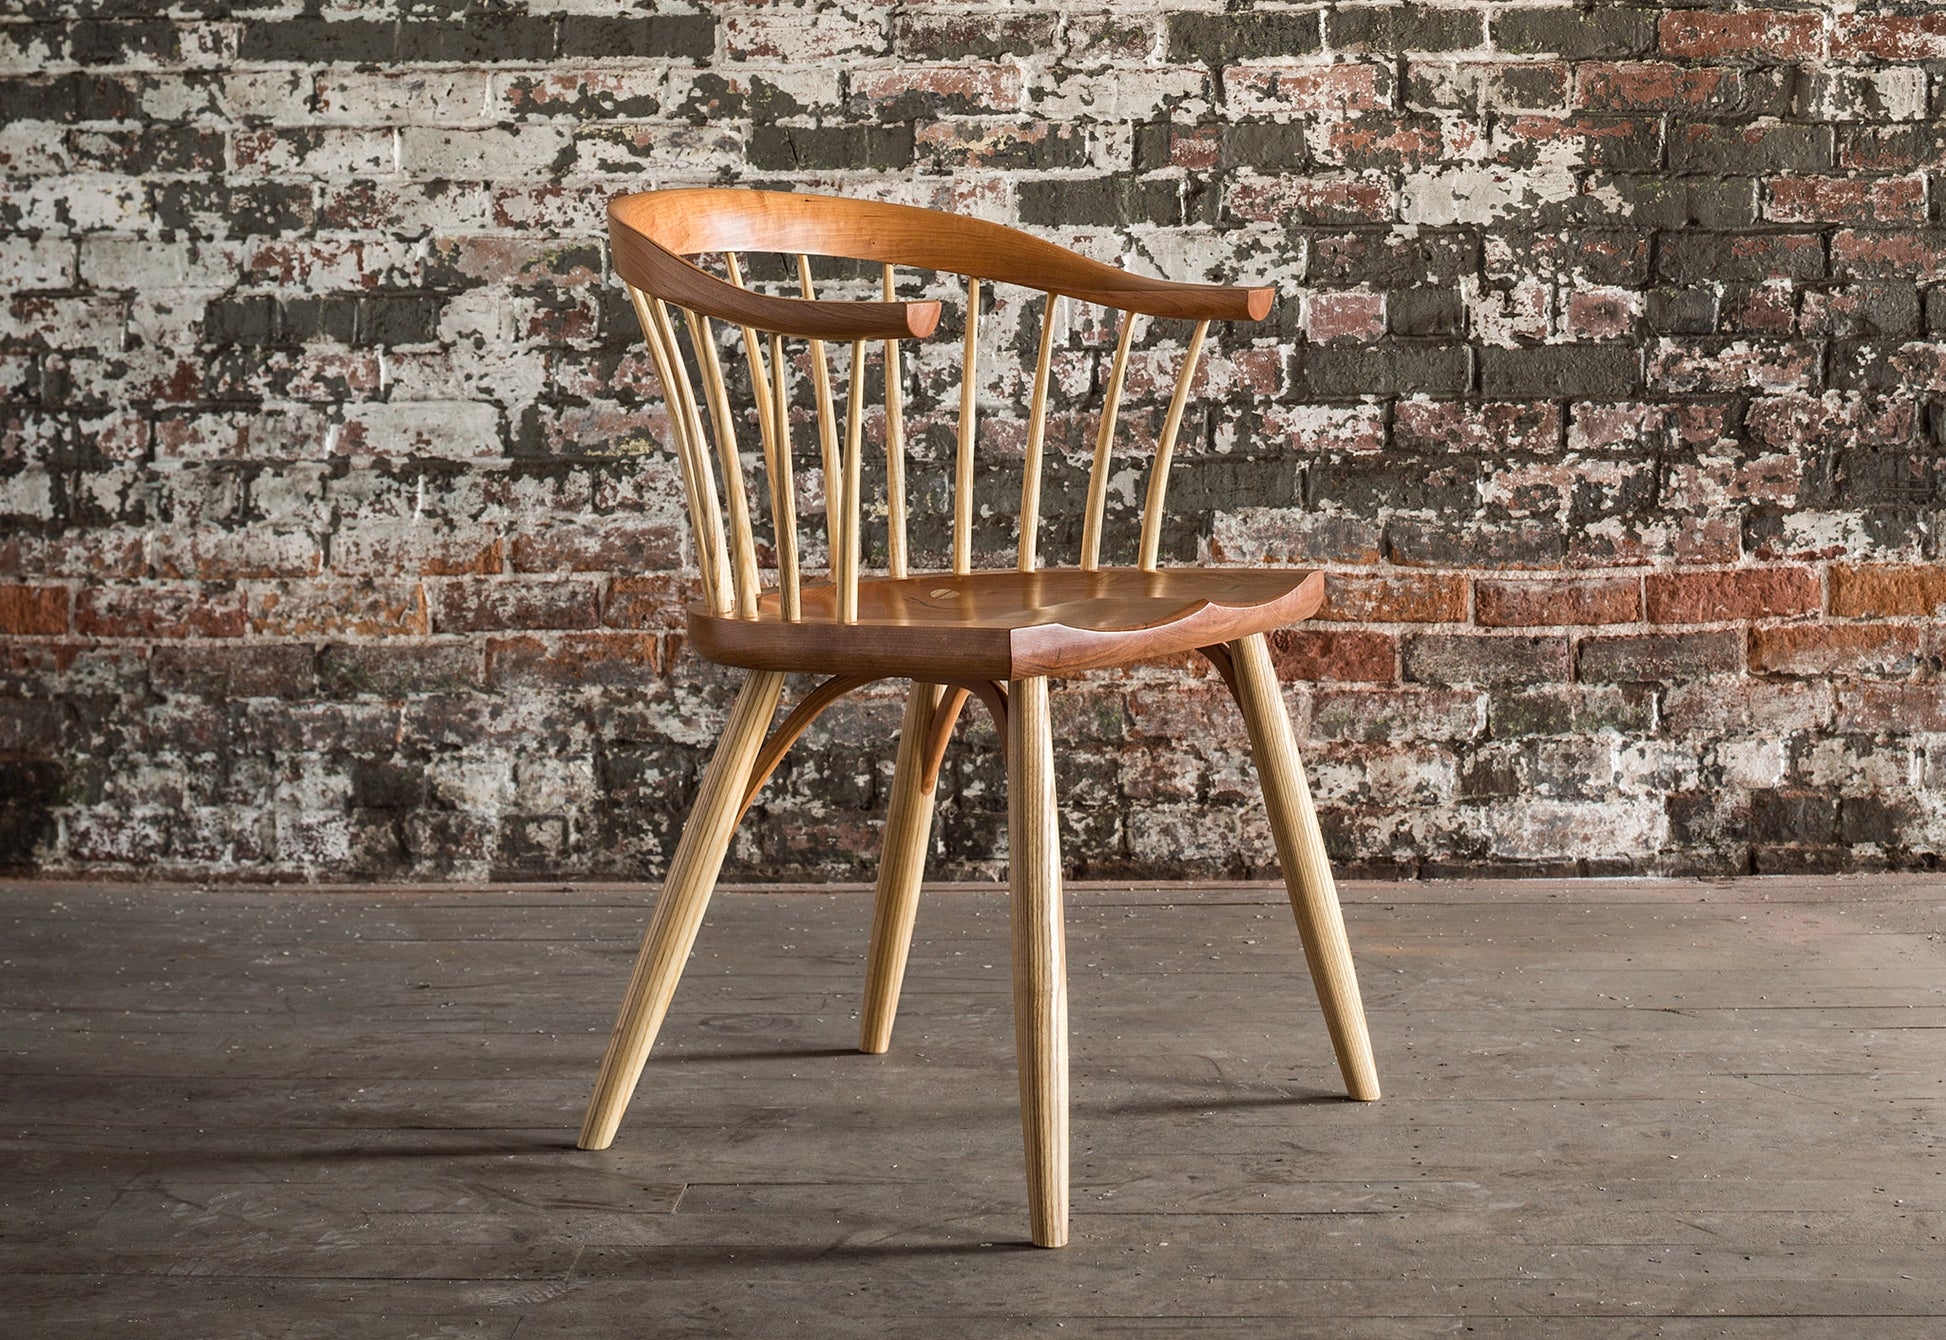
First: use a safe chair
Before we talk technique, we need a chair that will not slide, tip, or fold. Instability tends to make people tense up and shrug, which is not great for shoulders.
Quick safety checklist
- Choose a heavy, stable chair (a dining chair is usually better than a lightweight desk chair).
- No wheels. Avoid rolling chairs.
- Avoid folding chairs unless they lock firmly and do not wobble.
- Back it against a wall so it cannot scoot away.
- Use a grippy towel or yoga mat under the legs if you have slick floors.
Why shoulders get irritated
Most shoulder irritation during chair dips comes from some combination of the patterns many coaches and clinicians flag most often:
- Too much shoulder extension at the bottom. When your elbows drift far behind you and you sink deep, the front of the shoulder is more likely to feel pinched or stressed.
- Shoulders rolling forward (rounded upper back). This can make the movement feel “jammed.”
- Elbows flaring out. This often shifts stress away from the triceps and into the shoulders.
- Hands set too wide or too far forward, which can encourage shrugging and internal rotation.
The goal is not to chase the deepest dip possible. The goal is to hit your triceps hard while keeping your shoulders in a strong, stacked position.
Non-negotiables
- Long neck: shoulders down, no shrugging.
- Elbows mostly back: close to your sides, not flared wide.
- Hips close to the chair: do not drift forward.
- Stop before the pinch: your comfortable depth is the right depth.
Setup
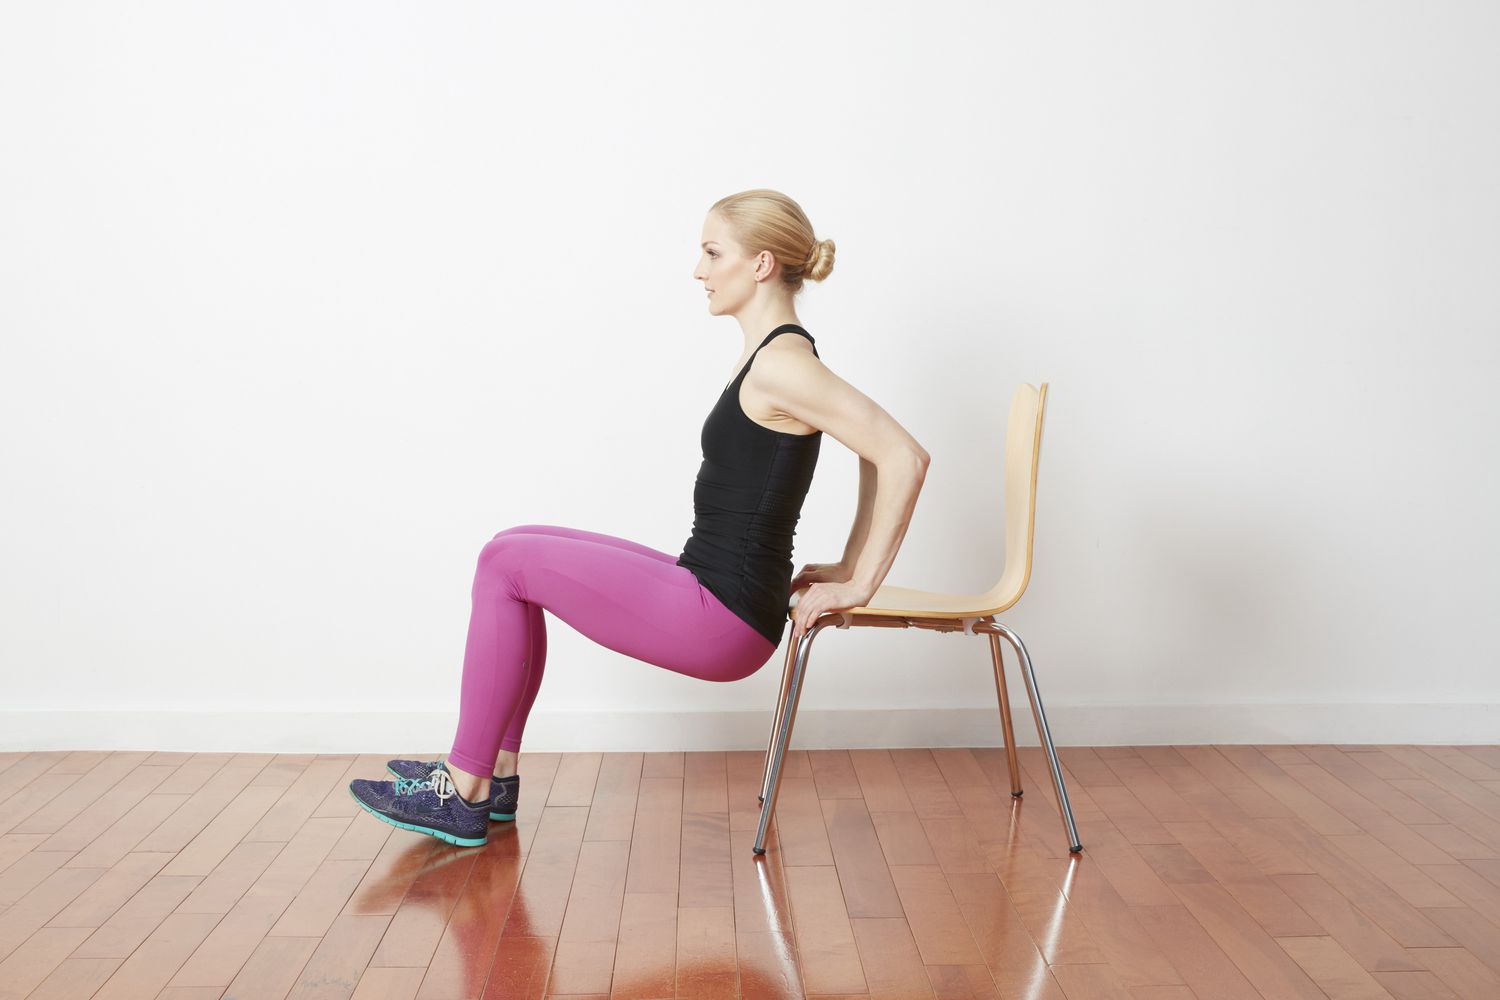
Step 1: Hands
Sit on the front edge of the chair. Place your hands next to your hips with fingers pointing forward (or slightly turned out if your wrists prefer it).
- Hands about hip-width apart. Wider is not better here.
- Wrists under your shoulders as much as your chair allows.
- Grip the edge firmly. That tension helps shoulder stability.
Step 2: Shoulders
Before you lift your hips, set your upper body:
- Pull your shoulders down away from your ears (think: long neck).
- Gently lift your chest without over-arching your lower back.
- Keep shoulder blades lightly back, not aggressively squeezed.
If you start the dip with shrugged shoulders, you will usually finish it with grumpy shoulders.
Step 3: Feet
- Easier: knees bent, feet flat and closer to the chair.
- Harder: legs straighter, heels on the floor and feet farther away.
Most beginners should start with bent knees. It lets you control the bottom position without dropping into a range your shoulders do not love.
How to do a rep
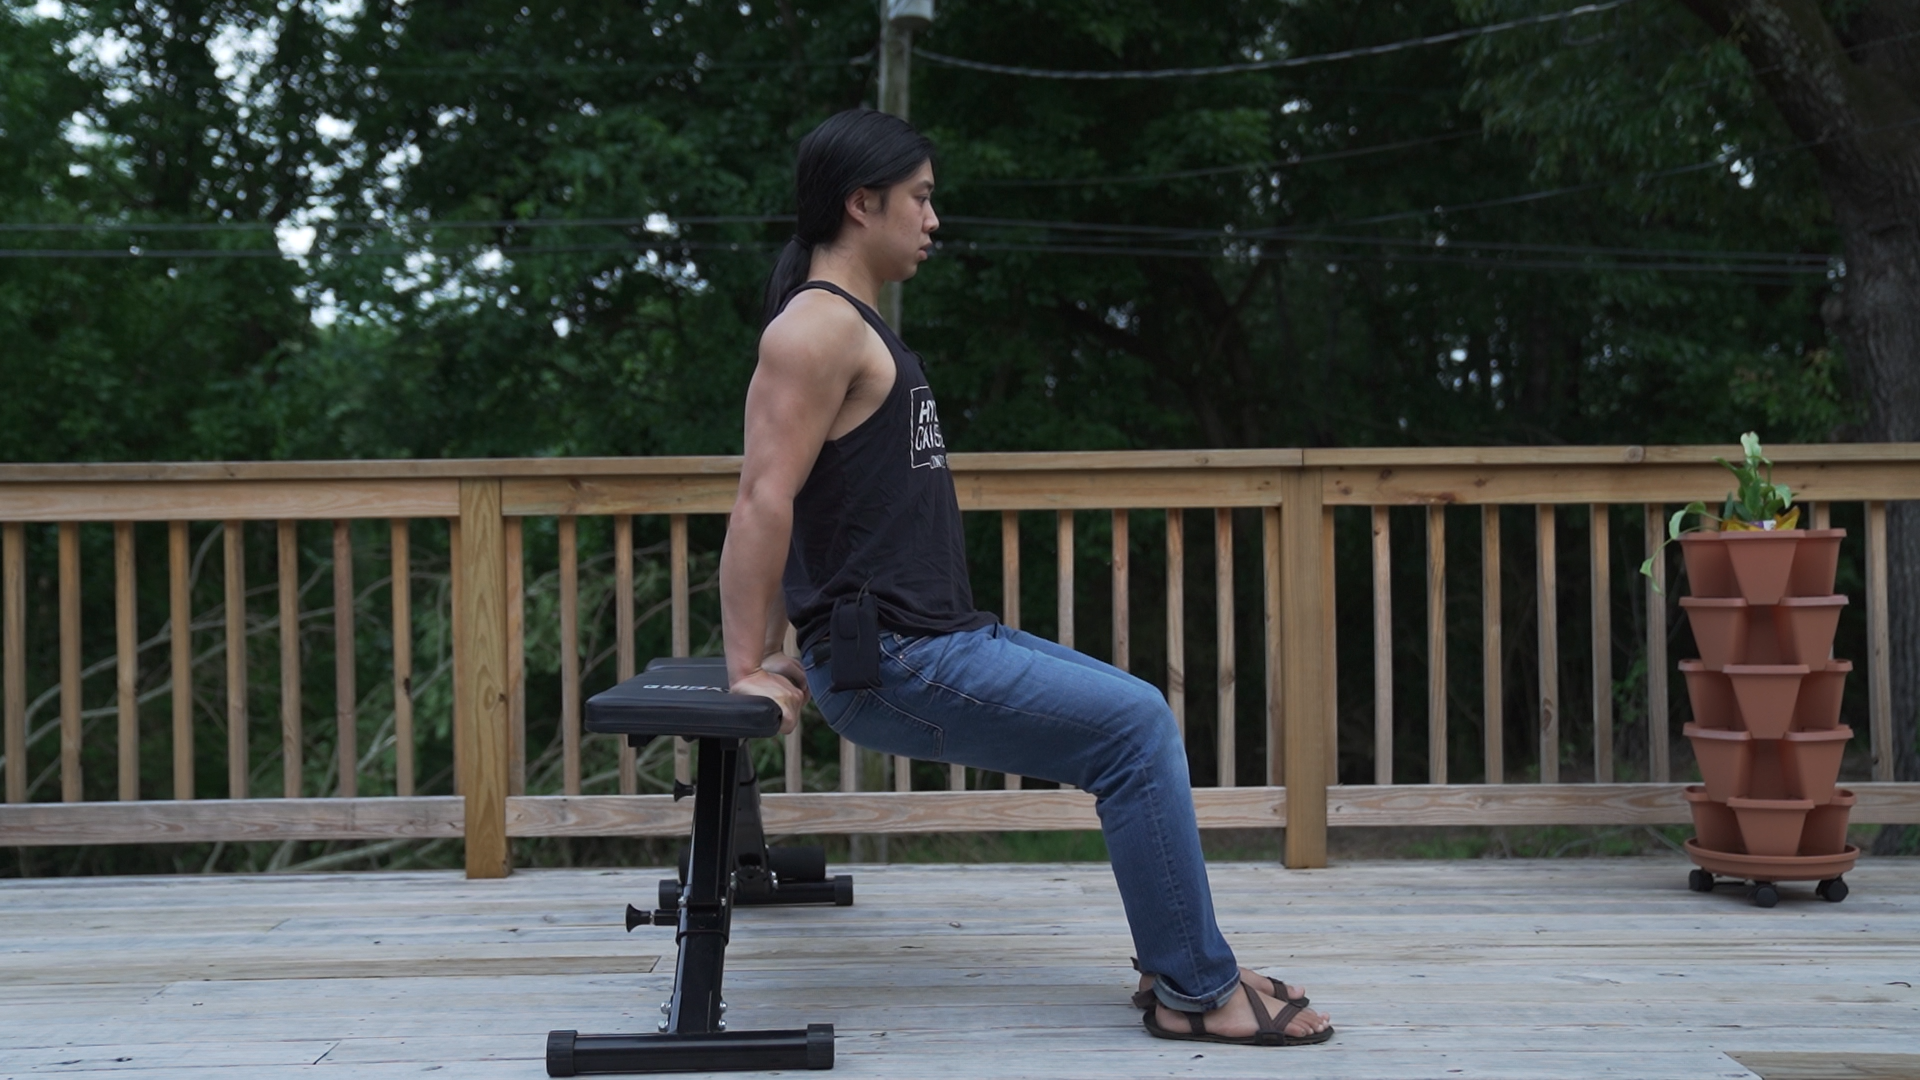
1) Lift and brace
Scoot your hips just off the chair. Keep your chest lifted and your shoulders down. Your arms are straight but not painfully locked.
2) Lower with elbows back
Bend your elbows and lower straight down, staying close to the chair. Think: elbows track mostly behind you, close to your sides.
3) Stop at your depth
A helpful starting point for many people is stopping when your upper arms are about parallel to the floor. That is not a universal rule, though. Some people need to stop earlier, and some tolerate a bit deeper. Your best rule is still this: stop when you feel your shoulders start to roll forward, pinch, or lose control.
4) Press up
Press through your palms to raise your body back to the top. The chair should stay put. Keep your shoulders down as you rise.
Simple tempo
- 2 seconds down
- brief pause near the bottom
- 1 to 2 seconds up
If you bounce at the bottom, your shoulders tend to take the hit. Own the bottom position.
Common mistakes
Dropping too low
What it looks like: shoulders glide forward, elbows travel way behind you, deep stretch in the front of the shoulder.
Fix: shorten the range. Aim for around parallel, or higher if that is where your shoulders feel best. You can still make your triceps work hard with a smaller range and clean tempo.
Elbows flaring out
Fix: bring hands closer to hip-width and think “elbows track back, close to my sides.”
Shoulders creeping up
Fix: reset at the top of every rep. Pause, drop shoulders, then lower again.
Hips drifting forward
Fix: keep your hips close to the chair edge. The farther you drift, the more shoulder strain tends to show up.
Slippery setup
Fix: push the chair against a wall and add a towel or mat under the legs.
Should you feel it in shoulders?
You will feel some work around the shoulder because it is stabilizing your body. But you should primarily feel chair dips in your triceps and maybe a bit in your chest.
Stop and swap if you feel:
- Sharp pain in the front of the shoulder
- Pinching at the bottom
- Numbness or tingling down the arm
- Pain that lingers after the set or into the next day in a “something is irritated” way
If you have a history of shoulder dislocation, labrum issues, or persistent impingement-type symptoms, dips are often a poor match. Consider skipping them and checking in with a qualified clinician if you are unsure.
Shoulder-friendly alternatives
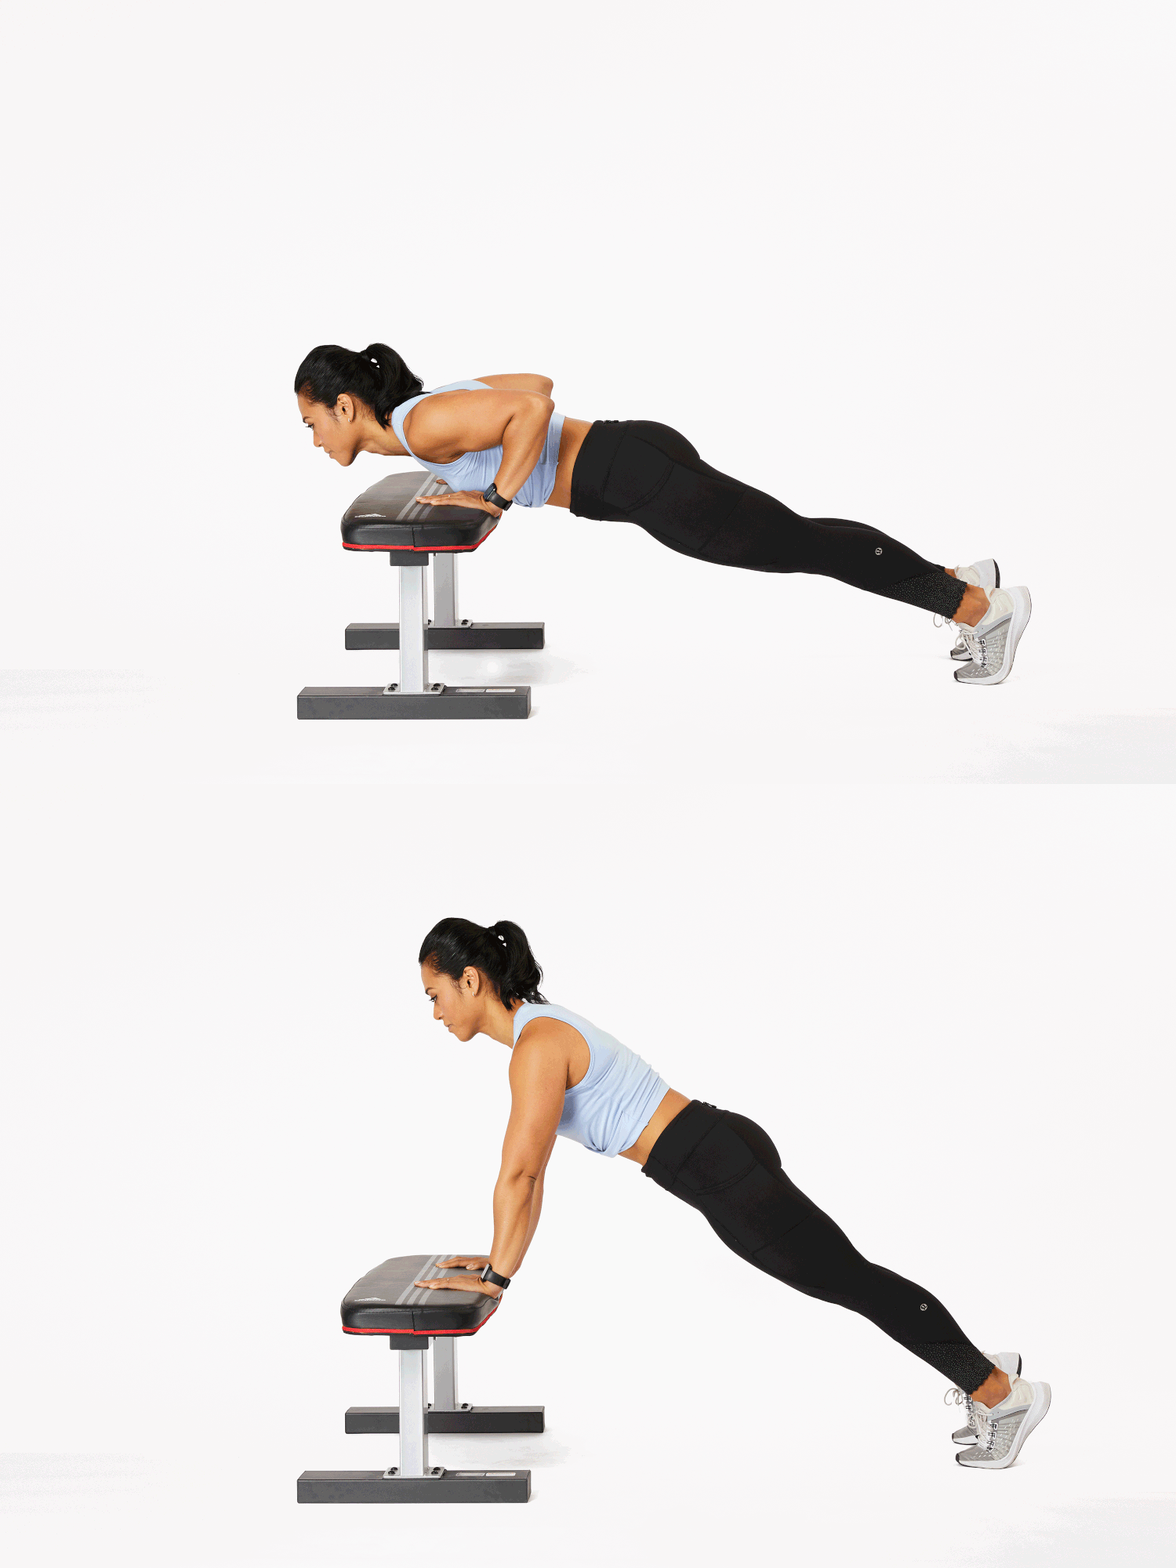
1) Close-grip incline push-ups (chair or counter)
Instead of dipping behind you, you keep your hands in front of your shoulders, which many people find much more comfortable.
- Hands on chair seat or countertop
- Body in a straight line
- Elbows track back as you lower
2) Bodyweight triceps extensions (skull crushers) on a counter
Use a sturdy countertop or table edge. Place hands on the edge, walk feet back, then bend your elbows to bring your head toward your hands and press back up. This targets triceps without forcing deep shoulder extension behind the body.
3) Dip mini-range (only if pain-free)
If you love dips and want to keep them, use bent knees and a small range of motion. Think of it as controlled reps between two comfortable positions, not a deep drop.
Programming
For most busy beginners, chair dips work best as a small, consistent dose.
- Start with: 2 to 3 sets of 6 to 10 reps
- Rest: 60 to 90 seconds
- Frequency: 1 to 2 times per week
Progression ideas
- Add 1 rep per set until you hit 10 to 12 with clean form
- Slow the lowering phase to 3 seconds
- Move feet slightly farther away (only if shoulders stay happy)
If you master chair dips pain-free and want to progress, the next step is usually a more stable setup like parallel bars or dip handles. Add load only after you can control your range and keep shoulders comfortable for weeks, not just one workout.
Quick warm-up
This is not mandatory, but it is a big return on a small time investment.
- Shoulder rolls: 10 slow circles each direction
- Wall slides: 8 to 10 reps (keep ribs down)
- Scapular push-ups: 8 to 10 reps from countertop or floor
FAQ
Are chair dips bad for shoulders?
Not automatically, but they can be irritating if you dip too deep, flare elbows, or shrug your shoulders. Many people do better with a shorter range of motion and bent knees.
How deep should I go?
As deep as you can control without pinching or the shoulders rolling forward. A solid starting point for many people is stopping when your upper arms are about parallel to the floor, but some bodies need less.
Where should my elbows point?
Mostly behind you, close to your sides. If they drift out wide, narrow your hand position and keep your hips close to the chair edge.
What if my wrists hurt?
Try turning your fingers slightly out, gripping the chair edge firmly, and shortening range. If wrist discomfort persists, choose an alternative like close-grip incline push-ups.
Bottom line
Chair dips can be a fantastic at-home tricep builder when you respect two things: setup and range of motion. Keep your shoulders down, elbows tracking mostly back, hips close to the chair, and stop the rep before anything pinches.
If dips still do not feel right, that is not a character flaw. Swap to a close-grip incline push-up or bodyweight triceps extensions and keep building strength in a way your joints will actually tolerate. That is how you stay consistent, and consistency is the whole game.