Safe progression methods for home bodyweight workouts: add reps, slow the tempo, increase range, change leverage, shorten rest, add load, and follow a simple...
Home Pulse Fit
•
home workouts and fitness
Pull-Up Progression With a Doorway Bar
Learn a step-by-step doorway pull-up progression for busy beginners. Build grip, shoulders, and back strength with hangs, scap pulls, assisted reps, negatives, and holds until you earn your first strict rep.

Marcus Thorne
Marcus Thorne is an NASM-certified personal trainer and the creator behind Home Pulse Fit. After successfully transforming his own health using only bodyweight routines in his small apartment, he left his demanding corporate career to help others do the same. Today, he is dedicated to making fitness accessible, sustainable, and entirely gym-free for busy beginners.
Published
October 18, 2026
Updated
October 18, 2026
I used to think pull-ups were one of those “some people just can” exercises. Then I started training in my tiny apartment with a doorway bar, and I realized the real secret is not talent. It is a progression that builds the exact strength you need, one small win at a time.
This guide is the same step-by-step path I use with busy beginners: hangs, shoulder control, assisted work, negatives, and holds. No gym required. Just a doorway bar, a little patience, and consistent practice.
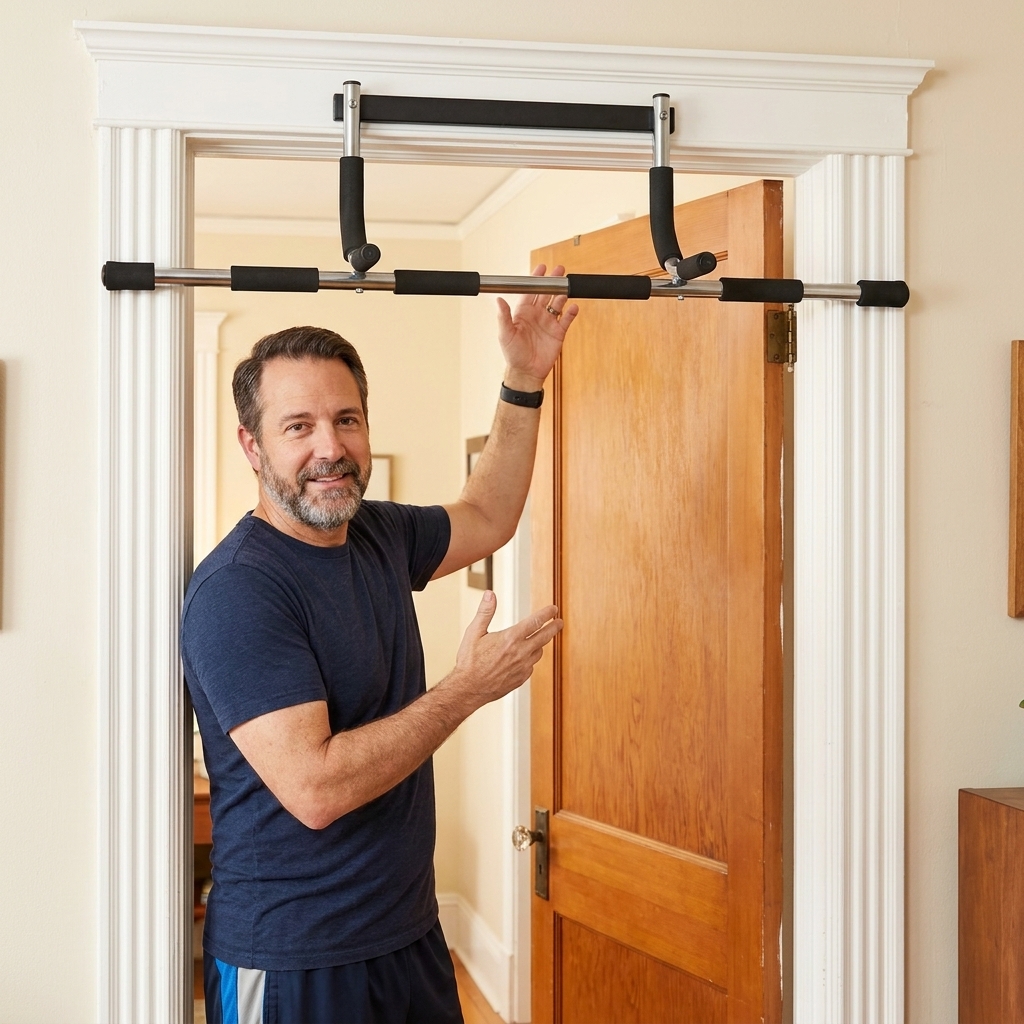
Before you start: doorway bar safety checks
A pull-up program only works if your setup is solid. Take two minutes and make sure your bar and door frame can handle regular loading.
Quick checklist
- Use a sturdy door frame with solid trim. Avoid frames that flex, creak, or feel loose. Many doorway bars rely on the trim, so weak, cracked, or hollow trim is a no-go.
- Skip sketchy setups. Avoid metal frames, damaged casing, loose jambs, and plaster or drywall that is crumbling or separating.
- Lock the door or block it. You do not want someone opening it mid-set.
- Check the manufacturer rating. Follow the bar’s load rating, and remember swinging and kipping can spike forces beyond what a simple “static” number suggests.
- Test with partial weight first. Put one foot on the ground, load the bar, and gently pull down to confirm it does not shift.
- Clear the landing zone. Move shoes, baskets, or furniture. If you drop unexpectedly, you want a clean floor.
- Mind your grip surface. If your bar is slick, consider chalk or a thin towel grip wrap. Just do not make it so thick you cannot close your hand.
Quick health note: If you have a history of shoulder or elbow injuries, or you feel sharp pain, numbness, or tingling during hangs or pulls, pause and get input from a qualified clinician or coach. “Work through it” is not a plan.
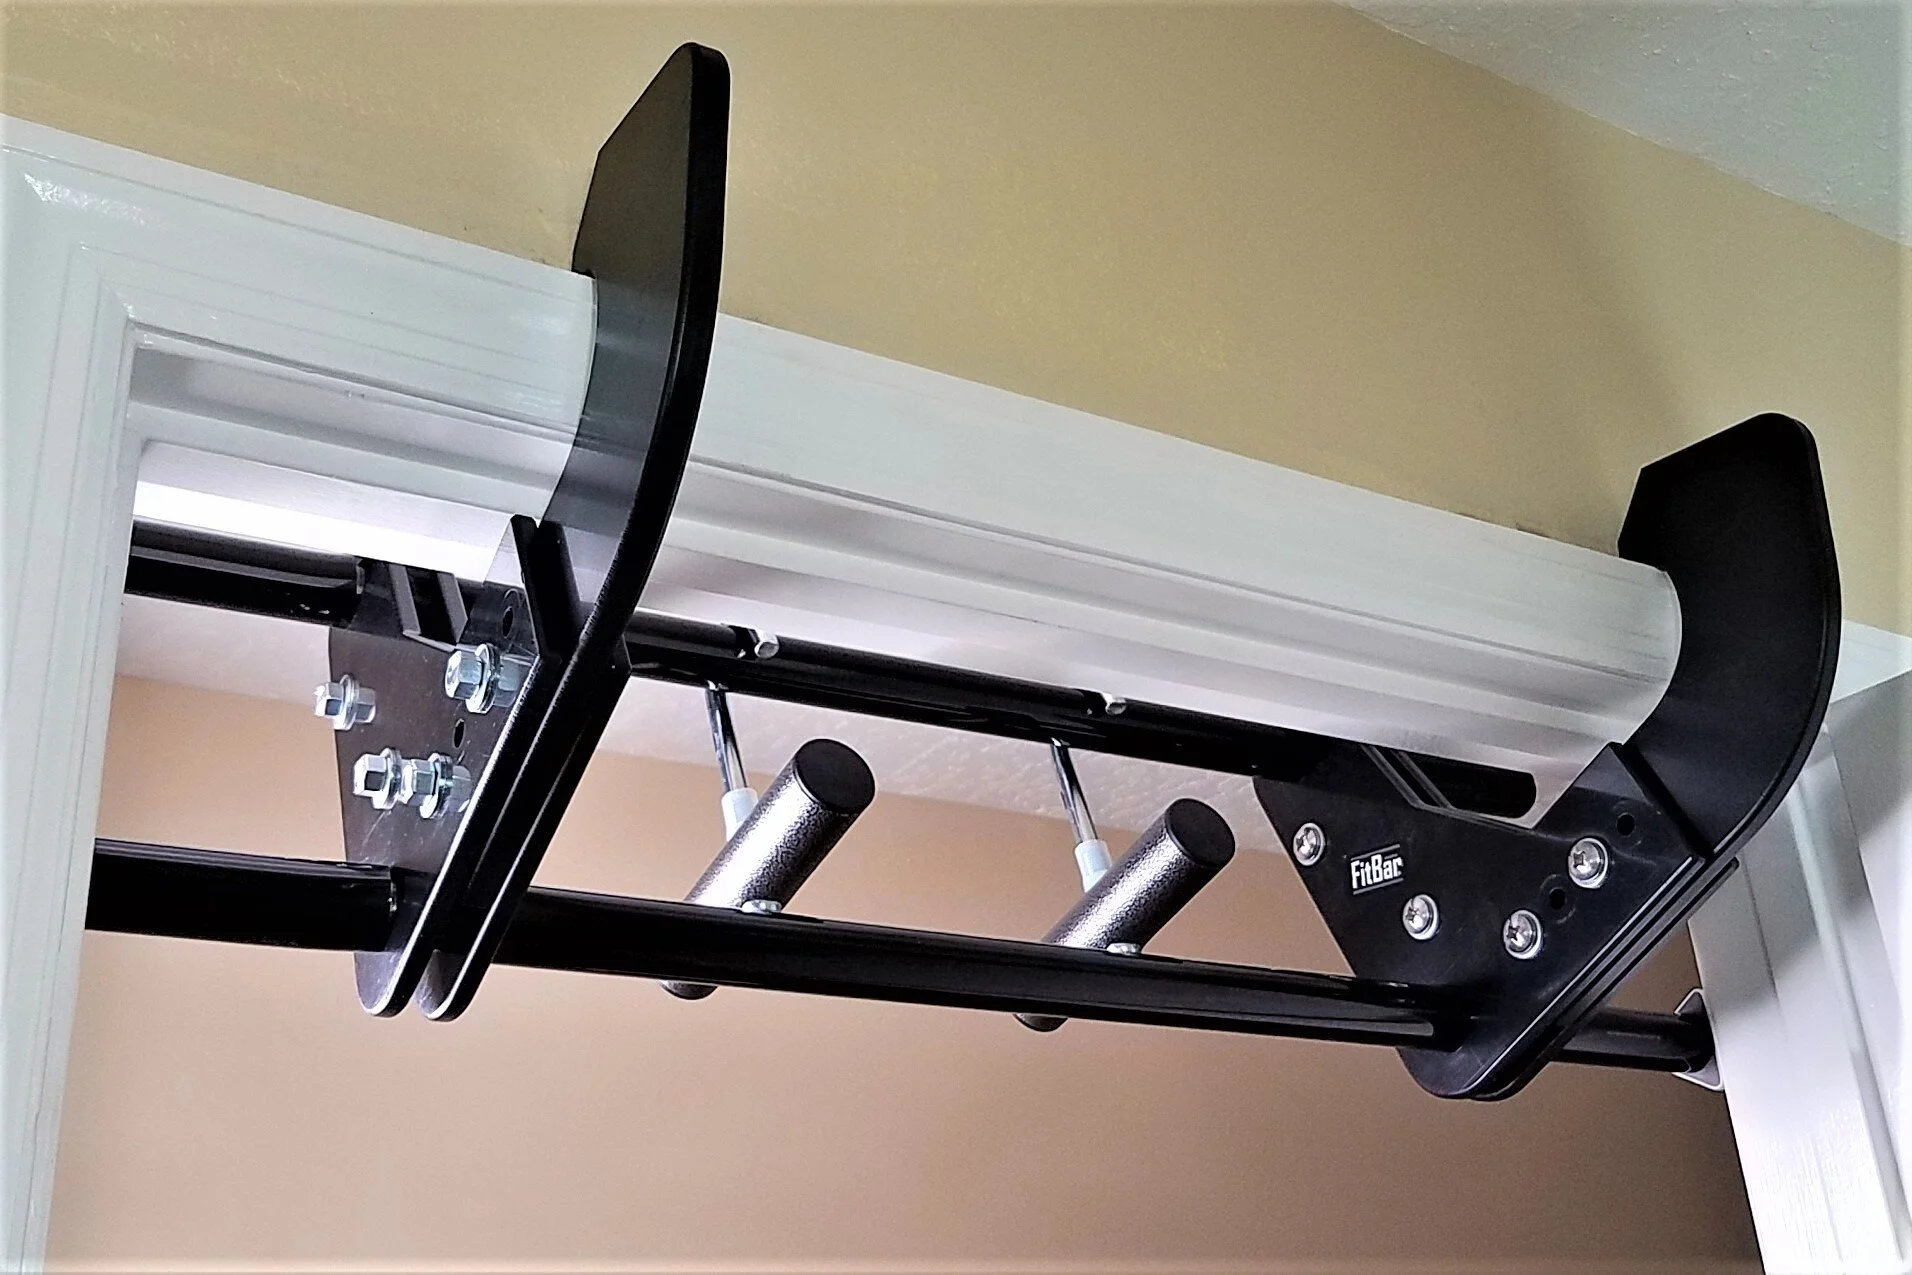
The pull-up standard we are building toward
To keep this simple and measurable, here is what I mean by a strict pull-up:
- Start from a full hang (arms straight, no swinging).
- Pull until your chin clearly passes the bar.
- Lower with control back to a full hang.
- No kipping, no bouncing, no “half reps.”
If you can already do that once, you are not a beginner anymore. You are building volume. If you cannot yet, perfect. This progression is designed for you.
How the progression works
You will move through the steps below in order. Think of them like levels in a game. You do not need to “max out” every workout. You just need to hit clean reps, add seconds, and slowly make the hard parts less hard.
Rule I use with beginners: move to the next step when you can complete the current step for the target time or reps with good form for two workouts in a row.
If you stall: If you go 2 to 3 weeks without progress, do not add more effort. Keep one hard movement (usually negatives or assisted pull-ups), cut total sets by about a third for one week, then build back up. Elbows and shoulders tend to improve when you give them a little breathing room.
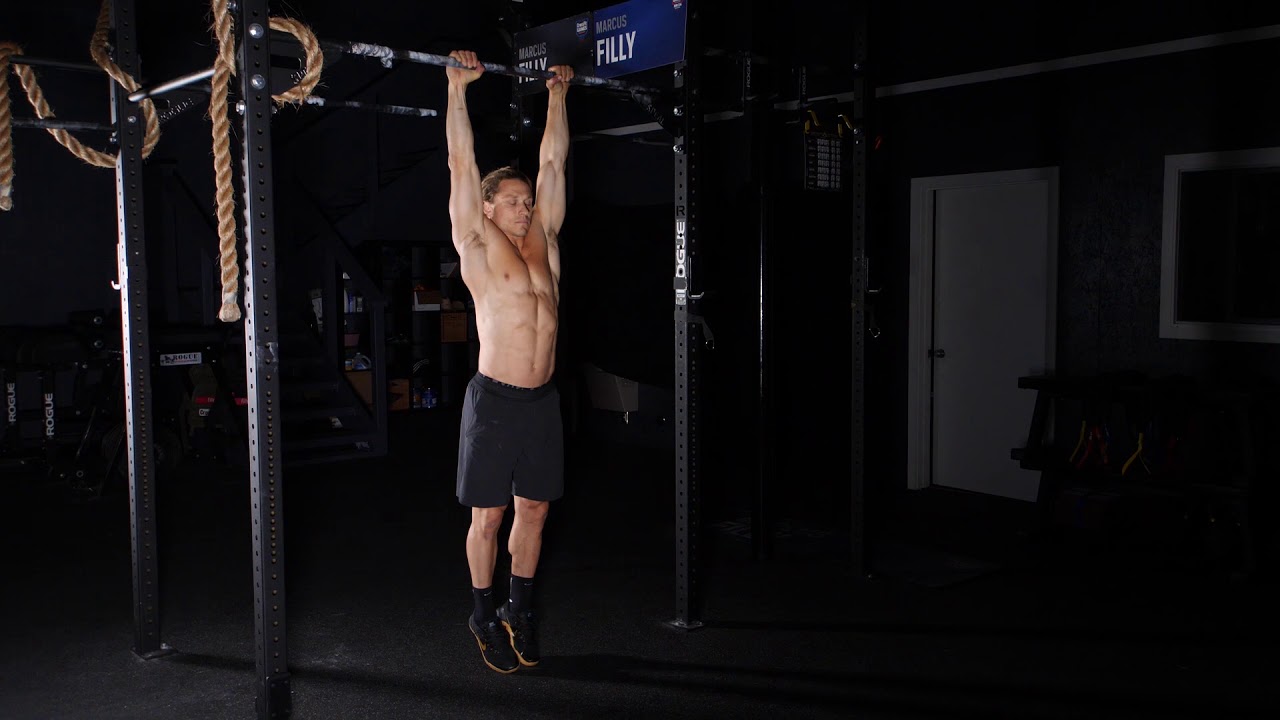
Step 1: Hangs (grip and shoulder readiness)
Hangs build your grip, toughen up your hands, and teach your shoulders how to sit overhead. They also reveal tight lats and limited overhead mobility fast.
Dead hang vs active hang
- Dead hang: arms straight with the shoulders more relaxed.
- Active hang: arms straight, but you gently pull your shoulders down away from your ears.
Both are useful. If your shoulders feel pinchy in a fully relaxed hang, use an active hang for now.
How to do it
- Grab the bar with palms facing away (overhand grip) about shoulder-width.
- Hang long through your body, but do not dump into a painful “joint hang.” Think: ribs down, glutes gently tight.
- Keep your legs slightly in front of you if needed to avoid swinging.
Targets
- Beginner goal: 3 sets of 10 to 20 seconds
- Next milestone: 3 sets of 30 seconds
Common mistake: shrugging up into your ears the whole time. Aim for a long neck and controlled shoulders, not a tense shrug.
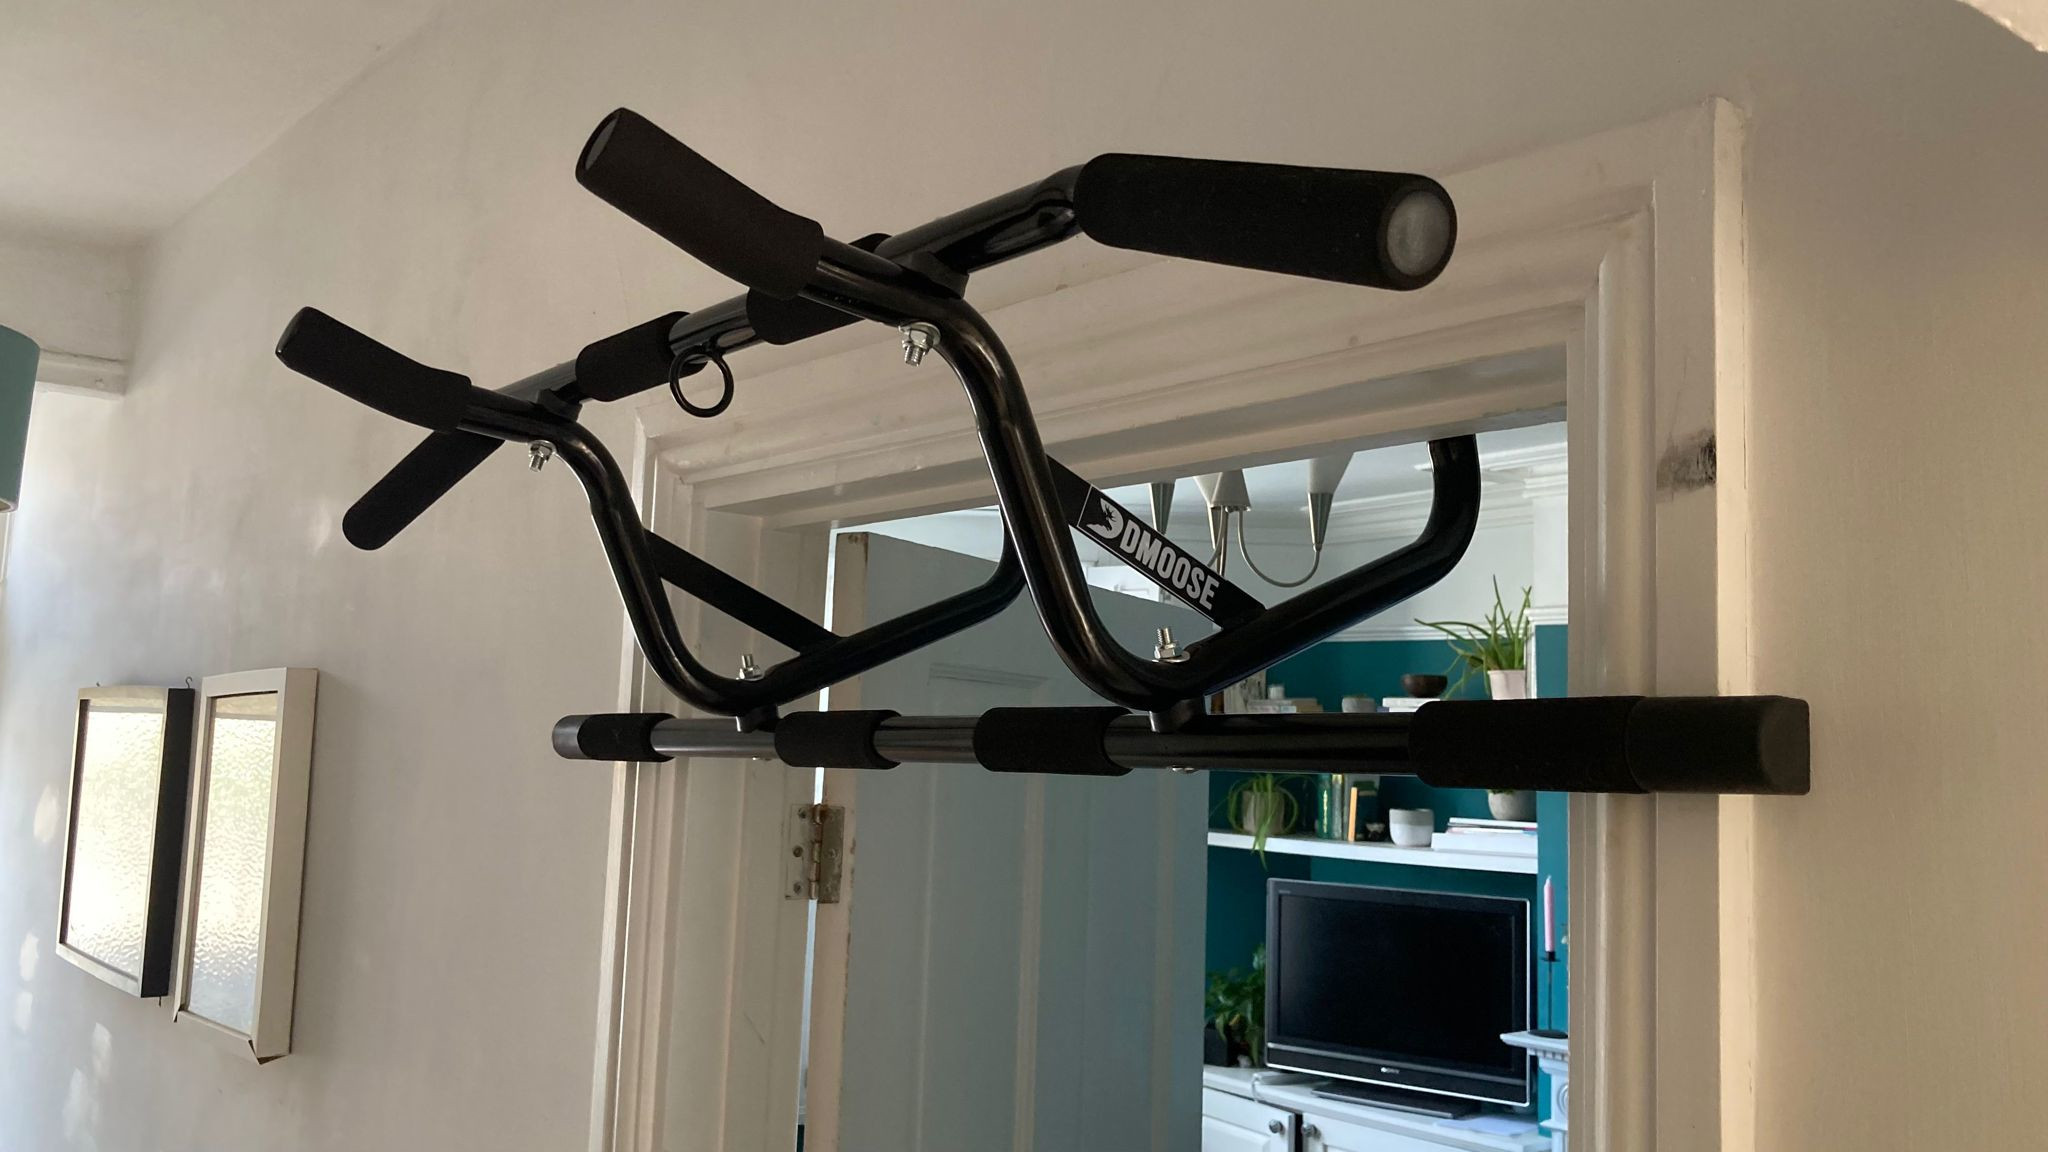
Step 2: Scapular pulls (your start button)
If you can hang but cannot start the pull, scapular pulls are your bridge. They train the first part of the pull-up: pulling your shoulder blades down before your elbows bend.
How to do it
- Start in a hang.
- Without bending your elbows, pull your shoulders down away from your ears (and slightly back if it feels natural).
- Your body will rise slightly, usually just an inch or two.
- Pause for a moment, then return to a controlled hang.
Targets
- 3 sets of 6 to 10 reps
- Pause 1 second at the top of each rep
Form cue: Imagine you are trying to put your shoulder blades into your back pockets.
Step 3: Assisted pull-ups (build the pattern)
Assistance lets you practice the full pull-up path before you are strong enough to lift your full bodyweight. At home, the easiest options are a resistance band, a chair, or a foot-on-floor assist.
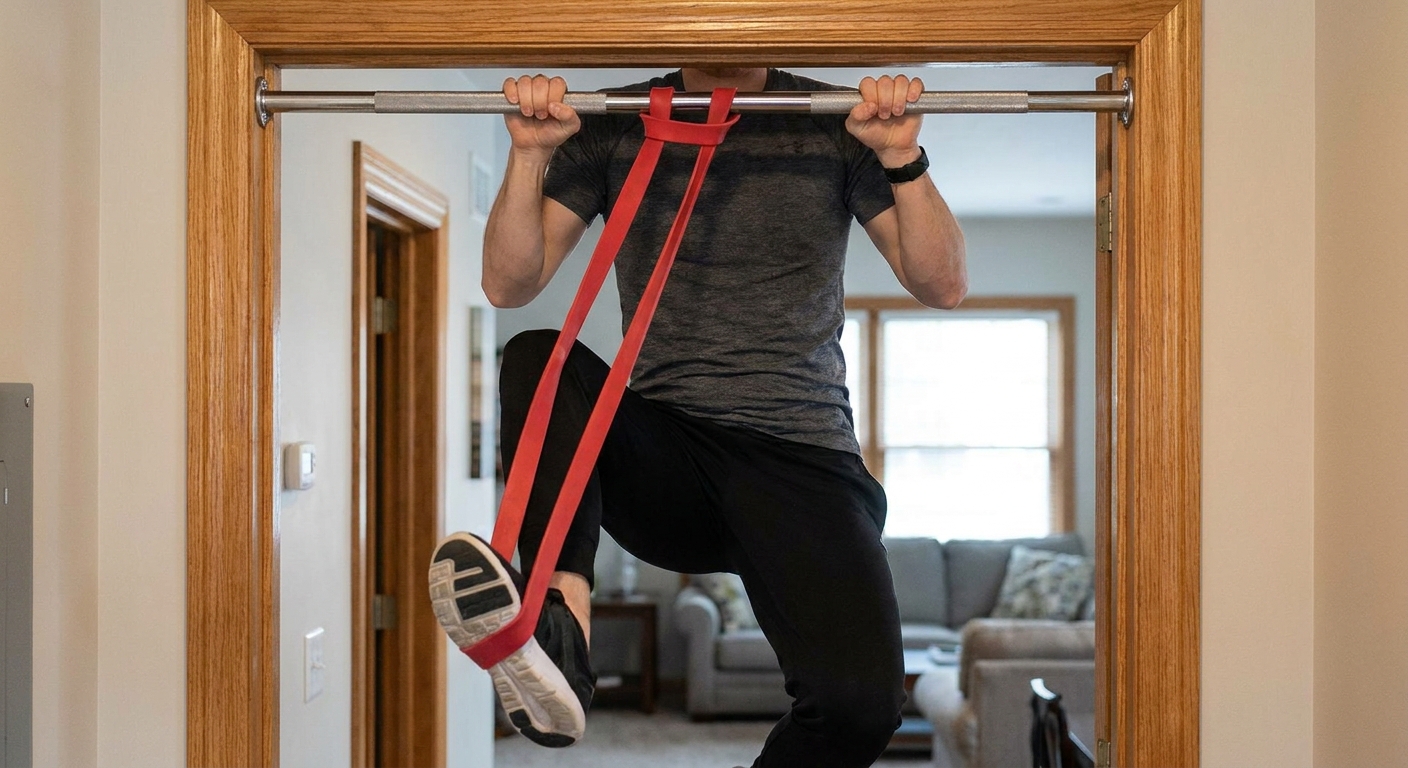
Option A: Band-assisted pull-up
- Loop a sturdy resistance band over the bar.
- Place one foot or knee into the band.
- Pull up smoothly, keeping your ribs down and avoiding a big swing.
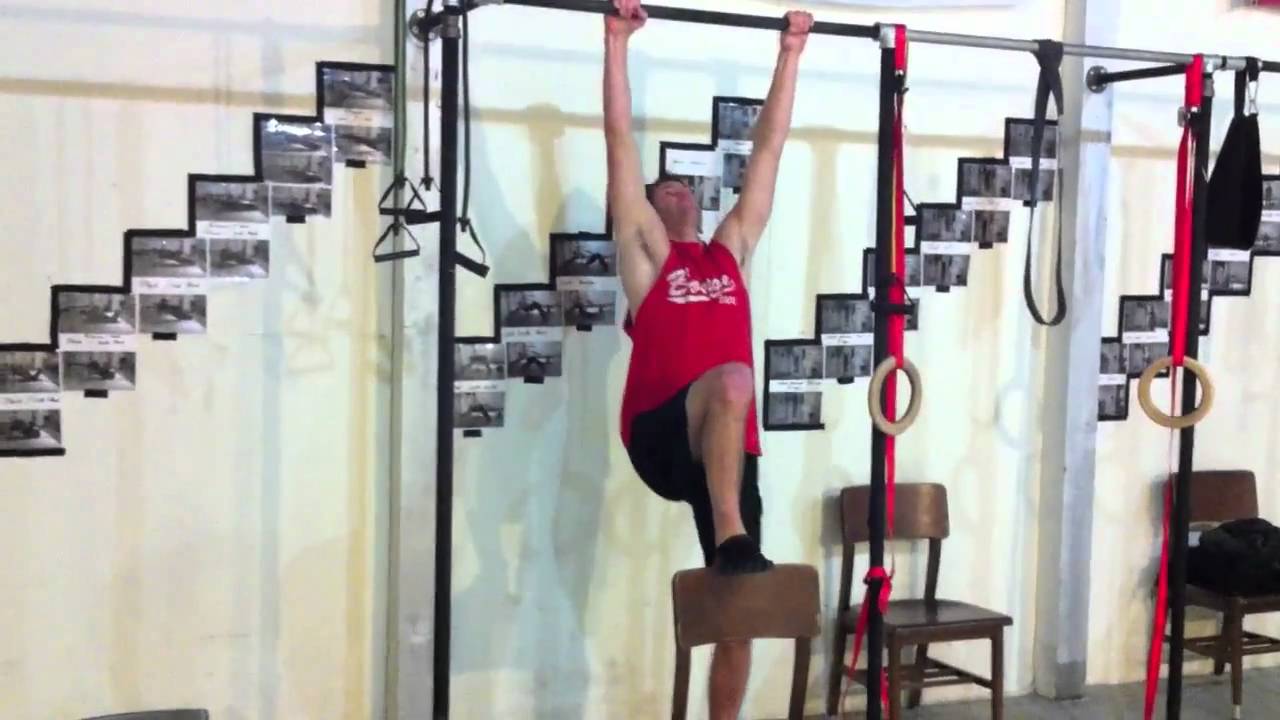
Option B: Chair-assisted pull-up
- Place a stable chair under you.
- Use just enough leg drive to keep the rep smooth.
- Try to make your arms do most of the work.
Targets
- 3 to 5 sets of 3 to 6 reps
- Stop each set with 1 to 2 reps in the tank. No grinders.
Common mistake: turning the assist into a jump. If your feet are launching you up, the pull-up muscles are not getting enough practice.
Step 4: Negative pull-ups (a very efficient builder)
Negatives are where pull-ups start feeling real. You begin at the top position and lower yourself slowly. Because most people are stronger on the way down, this is one of the most efficient ways to build strength for your first strict rep.
How to do it
- Use a chair to step to the top position, chin over the bar.
- Set your shoulders down.
- Lower for 3 to 8 seconds until your arms are straight.
- Reset fully before the next rep. No bouncing.
Targets
- 3 to 6 sets of 1 to 3 reps
- Aim for 5-second lowers before you add more reps
Joint-saving rule: If elbows or shoulders start feeling beat up, shorten the negative to 3 seconds and cut sets before you cut form. Tendons love patience.
Step 5: Isometric holds (own the hard points)
Isometrics teach your body to stay strong where you usually fail. Most beginners fail either near the top or right out of the bottom.
Holds to practice
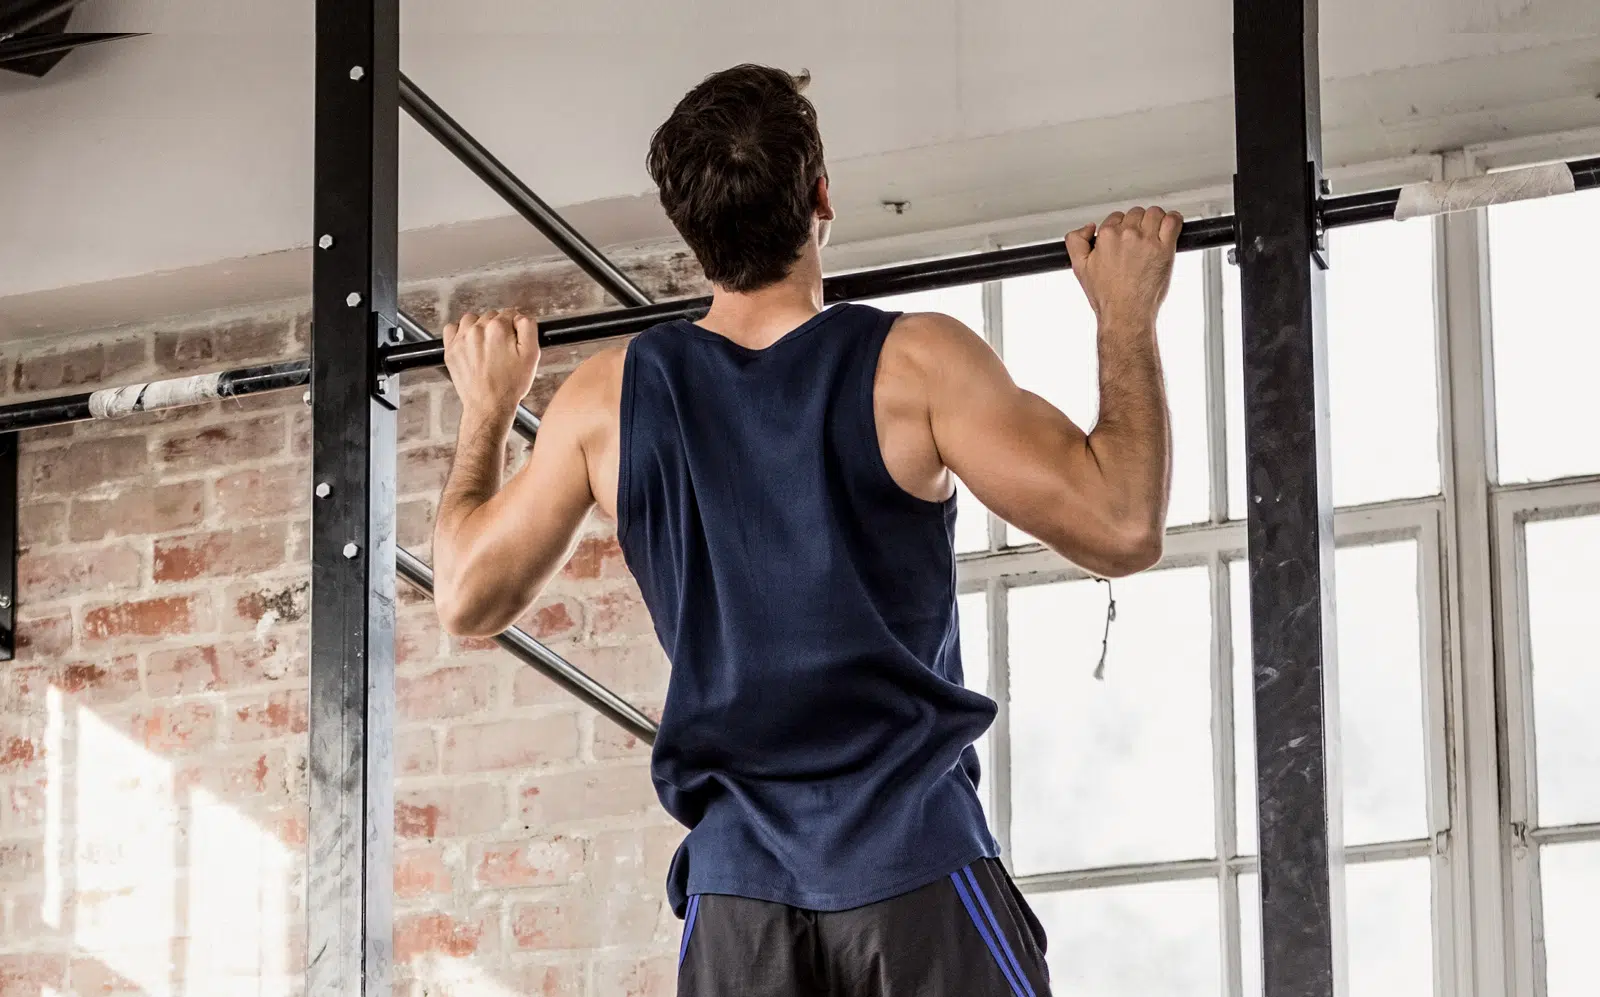
- Top hold: chin over the bar, shoulders down, squeeze your back for 5 to 15 seconds.
- Mid hold: elbows around 90 degrees for 5 to 15 seconds.
- Active hang hold: arms straight but shoulders pulled down (not shrugged) for 10 to 30 seconds.
Targets
- 3 rounds of 1 to 2 holds per position
- Rest 60 to 90 seconds between efforts
Form cue: Stay tall through your torso. If you are craning your neck or jamming your chin forward, reset and pull your ribs down.
Step 6: Your first strict pull-up attempt
When you can do at least one 5-second negative for multiple singles and hold the top for 10 seconds, you are usually close.
How to test without turning it into chaos
- Warm up with 1 to 2 easy sets of hangs and scapular pulls.
- Do 1 set of an assisted pull-up for 2 to 3 reps.
- Rest 2 minutes.
- Attempt one strict pull-up. Just one.
- If you miss, do 2 to 3 negatives and call it a win. That attempt still counts as practice.
My favorite mindset here: you are not “trying to see if you can.” You are practicing a skill. Skills improve with calm reps, not hype.
A simple 3-day weekly plan (20 minutes each)
This is the exact kind of schedule I wish I had when I was busy, stressed, and training in a cramped living room. Short sessions. Clear targets. No guesswork.
Day A: Strength and control
- Hang (dead or active): 3 x 15 to 30 seconds
- Scapular pulls: 3 x 6 to 10
- Negative pull-ups: 4 x 1 to 2 (5-second lowers)
- Optional: plank 2 x 30 seconds (a steady midsection helps pull-ups)
Day B: Volume with assistance
- Hang: 2 x 20 seconds
- Assisted pull-ups: 5 x 3 to 6
- Top holds: 3 x 5 to 15 seconds
Day C: Mix and skill
- Active hang hold: 3 x 10 to 25 seconds
- Assisted pull-ups: 3 x 3 to 5 (slower tempo)
- Negatives: 3 x 1 (longest controlled lower you can manage, up to 8 seconds)
Progression rule: add 1 to 5 seconds to hangs and holds, or add 1 rep to assisted sets each week. Keep it small and sustainable.
Form fixes that make pull-ups feel easier
1) Set your shoulders before you pull
Every rep starts with a tiny “pack the shoulders” move. Think down. Then pull.
2) Keep your ribs from flaring
If your chest is popping up and your lower back is arching hard, you are leaking tension. Lightly brace like you are about to cough.
3) Use a slight hollow body
Legs slightly in front, glutes lightly tight. This reduces swinging and keeps the pull focused.
4) Control the descent
Even when you cannot pull up yet, you can almost always lower with more control than you think. That is where a lot of your strength will come from.
Optional accessories (high payoff at home)
If you feel stuck, these are the simple add-ons that help most true beginners build pulling strength faster without beating up the elbows.
- Rows: band rows anchored in a door, or under-table rows if you have a sturdy table. Aim for 2 to 3 sets of 8 to 12 after your main work.
- Biceps and forearms: hammer curls with a band or dumbbells, plus a few sets of easy farmer carries if you have weights.
- Shoulder and lat mobility: gentle lat stretches and thoracic extensions can make overhead positions feel cleaner.
Common doorway-bar issues and solutions
The bar hurts my hands
- Start with shorter hangs and add time gradually.
- Try a slightly narrower grip.
- Use chalk or a thin towel wrap if the bar is slick.
My elbows feel irritated
- Reduce negative volume first. Keep them, just do fewer.
- Use more assisted reps and fewer slow lowers for 1 to 2 weeks.
- Warm up with wrist circles and gentle forearm squeezes before you hang.
My shoulders feel pinchy overhead
- Do active hangs instead of fully relaxed hangs for now.
- Stay away from painful ranges. Pain is not a progression tool.
- Spend extra time on scapular pulls and controlled holds.
I cannot stop swinging
- Bend your knees and place your feet slightly in front of you.
- Start each rep from total stillness.
- Shorten sets before form falls apart.
FAQ
How long does it take to get your first pull-up?
In my coaching experience, many busy beginners land their first strict rep in 6 to 12 weeks when they practice 3 days per week and progress steadily. That said, it is highly individual. Starting strength, body weight, age, sex, sleep, stress, injury history, and how consistent you are can easily move that timeline longer or shorter.
Should I train pull-ups every day?
For beginners, daily heavy work usually backfires. Tendons and elbows need recovery. Three focused sessions per week is the sweet spot for most people. You can add easy hangs on off days if they feel good.
Overhand or underhand grip?
Overhand (palms away) is the standard pull-up and is great for building balanced strength. Underhand (chin-up) often feels easier for beginners because it uses more biceps. If your goal is “first rep fast,” you can train both, but keep most work overhand.
What if my doorway bar is too low to fully hang?
Bend your knees and cross your ankles behind you. You can still build a strong pull-up with bent knees as long as you can start from full arm extension.
Coach’s wrap-up
Your first pull-up is not about going harder. It is about showing up often enough that your body adapts. If you commit to hangs, scapular control, assisted reps, and a few quality negatives each week, the strict pull-up stops being a mystery and starts being inevitable.
If you want a tiny next step, do this today: set a timer for 3 sets of 15-second hangs. That is it. Start where you are, and let consistency do the heavy lifting.