This quick, beginner-friendly warm-up uses easy mobility and dynamic moves to help you feel looser and more ready to train at home in about 5 minutes, with s...
Home Pulse Fit
•
home workouts and fitness
Wrist-Neutral Floor Routine (No Palms Required)
A 15 to 20 minute bodyweight routine that avoids palm loading and deep wrist extension. Includes standing, supine, and forearm-supported exercises, clear cues, progressions, and smart pain guidelines.

Marcus Thorne
Marcus Thorne is an NASM-certified personal trainer and the creator behind Home Pulse Fit. After successfully transforming his own health using only bodyweight routines in his small apartment, he left his demanding corporate career to help others do the same. Today, he is dedicated to making fitness accessible, sustainable, and entirely gym-free for busy beginners.
Published
October 18, 2026
Updated
October 18, 2026
Some days, palm-supported moves like planks, push-ups, and bear crawls feel fine. Other days, they feel like your wrists are staging a protest.
I have been there. When I first started training in my small apartment, I leaned hard on push-ups and floor work. Then my wrists started barking, especially when they were already a little cranky from lots of typing and mouse time. The solution was not quitting. It was swapping in movements that keep the wrist closer to neutral while still training the muscles I cared about.
This routine is designed for those days. It is wrist-friendly, beginner-friendly, and it still feels like real training.
Quick safety note
If a movement causes sharp, zinging, numb, or increasing pain, stop and swap it out. Muscle effort is okay. Joint pain is not the goal.
If your wrist symptoms are persistent, worsening, associated with swelling, numbness, tingling, weakness, or pain that lingers after everyday tasks, it is worth getting assessed by a qualified clinician (like a physical therapist or sports medicine provider). Online routines are great, but they cannot diagnose what is going on.
If you had a recent fall or impact, notice a visible deformity, or suddenly lose grip strength, get prompt medical care.
Also: if you are dealing with a recent injury, post-surgery restrictions, or you cannot comfortably bear weight through your arms at all, get individualized guidance before jumping into new core work.
Why palms can feel rough
Palm-supported floor moves typically put the wrist into extension (bent back), then load it with your bodyweight. If you are dealing with stiffness, irritation, low tolerance to extension, or you have been in a lot of repetitive hand and wrist positions (typing, mousing, gripping), that setup can feel uncomfortable fast.
The workaround is simple: choose exercises that keep the wrist closer to neutral and avoid bearing weight through the palm. Standing moves, forearm-supported options, and supine (on-your-back) work are your best friends.
The routine (15 to 20 minutes)
Format: Do 2 to 3 rounds. Rest 30 to 60 seconds between exercises as needed, and 60 to 90 seconds between rounds.
Intensity target: Aim for about a 6 to 8 out of 10 effort by the end of each exercise. That usually means you could do about 2 to 4 more good reps if you had to, but you are glad you do not have to.
Warm-up (3 to 4 minutes)
- March in place (45 seconds): tall posture, arms swing naturally.
- Hip hinge practice (8 reps): hands on hips or crossed on chest, push hips back, soft knees, stand tall.
- Shoulder circles (30 seconds each direction): relaxed neck, smooth circles.
- Glute bridge easy reps (8 reps): slow up, slow down.
Round A
- 1) Sit-to-Stand (chair or couch)
Reps: 8 to 12
Cues: Feet under knees, lean slightly forward, stand up tall, control the sit down.
Make it easier: Use a higher seat or lightly use your thighs for help.
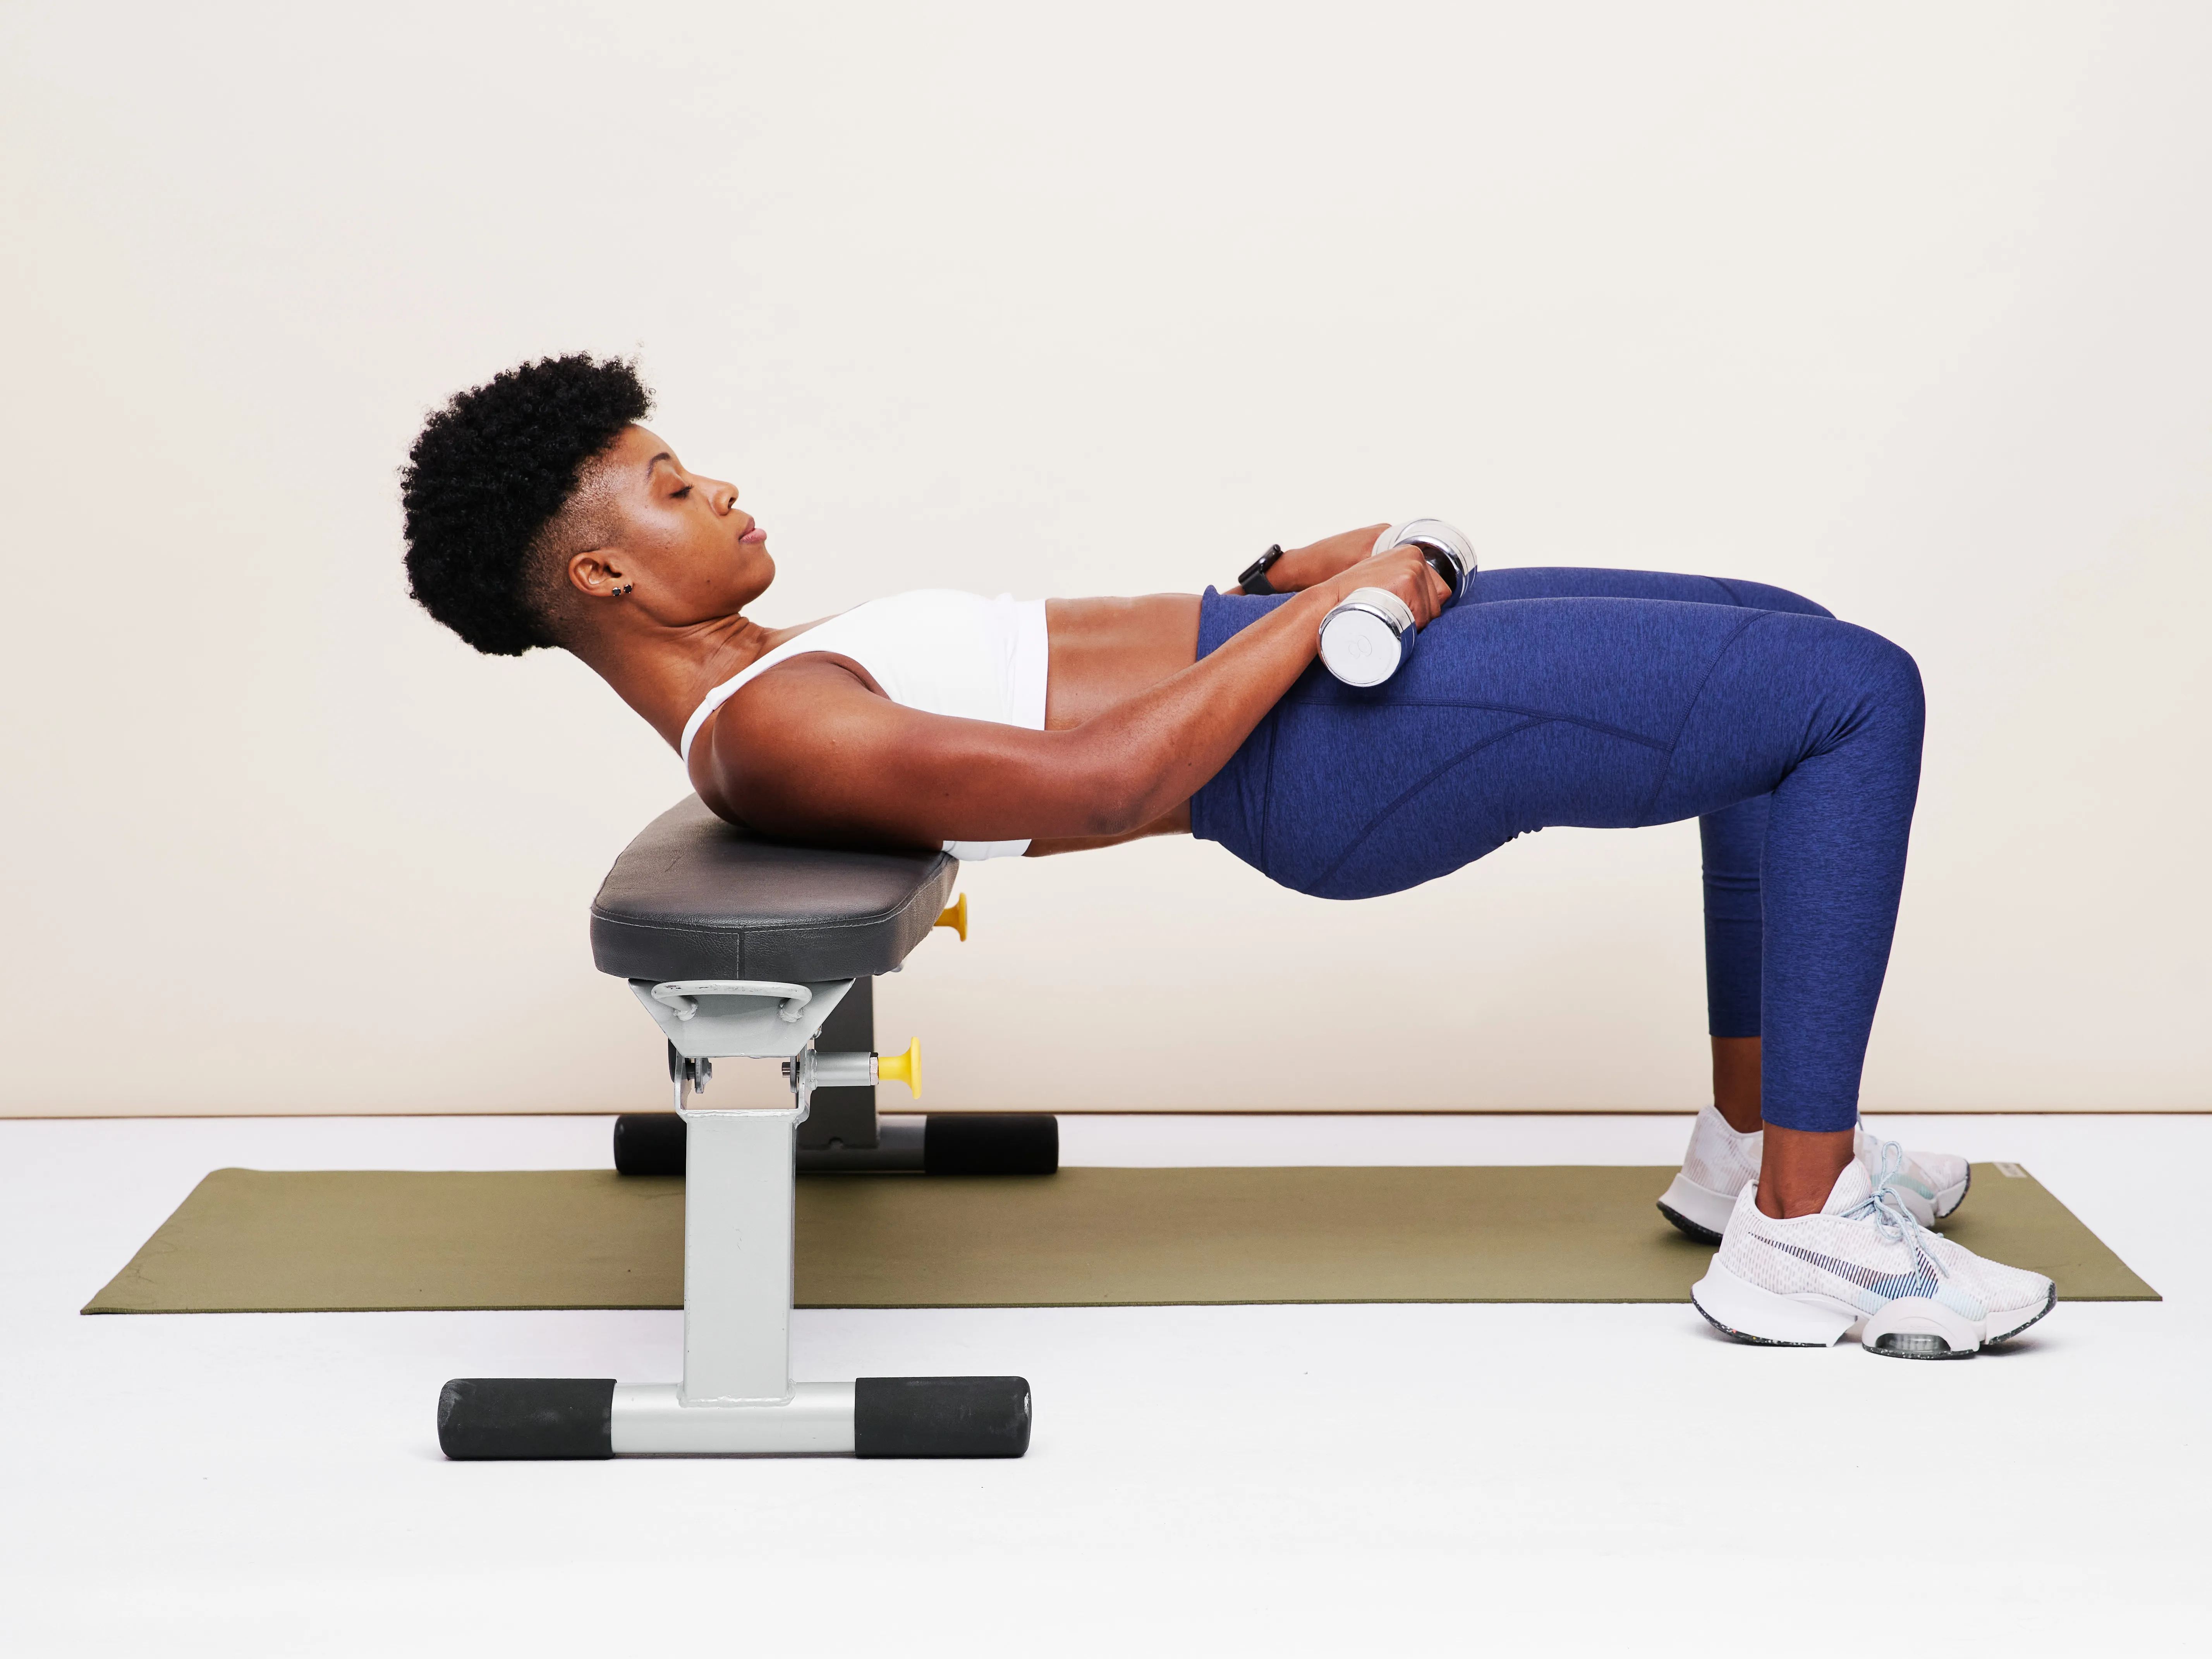
Make it harder: Pause for 2 seconds just above the seat each rep. - 2) Glute Bridge
Reps: 10 to 15
Cues: Keep your ribcage stacked over your pelvis (do not flare your ribs). Squeeze glutes to lift hips, stop when your body forms a straight line from shoulders to knees, then lower with control. At the top, think long spine, not a big low-back arch.
Make it easier: Reduce range of motion.
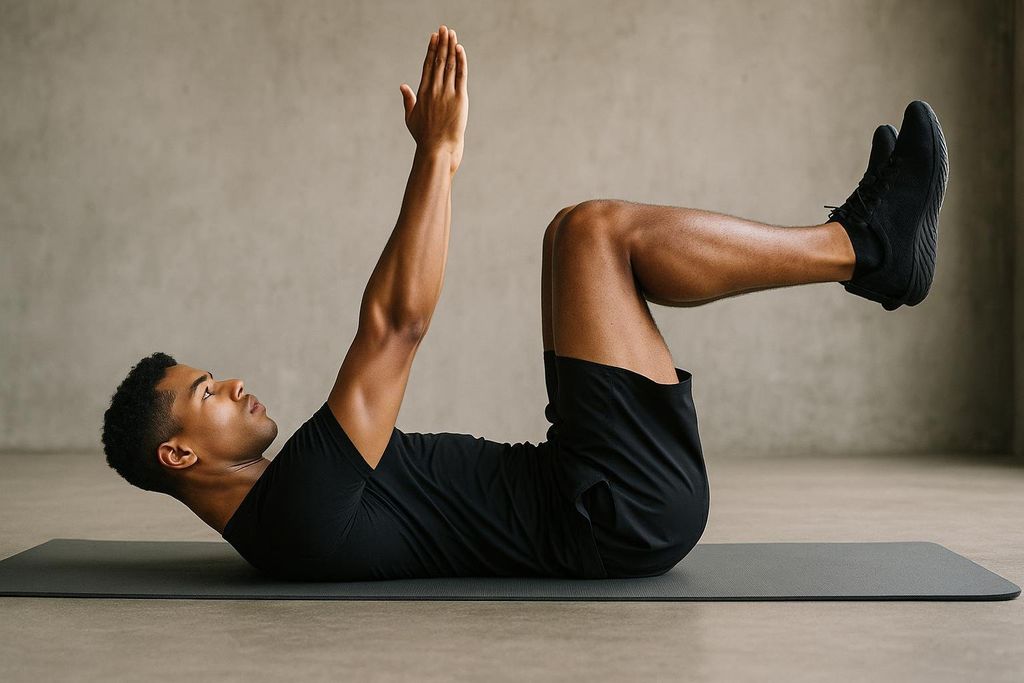
Make it harder: 2-second squeeze at the top each rep. - 3) Dead Bug (wrist-neutral core)
Reps: 6 to 10 per side
Cues: Keep your ribcage stacked and lightly brace your midsection so your low back does not arch off the floor. Move slow, exhale as you extend, keep hips steady.
Make it easier: Shorten the reach or only move legs.
Make it harder: Extend the leg lower while keeping your back from arching.
Round B
- 4) Supported Split Squat
Reps: 6 to 10 per side
Setup: Lightly hold a wall or chair with fingertips if balance is a challenge. If you keep it light, it minimizes wrist and hand loading. Do not lean your bodyweight into your hand.
Cues: Stay tall, drop straight down, front foot stays flat, push through the full foot to stand.
Make it easier: Shorten your stance and reduce depth.
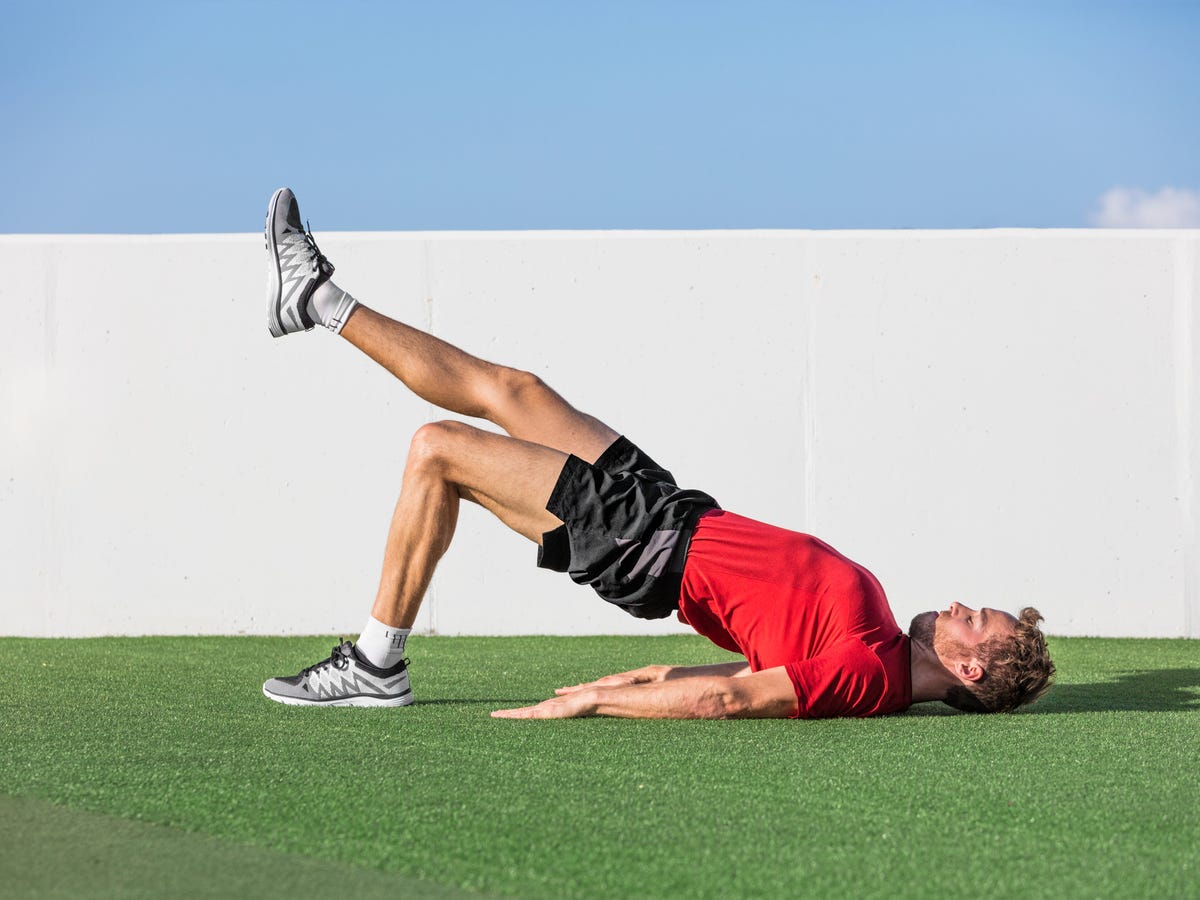
Make it harder: Add a 2-second pause at the bottom. - 5) Supine Hamstring March (bridge march)
Reps: 6 to 10 per side
Cues: Start in a bridge with ribcage stacked over pelvis, keep hips level, slowly lift one knee toward your chest, set it down, alternate. Think: no wobbling, no rib flare.
Make it easier: Hold a regular bridge instead for 20 to 30 seconds.
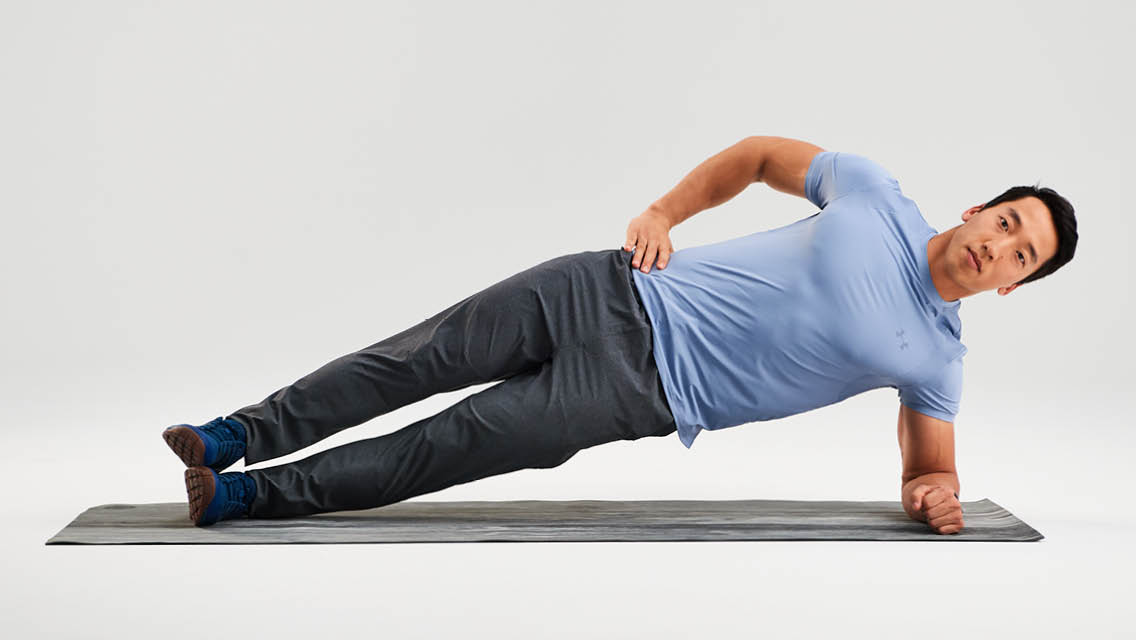
Make it harder: Slow the tempo, 3 seconds up and 3 seconds down. - 6) Forearm Side Plank (or bent-knee side plank)
Time: 15 to 30 seconds per side
Cues: Elbow under shoulder, forearm presses into the floor, keep your ribcage stacked over your pelvis, hips lifted, neck long.
Make it easier: Bottom knee on the floor, top leg straight.
Make it harder: Straight legs, top foot stacked, hold longer.
Round C (optional pull work)
If you want a more balanced session (and a happier upper back), add this as a third round or tack it on at the end. Both options keep wrists neutral.
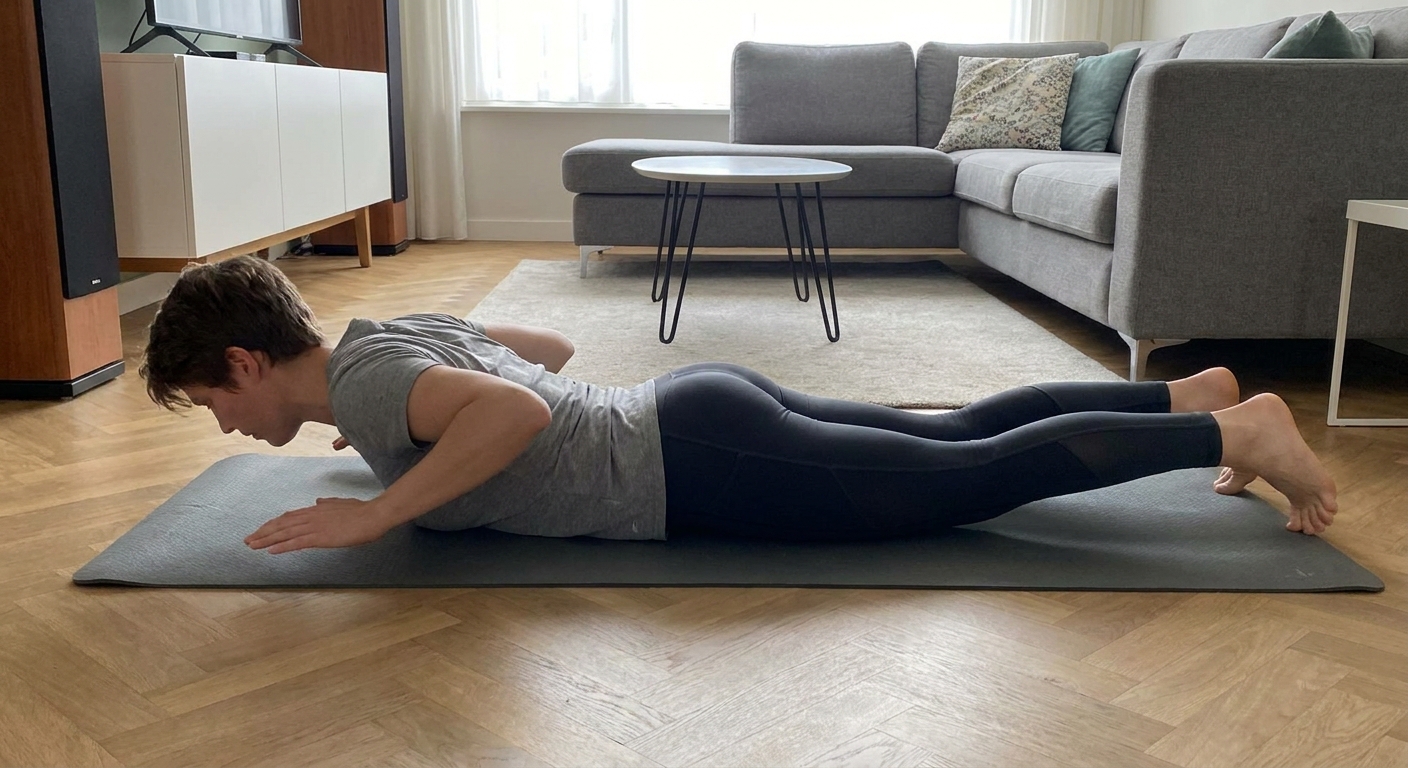
- 7) Prone W Raise
Reps: 8 to 12
Setup: Lie on your stomach, forehead on a folded towel. Arms bent like a goalpost, elbows near your sides, palms can face down or in. Keep wrists straight.
Cues: Gently lift your chest an inch, then pull elbows down toward your back pockets. Squeeze between your shoulder blades, then lower slow.
Make it easier: Keep forehead down and just do the arm squeeze.
Make it harder: Pause 2 seconds at the top each rep.
Cool-down (2 minutes)
- Slow breathing (30 to 45 seconds): inhale through nose, exhale long and steady.
- Figure-4 glute stretch (30 seconds per side): on your back, ankle over opposite knee, gently pull in.
- Chest opener (30 seconds): stand in a doorway, forearms on the frame if comfortable, gentle step through.
Setup and equipment
You do not need equipment, but you do need a stable setup:
- Chair or couch: Use something that will not slide. If it moves, brace it against a wall. Skip chairs with wheels.
- Floor: A mat or folded towel can make bridges, side planks, and prone work more comfortable.
- Space: Clear enough room to step into a split stance without tripping hazards.
- Footwear: Barefoot is fine if it feels steady. Shoes can help if your floors are slippery. If you slide around in socks, ditch the socks.
Simple ways to progress
If you want this routine to keep working for weeks, progress one variable at a time:
- Add a round: Go from 2 rounds to 3.
- Add reps: Keep form clean, add 1 to 2 reps per exercise.
- Add tempo: Lower for 3 seconds on sit-to-stands and split squats.
- Add pauses: 2-second pause at the bottom of split squats, top of bridges, or during dead bug extensions.
- Reduce rest: Trim 10 to 15 seconds off rest periods.
Wrist-friendly substitutions
Even “wrist-friendly” moves can feel off depending on the person and the day. Here are easy swaps:
- If side planks bother the elbow or shoulder: Do a supine heel tap (dead bug variation) instead.
- If split squats feel unstable: Do step-backs to a shallow lunge or stick to sit-to-stands.
- If bridge marching cramps the hamstrings: Do a regular bridge hold and focus on squeezing glutes first, not pushing through toes.
- If prone W raises feel pinchy: Keep forehead down and make the range smaller, or do scapular squeezes standing with arms by your sides.
What to avoid on irritated-wrist days
These are common culprits because they load the wrist in extension:
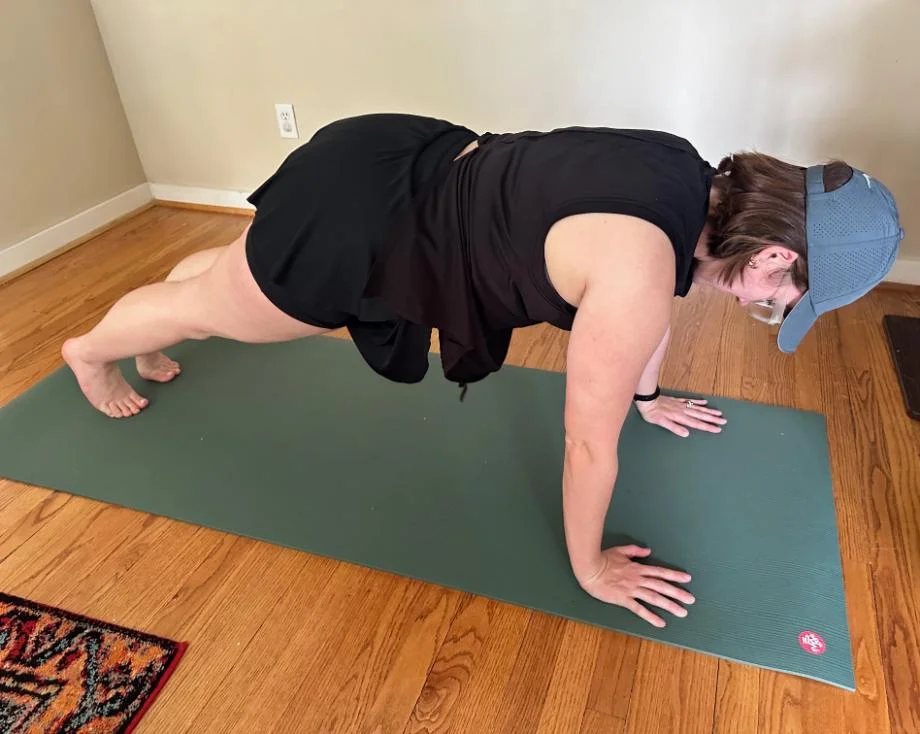
- High planks and push-ups on flat palms
- Mountain climbers
- Bear crawls
- Crab walks
- Burpees with hands on the floor
If you love these movements, you can often reintroduce them later when symptoms settle, but you do not need them to keep building strength.
FAQ
Is it okay to do push-ups on fists instead of palms?
For some people, knuckle push-ups feel better because the wrist stays more neutral. For others, it irritates the knuckles or still feels sketchy. If you try it, start with something very easy (like wall push-ups on fists) and stop if anything feels sharp, unstable, or numb.
What about push-up bars or dumbbells as handles?
Those can be a great wrist-neutral tool because they reduce wrist extension. This routine is designed to work without equipment, but handles are an optional upgrade on better wrist days if they feel comfortable and steady.
Should I stretch my wrists?
Gentle mobility can feel nice, but aggressive stretching into pain is a hard no. If your wrists are irritated, your best immediate strategy is usually reducing the aggravating position, then rebuilding tolerance gradually.
How often can I do this routine?
2 to 4 times per week works well for most beginners. If you are also walking or doing other workouts, start with 2 sessions and build from there.
Coach in your corner
You are not falling behind because you are modifying. You are training smart.
On the days your palms do not want to cooperate, go wrist-friendly, keep the habit alive, and stack those small wins. Consistency beats intensity, especially when your joints are asking for a little respect.