A beginner-friendly, step-by-step push-up guide: proper setup, hand placement, full-range reps, plus wall, incline, and knee modifications to build strength ...
Home Pulse Fit
•
home workouts and fitness
From Wall Push-Ups to One-Arm Push-Ups
A step-by-step push-up progression for busy beginners. Master form, scale safely from wall to floor, and build toward advanced variations with short routines and recovery tips.

Marcus Thorne
Marcus Thorne is an NASM-certified personal trainer and the creator behind Home Pulse Fit. After successfully transforming his own health using only bodyweight routines in his small apartment, he left his demanding corporate career to help others do the same. Today, he is dedicated to making fitness accessible, sustainable, and entirely gym-free for busy beginners.
Published
October 18, 2026
Updated
October 18, 2026
I used to think push-ups were one of those exercises you either could do or you couldn’t. Then I started treating them like a skill, not a test. That one mindset shift took me from struggling on my living room rug to being able to play with harder variations without beating up my shoulders.
This guide is the exact progression I use with busy beginners: you start where you are (even if that is wall push-ups), you earn your way down to the floor, and you build the kind of control that makes advanced push-ups feel possible.
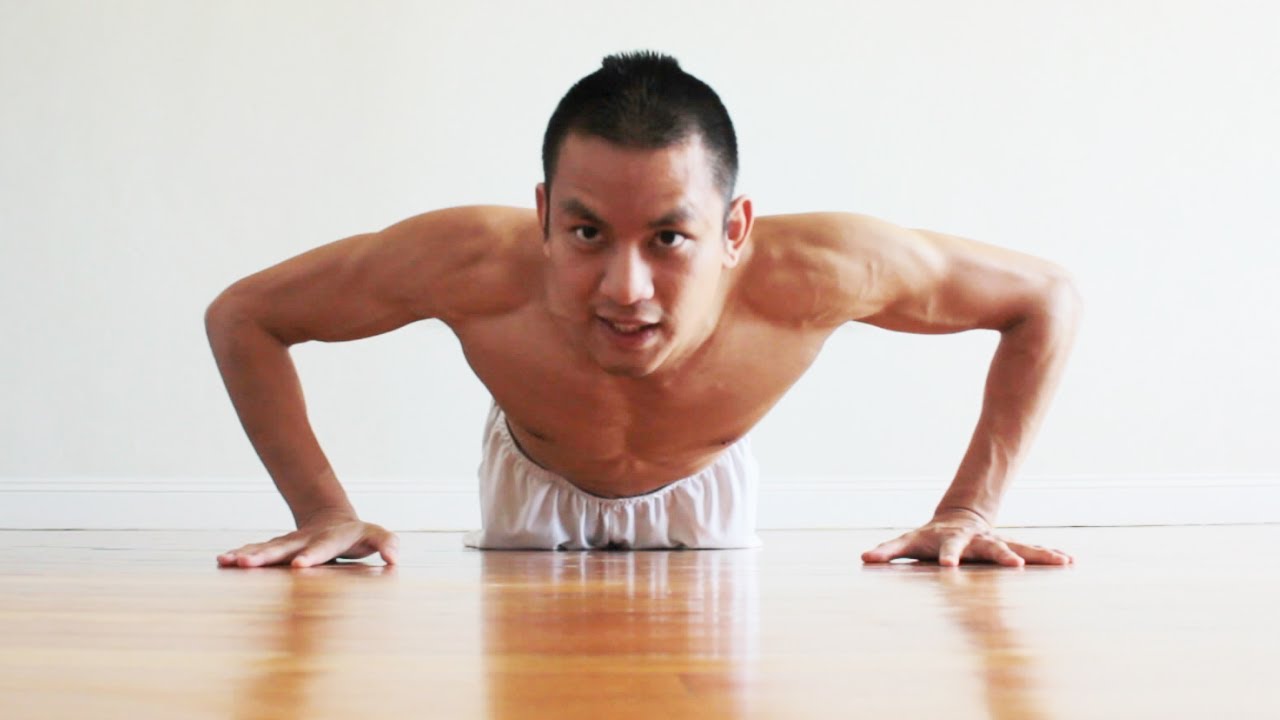
Before you start: shoulder-safe rules
Push-ups reward good positions. They also punish “almost” positions. If your wrists, elbows, or shoulders have been cranky in the past, these rules matter even more.
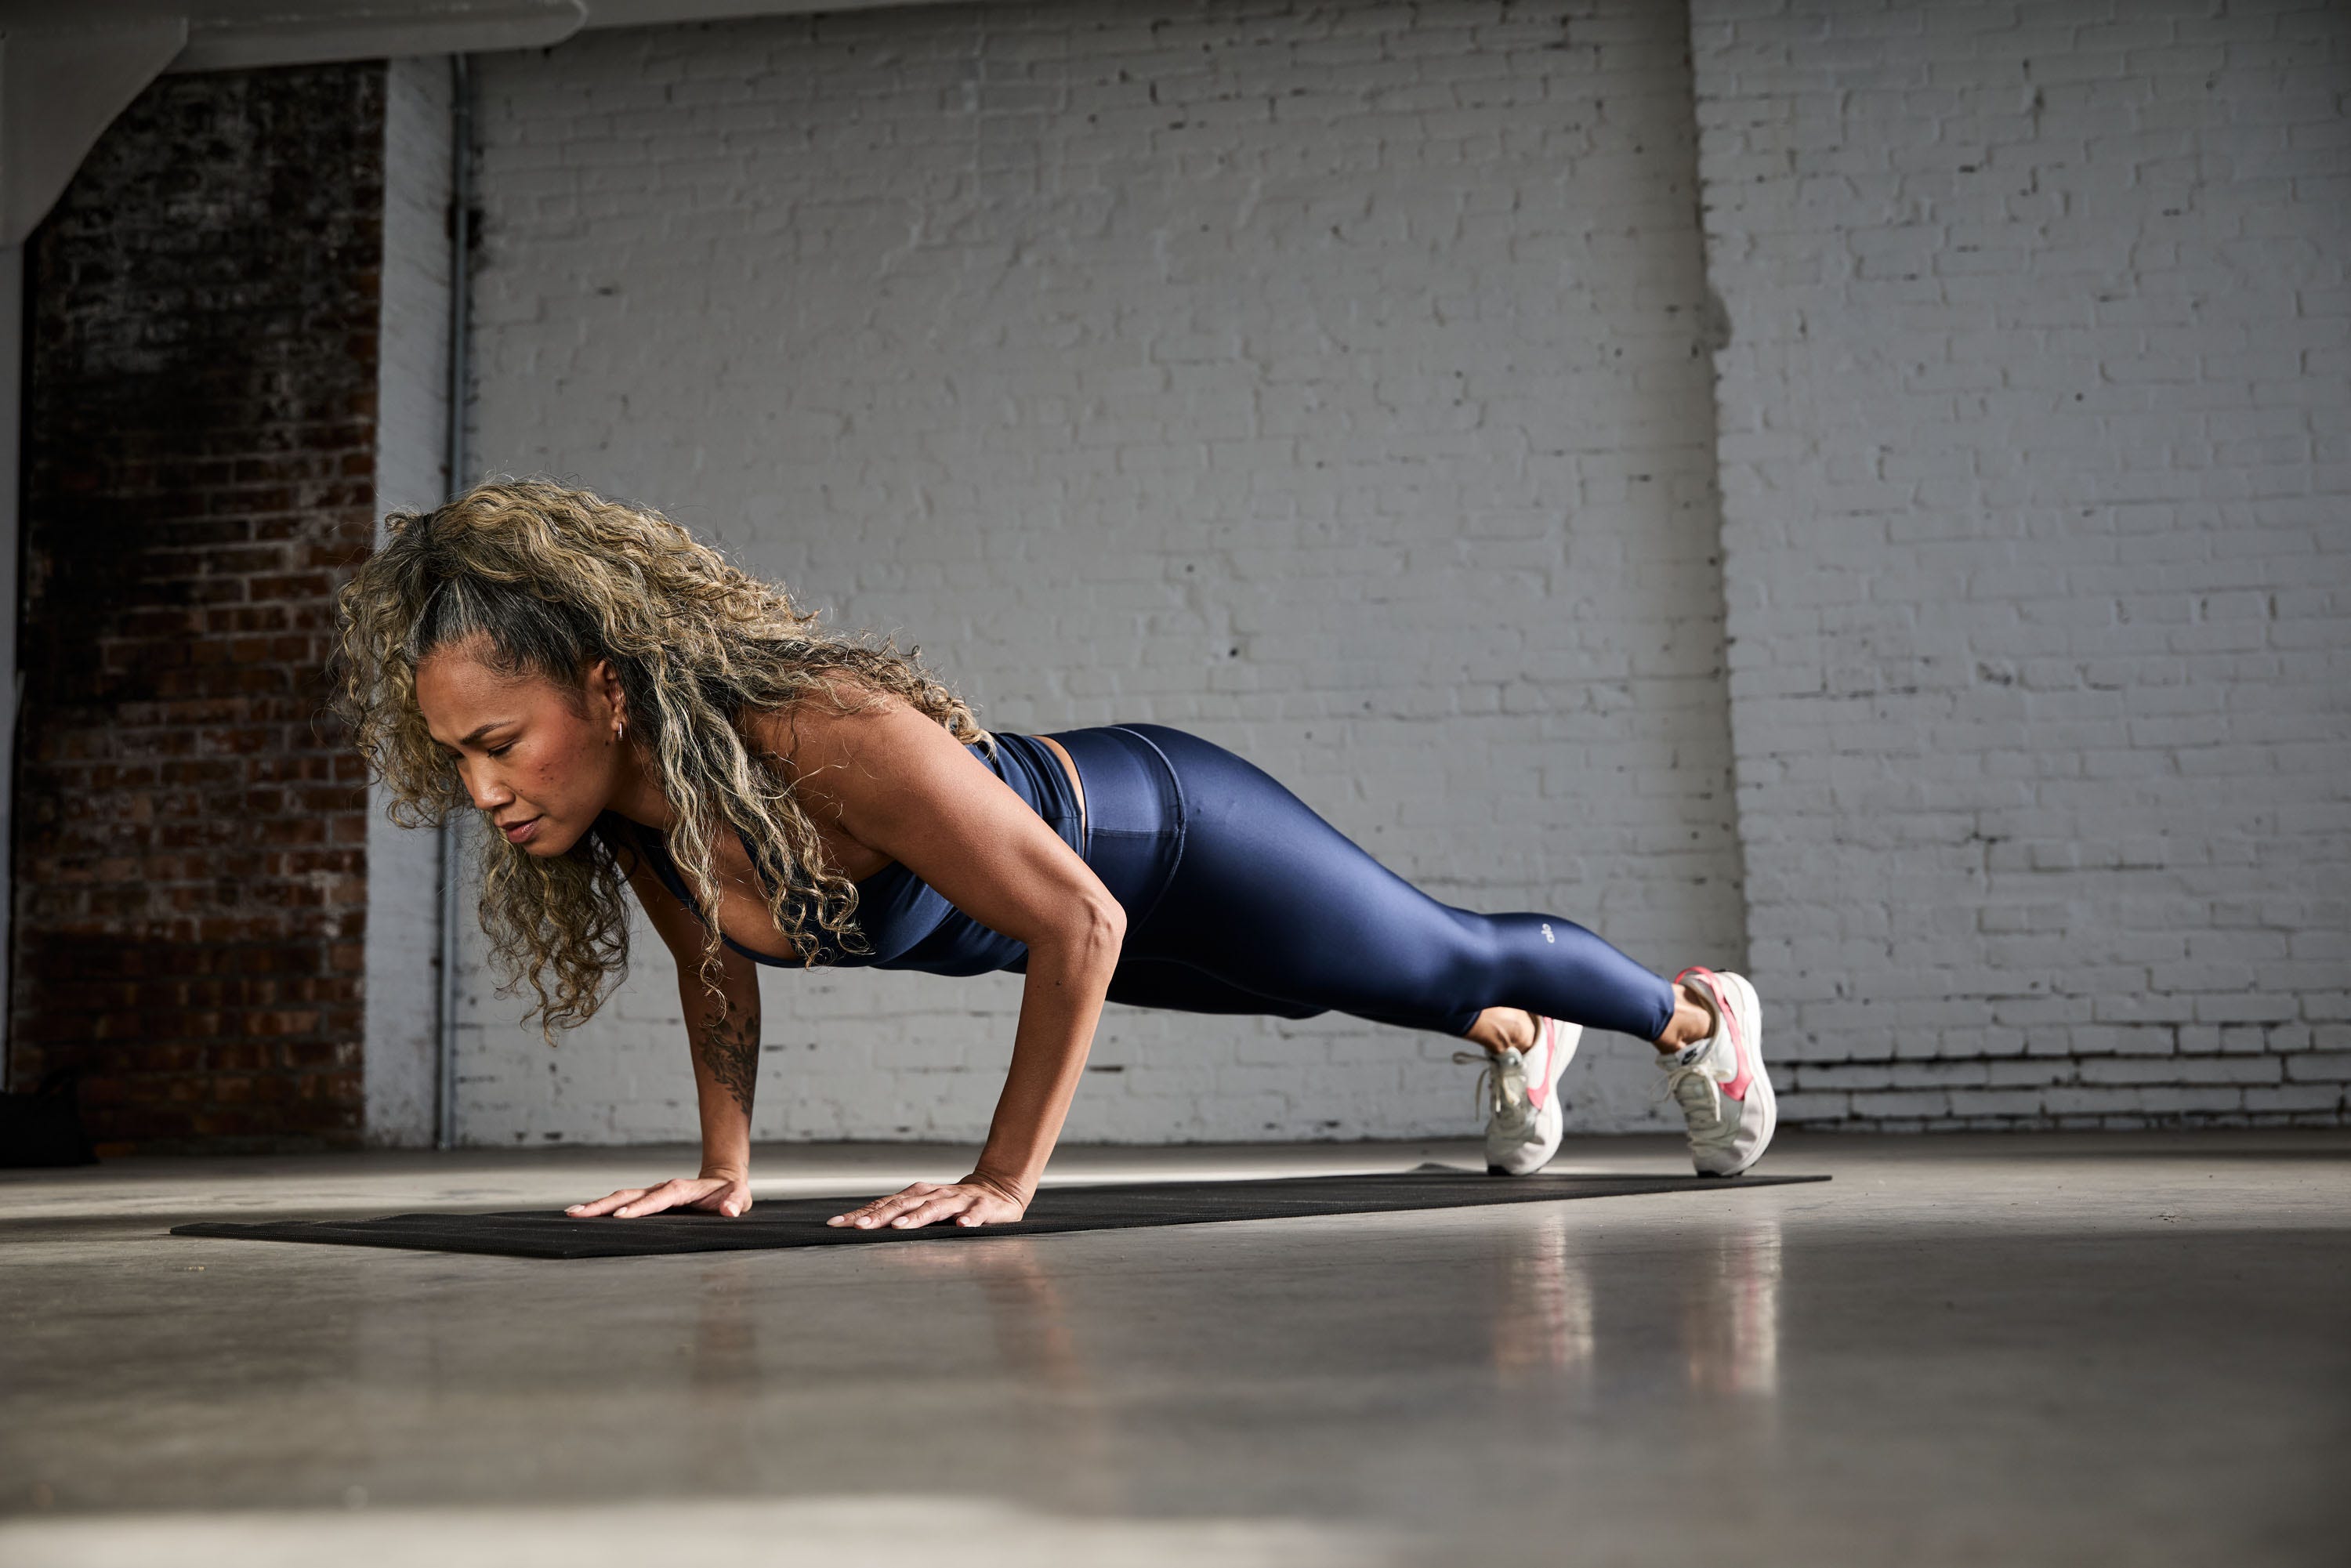
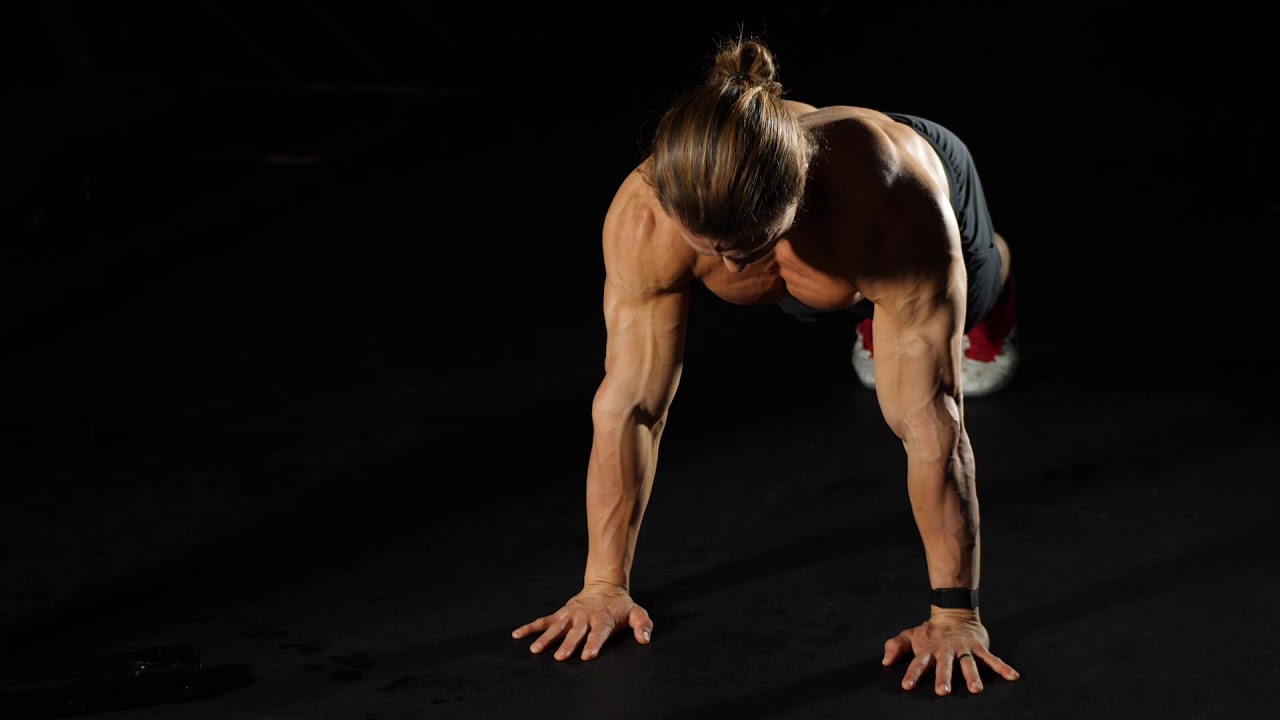
Rule 1: Make your body a plank
- Ribs down: exhale gently and feel your front ribs knit toward your pelvis.
- Glutes on: squeeze your glutes like you are holding a dollar bill between them.
- Neck long: look at the floor a few feet in front of your hands, not straight up.
Rule 2: Hands roughly under shoulders
Start with hands roughly under your shoulders or just a touch wider. From there, micro-adjust to what feels best on your wrists and shoulders.
- Hand position: fingers spread wide, whole hand rooted into the floor or surface.
- Grip the ground: imagine you are trying to lightly twist the surface apart. This helps your shoulders set without you forcing them down.
Rule 3: Elbows at about 30 to 45 degrees
Not flared straight out, not pinned to your ribs. Think arrow, not T.
Rule 4: Chest and hips move together
If your hips hit first, you are doing a worm. If your chest hits first, your low back is taking the hit. Keep them traveling as one unit.
Rule 5: Breathe with the rep
Inhale on the way down. Exhale as you press up. The exhale helps keep ribs down and keeps the rep from turning into a wiggly fight.
Quick pain check
Muscle burn is normal. Sharp pain, joint pain, or tingling is not. If you feel pain in your wrist, elbow, shoulder, or neck, scale up to an easier variation immediately and shorten your range of motion. If pinching or joint pain sticks around even after you scale and rest, it is worth getting checked by a qualified clinician.
Your push-up progression map
Here’s the ladder. You do not have to climb it fast. You just have to climb it consistently.
- Wall push-up
- High incline push-up (counter, dresser)
- Low incline push-up (couch, sturdy chair)
- Knee push-up (with perfect plank from knees)
- Negative push-up (slow lower)
- Full push-up
- Close-grip and tempo push-ups (strength builders)
- Decline push-up (feet elevated)
- Archer push-up (one side loads more)
- Assisted one-arm push-up
- One-arm push-up
How to know when to move down a level: When you can do 3 sets of 8 to 12 reps with clean form and you finish feeling like you could do 2 more reps, it is time to make it slightly harder.
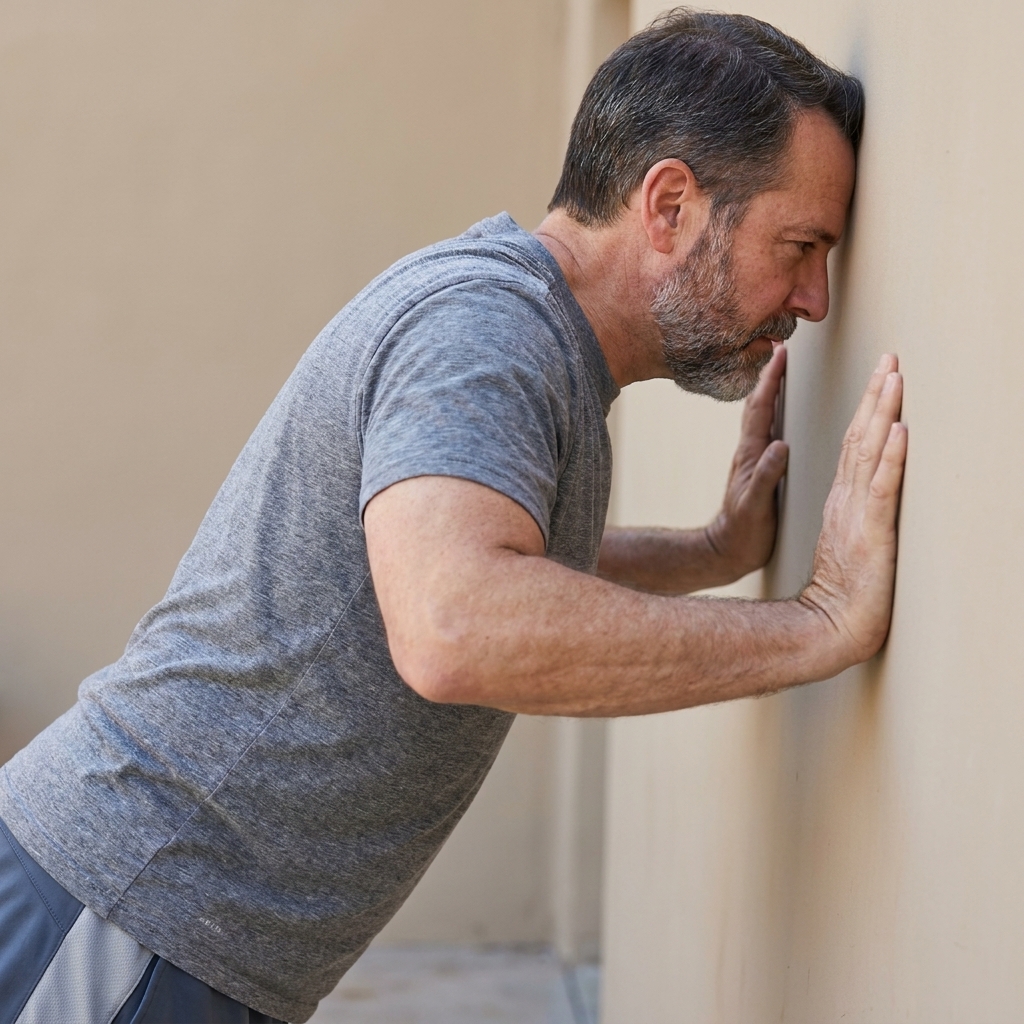
Level 1: Wall push-ups
This is where I start most true beginners because it lets you practice the same line and elbow path with almost zero intimidation.
Setup
- Hands on the wall at chest height, just outside shoulder width.
- Walk your feet back until your body forms a straight line.
- Brace your core and squeeze glutes.
Reps that count
- Lower until your chest is close to the wall.
- Pause for half a second.
- Press away without letting your head reach first.
Common fixes
- Shoulders shrugging: push the wall away and down and keep your neck long.
- Low back arching: exhale as you lower, tighten glutes.
Level 2 and 3: Incline push-ups
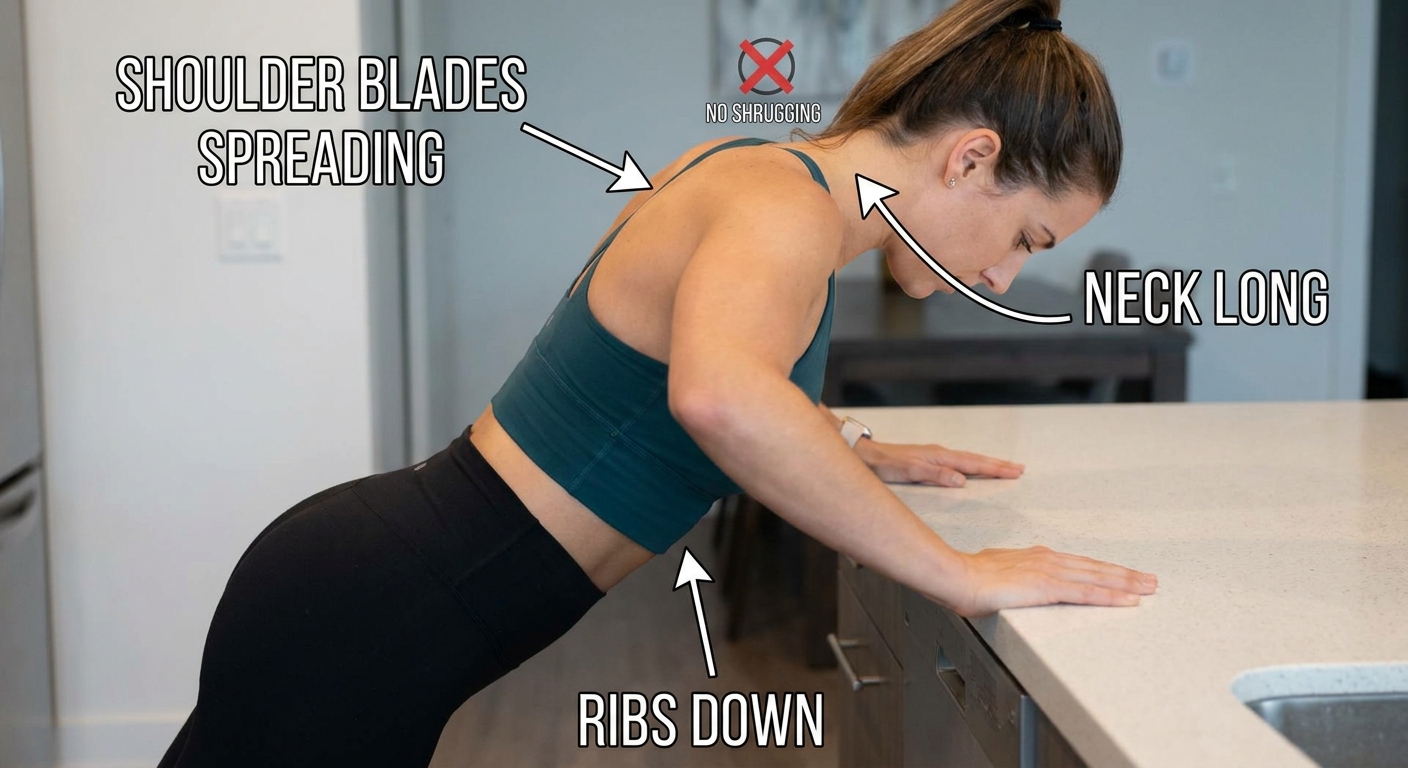
Incline push-ups are the smoothest bridge from wall to floor. The lower the hands, the harder it gets. You can micro-progress just by changing surfaces.
High incline options
- Kitchen counter
- Sturdy dresser
- Back of a couch that does not slide
Low incline options
- Seat of a heavy chair against a wall
- Edge of a sturdy couch
- Stairs (hands on a lower step over time)
Surface safety
- Pick a surface that will not move. If it slides, it is not your push-up station.
- If you use a chair, brace it against a wall.
- If the floor is slick, put a yoga mat or non-slip pad under your hands, or wear shoes for better traction.
- Keep the surface edge comfortable on your hands. A sharp edge can make you shift weight and irritate wrists.
Form cue I love
Reach forward, then lower. At the top, lightly push the surface away so your shoulder blades spread. Keep that control as you descend.
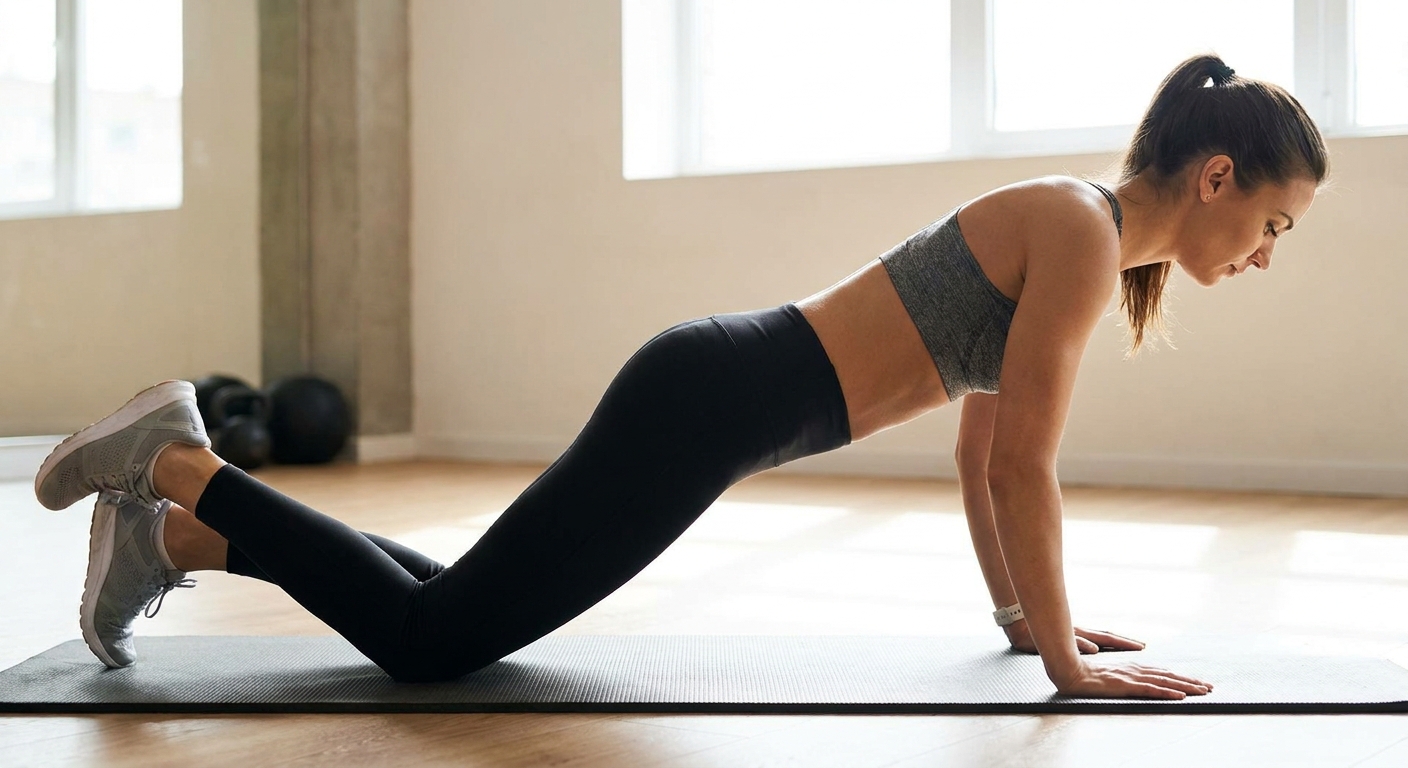
Level 4: Knee push-ups
Knee push-ups get a bad reputation because people bend at the hips and lose the plank. Done well, they are legit strength work.
Setup
- Place knees on a folded towel or yoga mat.
- Create a straight line from knees to head.
- Cross ankles behind you or keep toes tucked, either is fine.
Make it harder without changing levels
- Pause for 1 second at the bottom.
- Slow the lowering to 3 to 5 seconds.
- Add one extra rep each week.
Level 5: Negative push-ups
If you only did one secret weapon from this guide, make it negatives. Lowering under control builds strength efficiently and helps you practice the groove of the rep in a pain-free range.
How to do it
- Start at the top of a full push-up (from toes).
- Lower over 5 to 8 seconds.
- When you reach the floor, drop to your knees to get back to the top position, reset your plank, then repeat.
Quality standard
If you cannot keep your body in one line for the full descent, go back to incline negatives first.
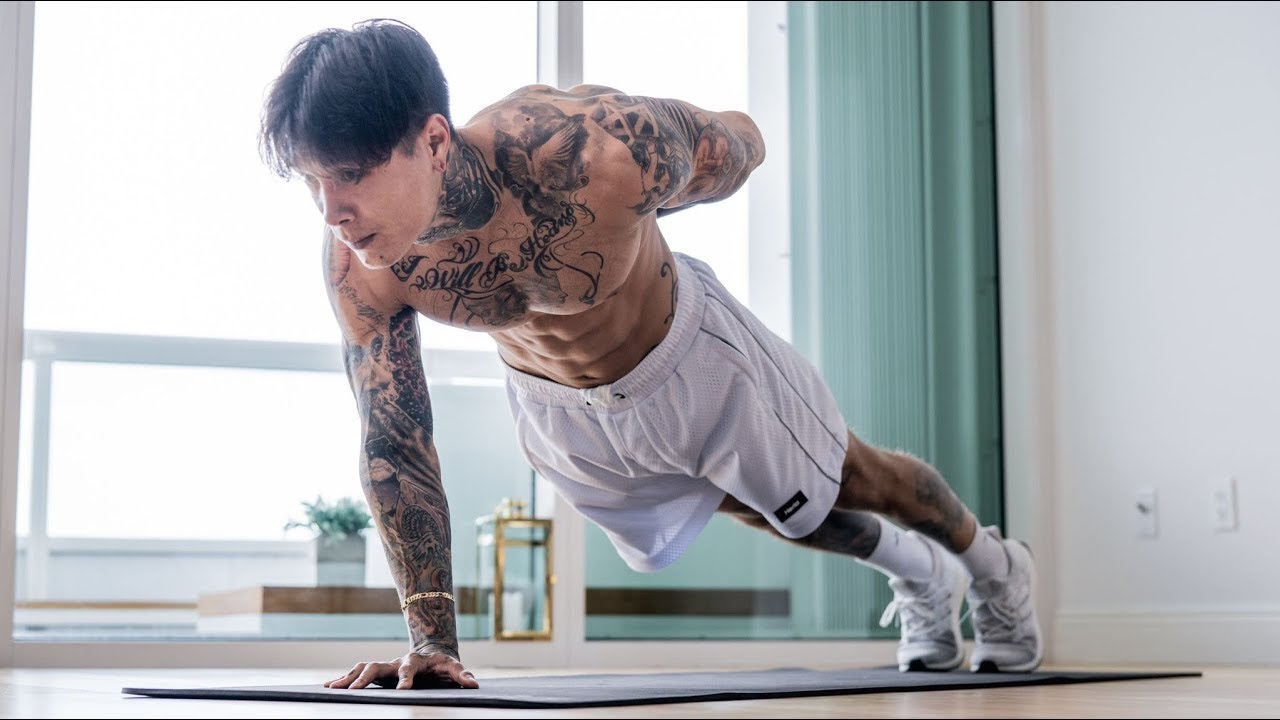
Level 6: Full push-ups
This is the classic push-up. Your goal is not to grind ugly reps. Your goal is to own clean reps you can build on.
Range of motion
Start with a range you can control without pain. For many people that means lowering until your chest is about 1 to 2 inches from the floor. Over time, you can earn more depth. Clean and consistent beats deep and sketchy.
Step-by-step rep
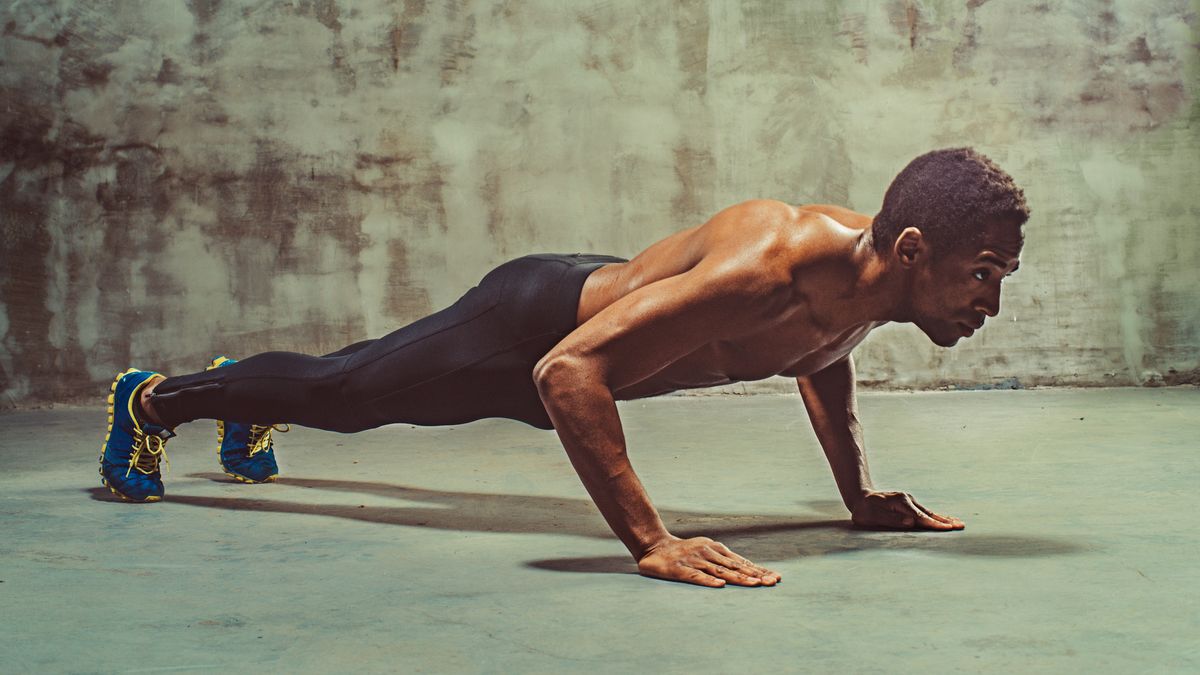
- Top position: hands rooted, glutes tight, ribs down.
- Lower: inhale, elbows track back at 30 to 45 degrees, chest and hips move together.
- Bottom: chest close to the floor, shoulders not collapsed forward.
- Press: exhale, push the floor away, keep your plank, finish with arms straight.
If you get stuck halfway up
- Do 1 full rep + 2 negatives for a few weeks.
- Or do cluster sets: 2 reps, rest 15 seconds, 2 reps, rest 15 seconds, 2 reps.
Level 7: Strength builders
Before you chase one-arm push-ups, earn strength with variations that stay honest.
Close-grip push-ups
Hands slightly narrower than shoulders. Keep elbows from flaring. If wrists hate this, do it on an incline.
Tempo push-ups
Try a 3-1-1 tempo: 3 seconds down, 1 second pause, 1 second up.
Paused push-ups
Pause 2 seconds an inch off the floor, then press. This builds bottom-end strength and control.
Level 8: Decline push-ups
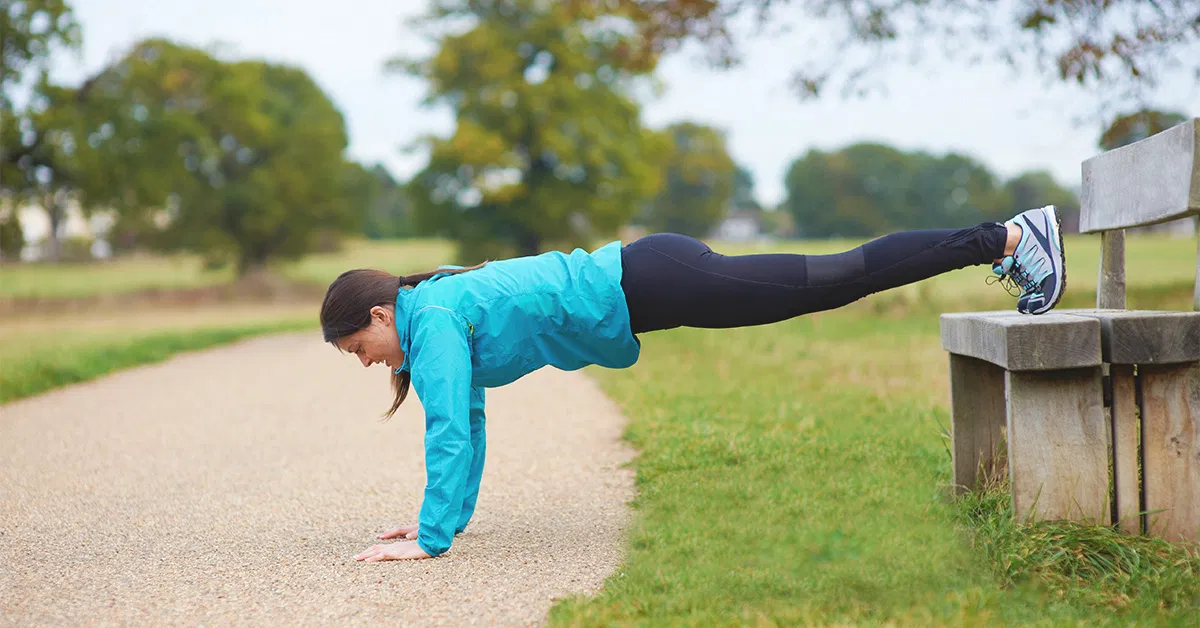
Elevating your feet shifts more bodyweight into your upper body. Start small. A low step or a sturdy ottoman is plenty.
Non-negotiables
- No banana back. If your low back arches, lower the decline.
- Keep your head neutral. Don’t peck forward.
Level 9: Archer push-ups
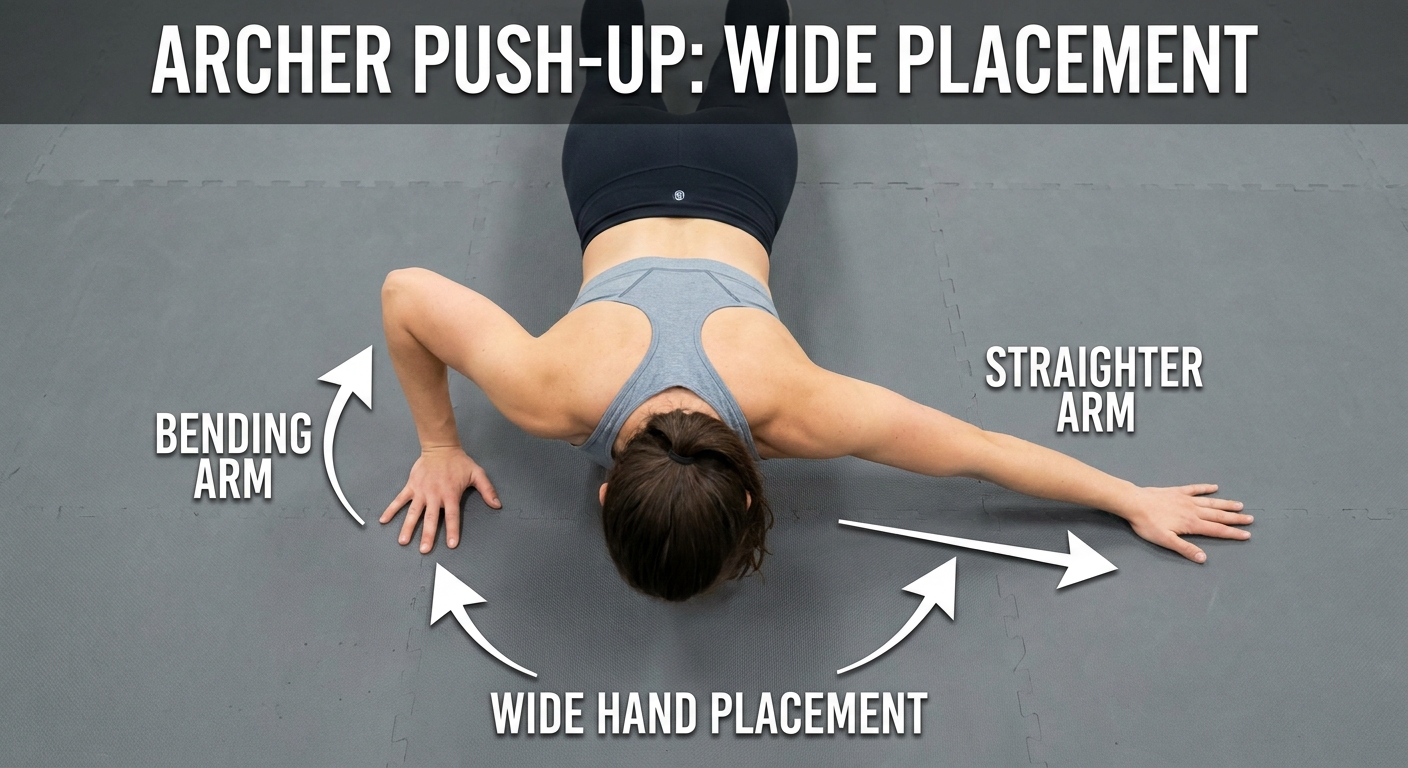
Archer push-ups teach you to load one side more while the other arm stays straighter for support. This is one of my favorite stepping stones because it builds the pattern without the all-or-nothing jump.
How to do it
- Start in a wide-hand push-up position.
- Lower toward one hand while the other arm stays more extended.
- Press back up and alternate sides.
Scale it
- Do them on an incline.
- Reduce range of motion and build it week by week.
Level 10: Assisted one-arm push-ups
True one-arm push-ups are as much about controlling rotation as they are about pressing strength. Assistance lets you train the shape of the rep while staying safe.
Option A: Hand-on-object assist
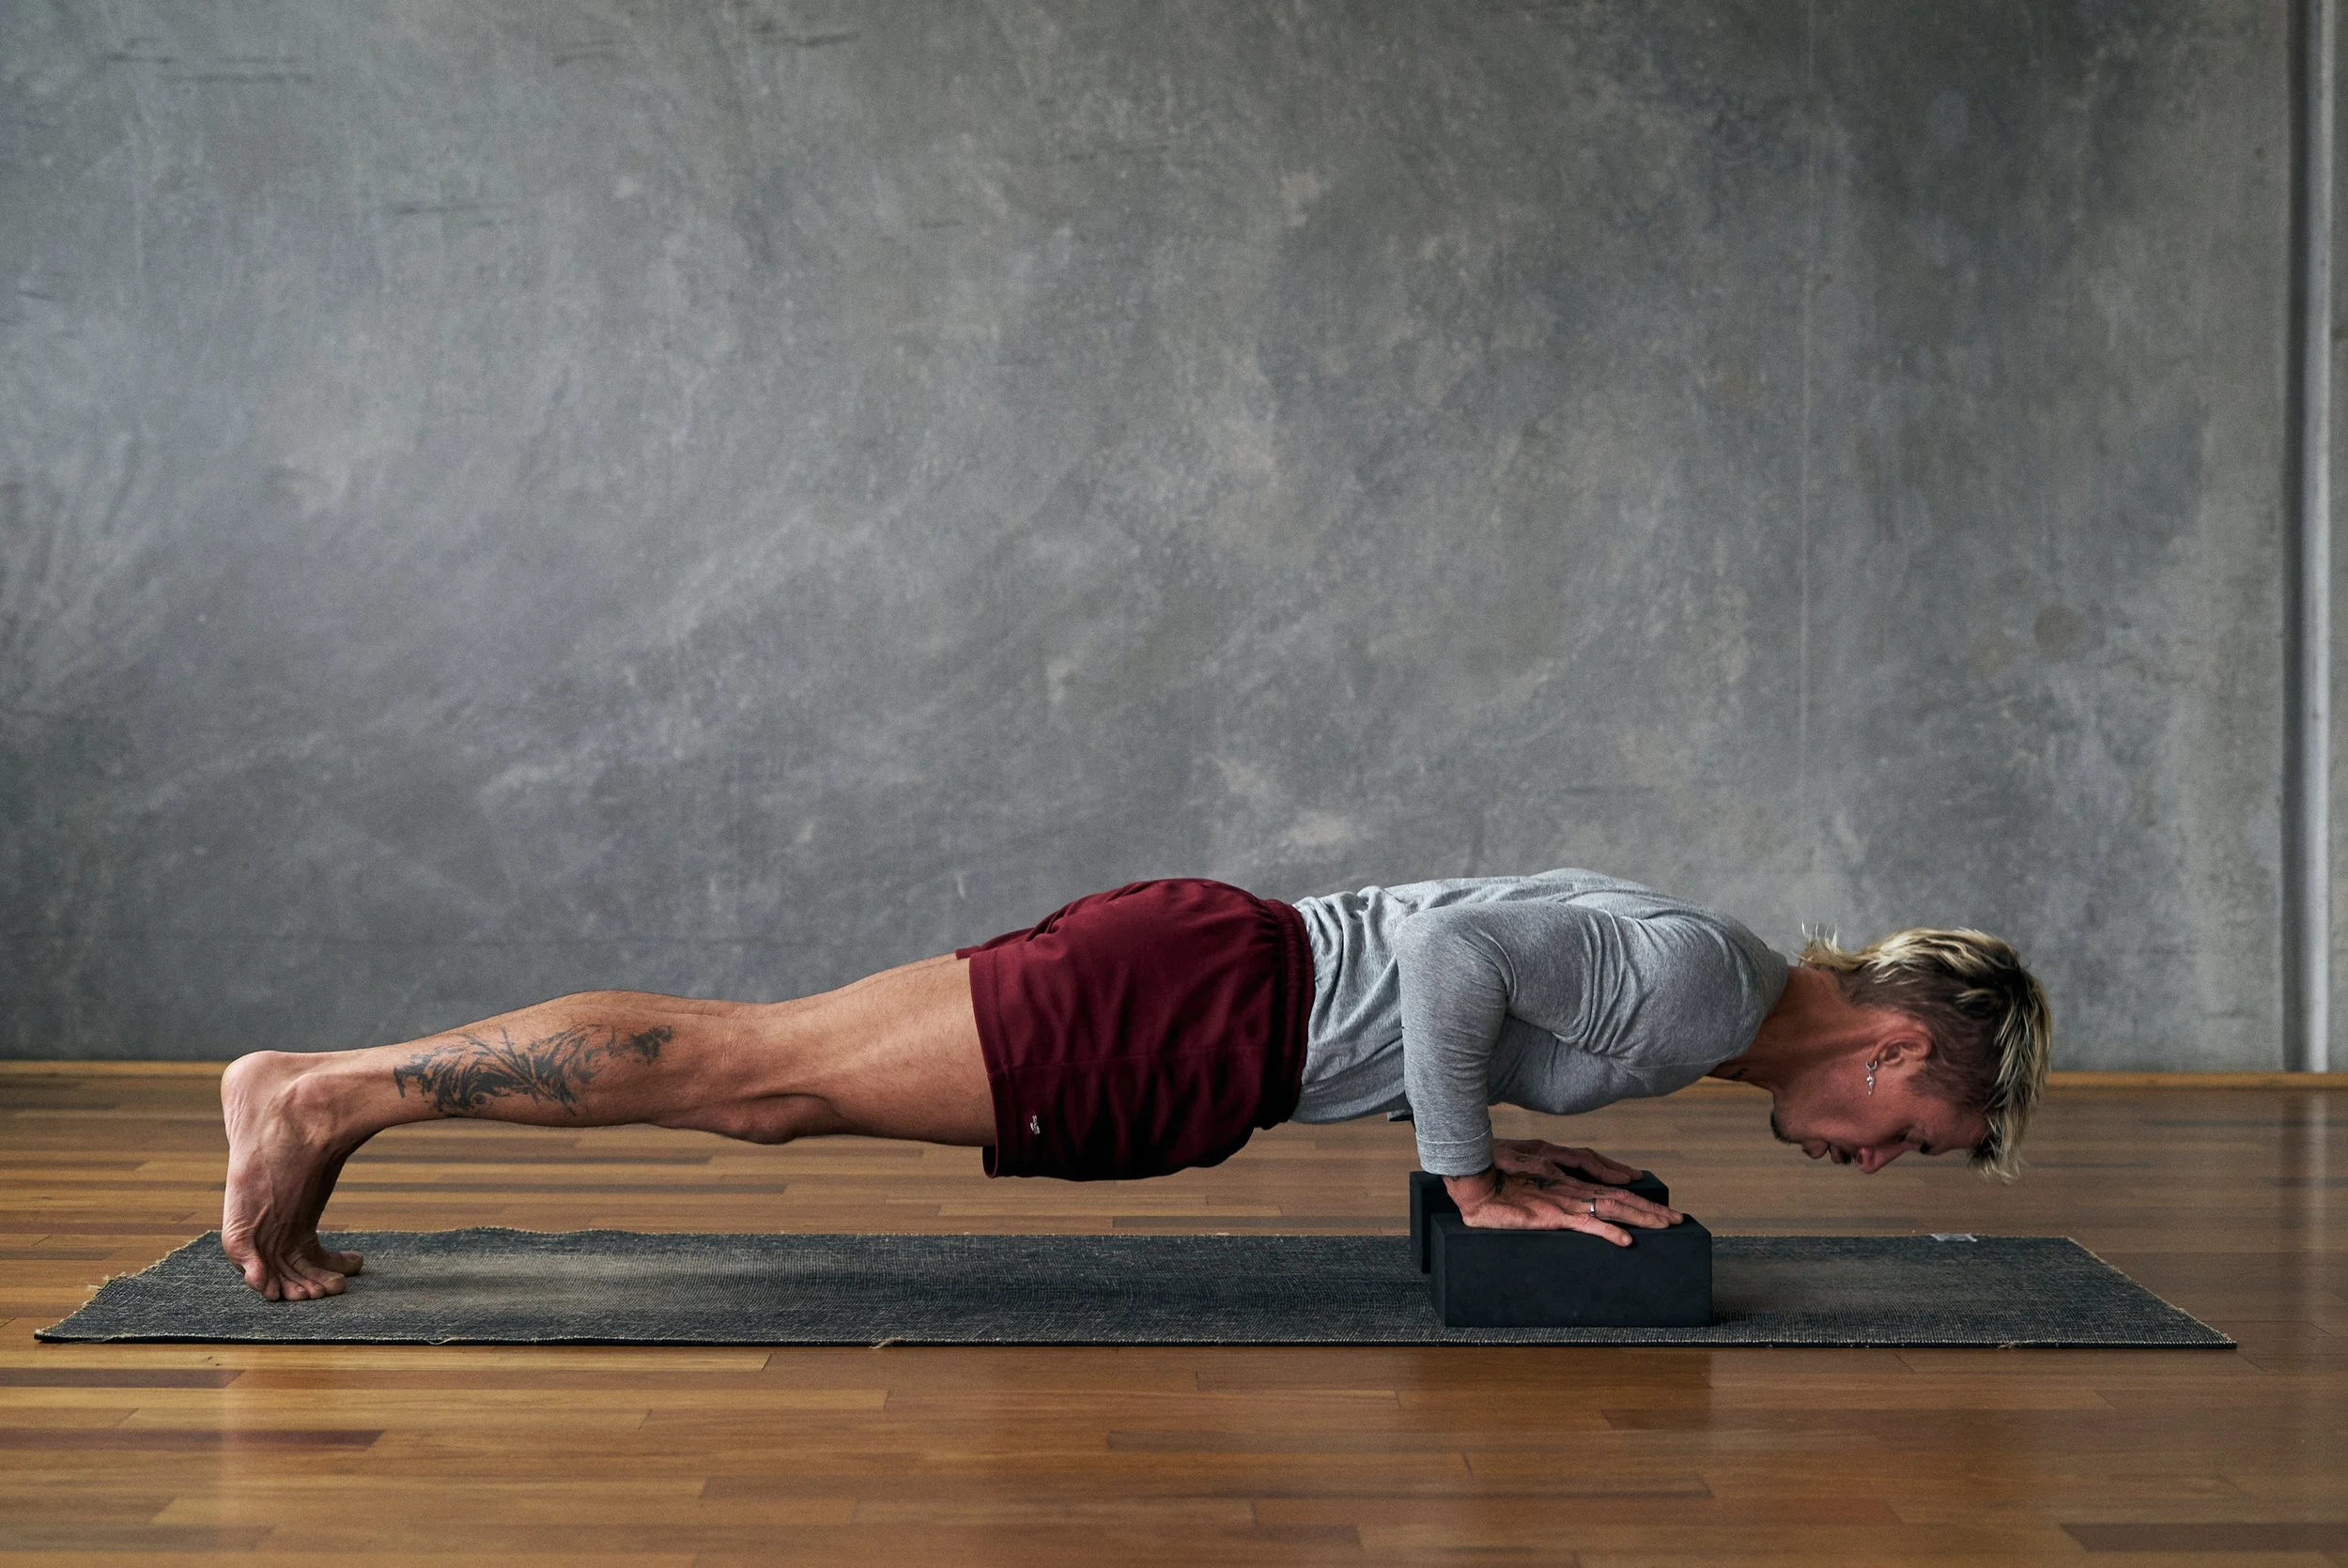
Place your non-working hand on a yoga block, a stack of books, or a couch arm. The higher the object, the more help you get.
Option B: Fingertip assist
Keep the non-working hand on the floor but use only 2 to 4 fingertips for minimal support. You should still feel the working side doing most of the job.
Option C: Wide-stance assist
Spread feet wide. A wider base reduces how much your torso wants to twist.
Level 11: One-arm push-ups
When you are ready, the one-arm push-up will feel more like a slow, controlled plank that happens to move up and down. Rushing it is how shoulders and elbows get angry.
Form checkpoints
- Feet wide at first. You can narrow later.
- Working hand slightly under the chest, not directly under the shoulder like a normal push-up. This helps balance.
- Torso stays square as much as possible. A little rotation is normal, but you should not collapse.
- Lower with control, pause briefly, press smoothly.
Common benchmarks
These are practical benchmarks I see often, not magic rules. Leverages, bodyweight, and technique can change what you need.
Many people who hit their first strict one-arm push-up can also do at least one of these with clean form and full range of motion:
- 15 to 25 clean full push-ups
- 5 to 8 clean decline push-ups with modest foot elevation
- 3 to 5 controlled archer push-ups per side (full range, minimal hip twist)
Mini-routines you can follow
These are short on purpose. I built my own consistency on 20-minute sessions in a small apartment, and I still think that is the sweet spot for most busy beginners.
Routine A: Total beginner
Do 2 to 3 times per week.
- Wall push-ups: 3 sets of 8 to 15
- High incline push-ups: 3 sets of 6 to 12
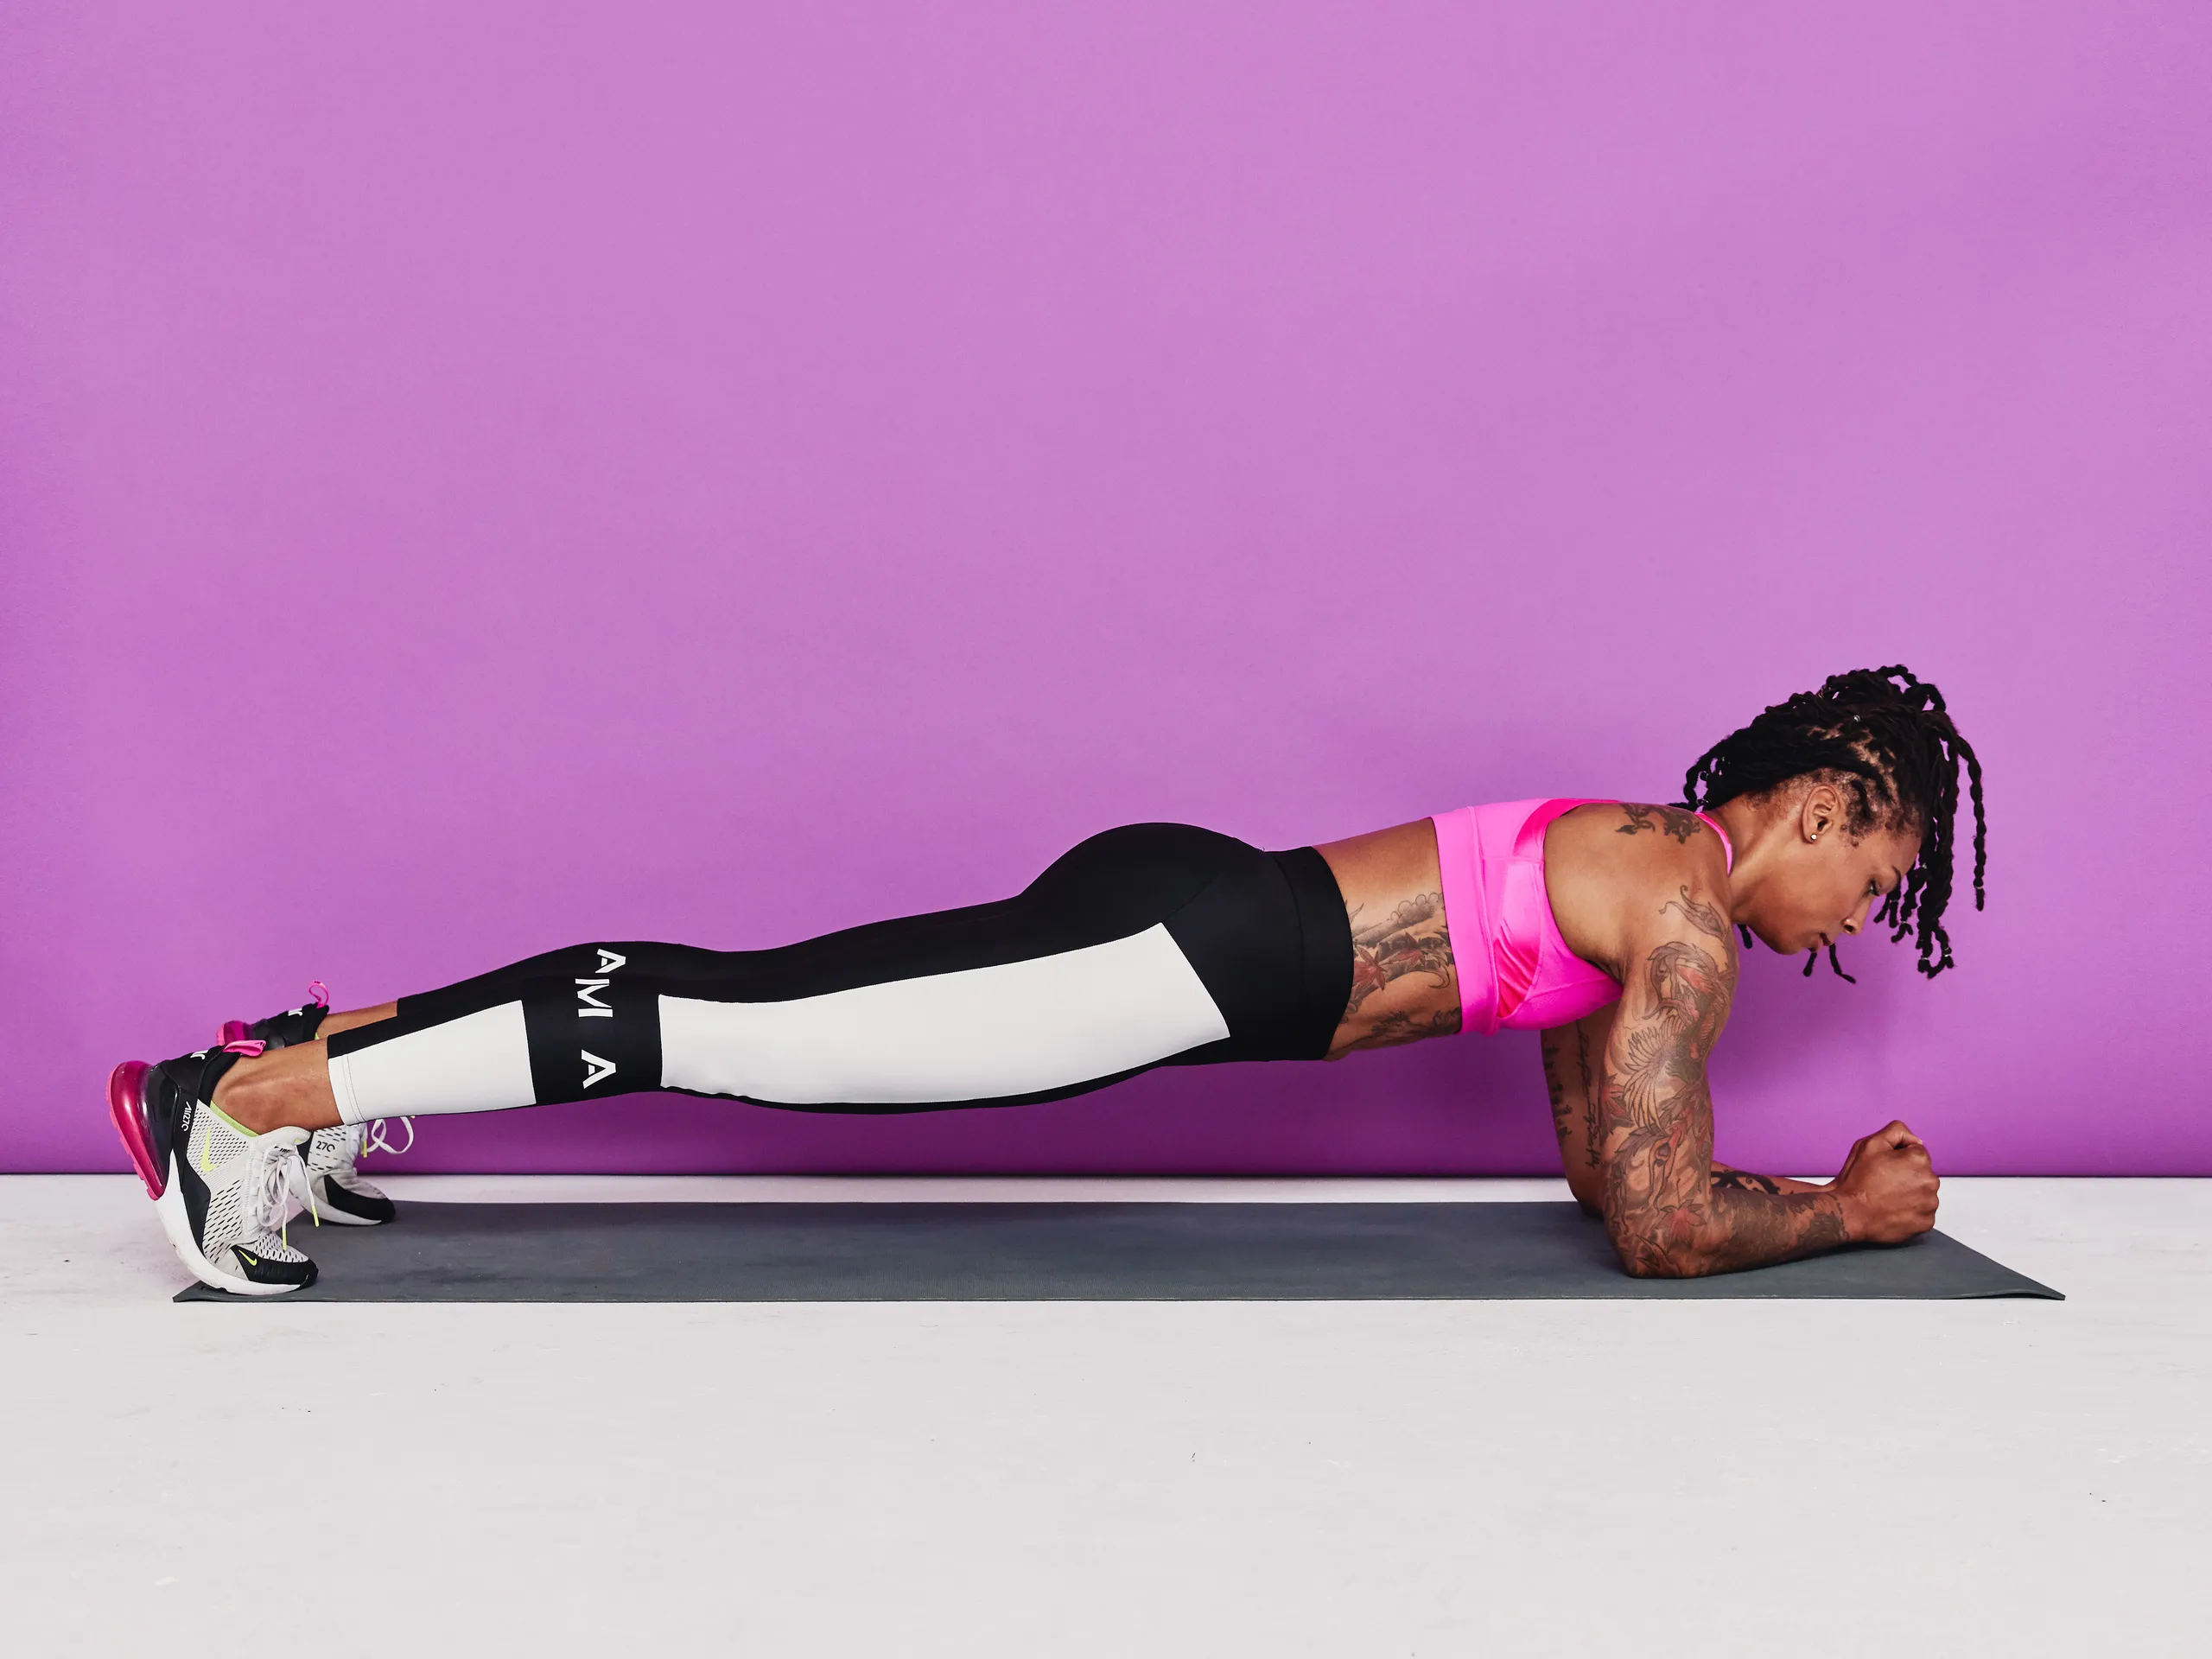
- Forearm plank: 3 sets of 20 to 40 seconds
Progression: lower your incline slightly when you can hit the top of the rep range with clean form.
Routine B: First floor push-up
Do 3 times per week.
- Low incline push-ups or knee push-ups: 4 sets of 6 to 10
- Negative push-ups: 3 sets of 3 to 6 (5 to 8 seconds down)
- Side plank: 2 sets of 15 to 30 seconds per side
Progression: add 1 negative rep per set, then start replacing negatives with full reps.
Routine C: Strength and control
Do 2 to 3 times per week.
- Full push-ups (tempo 3-1-1): 4 sets of 5 to 8
- Decline push-ups: 3 sets of 4 to 8
- Archer push-ups (incline if needed): 3 sets of 3 to 6 per side
Progression: keep reps clean, then increase difficulty by lowering assistance or adding a slight pause near the bottom.
Weekly plan and recovery
If you want progress without cranky joints, spacing matters.
- Avoid hard days back-to-back: leave at least 24 to 48 hours between challenging push-up sessions.
- Easy practice is allowed: on off days, do 1 to 2 easy sets of wall or high incline push-ups just to groove the pattern.
- Stop before form breaks: leave 1 to 2 reps in the tank on most sets. Your shoulders will thank you.
Warm-up (5 minutes)
If your shoulders feel stiff, this tiny warm-up can make your first set feel much smoother.
- Wrist rocks: hands on floor, gently shift forward and back for 30 to 45 seconds.
- Shoulder taps on incline: hands on counter, slow taps for 10 per side.
- Scapular push-ups: from plank or incline, keep arms straight and only move shoulder blades, 8 to 12 reps.
- Slow incline push-ups: 1 set of 5 easy reps.
Technique troubleshooting
My wrists hurt
- Do push-ups on an incline and keep hands slightly turned out.
- Try push-up handles or dumbbells if you have them. Neutral wrists often feel better.
- Try fists on a mat for short sets if that feels comfortable, and keep the wrist straight. If knuckles bother you, skip this.
- Spend 30 seconds on wrist warm-up before every session.
My shoulders pinch in the front
- Move hands slightly wider and keep elbows at 30 to 45 degrees.
- Stop an inch higher if the bottom position causes pain.
- Add scapular push-ups and slow negatives on an incline.
- If pinching persists even after scaling, do not push through it. Get it assessed.
My elbows feel cranky
- Scale up to an incline and shorten range of motion for a week while you keep reps smooth.
- Avoid grinding near-failure reps. Leave 1 to 2 reps in the tank.
- Use a slower tempo and a lighter variation instead of forcing more reps.
- If pain is sharp, worsening, or lingers after training, take a break and get it checked.
My hips sag
- Scale up to an incline you can control.
- Brace like someone is about to poke you in the sides.
- Add planks and side planks 2 to 3 times per week.
I can lower, but I can’t press up
- Do negatives plus knee push-ups: lower from toes, press from knees.
- Use cluster sets: 2 to 3 reps, rest 15 seconds, repeat.
- Train close-grip incline push-ups for triceps strength.
Balance your training
If you start doing a lot of push-ups, give your upper back some love too. A little pulling work can help your shoulders feel better as pushing volume rises.
- Doorway row using a sturdy towel, 2 to 3 sets of 8 to 12
- Band rows or band pull-aparts (if you have a band), 2 to 3 sets of 12 to 20
- Light dumbbell rows, 2 to 3 sets of 8 to 12 per side
How fast should you progress?
With consistent practice 2 to 3 days per week and no major pain limitations, beginners often move from wall to floor in 4 to 12 weeks. Starting strength, body size, old shoulder issues, and consistency can make it faster or much slower. That is not failure. That is reality.
My rule as your coach-in-your-corner: never upgrade a variation at the expense of your joints. Strong push-ups are quiet and controlled. No strain face required.
FAQ
How many push-ups should I do as a beginner?
Start with 3 sets of 6 to 10 on a variation that feels challenging but clean. If you are grinding or losing your plank, make it easier and build from there.
Should I do push-ups every day?
You can practice an easy version most days, but for strength gains I prefer 2 to 4 sessions per week with at least one rest day between hard push-up workouts. Your muscles get stronger when you recover.
Are knee push-ups cheating?
No. Knee push-ups are a valid step as long as you keep a straight line from knees to head and control your descent.
What if I cannot do even one wall push-up?
Stand closer to the wall and use a smaller range of motion for the first week. You can also do wall negatives: slowly lean in for 5 seconds, then step forward to reset.
Do I need special equipment?
No. A wall, a counter, and a bit of floor space is enough. If you want optional upgrades, a yoga mat (comfort) and push-up handles (wrist comfort) are the only things I would consider.
Your next step
Pick the variation you can do with great form today and commit to two short sessions this week. Not two perfect sessions. Two honest ones.
If you want my simplest plan: do incline push-ups, negatives, and a plank. Get a little better each week. That is how wall push-ups turn into one-arm push-ups, one clean rep at a time.